目次 [非表示]
- 1. ビフォーアフター
- 1-1. 屋根の葺き替え工事
- 1-2. 屋根の庇の修理
- 1-3. 破風板の板金工事
- 2. 施工前の様子
- 3. 施工中の様子
- 3-1. 下屋根の瓦おろし(既存瓦の撤去)
- 3-2. 大屋根の瓦おろし(既存瓦の撤去)
- 3-3. 野地板(コンパネ)の設置
- 3-4. ルーフィングの設置(防水シート)の設置
- 3-5. 下屋根の役物(唐草・谷板金)の設置
- 3-6. 下屋根の屋根材(ガルバリウム鋼板)の設置
- 3-7. 下屋根の瓦棒(トタン)部分の葺き替え
- 3-8. 大屋根の役物(唐草)の設置
- 3-9. 屋根の葺き替え工事の施工後の様子
- 4. 屋根の庇の修理と外壁の部分張り替え
- 4-1. 庇の板金の張り替え
- 4-2. 破風板の板金工事
- 住宅が古くなり今後も快適に住み続けられるように長持ちする屋根材に葺き替えたい。
- 屋根を軽くして地震に強い住宅にしたい。
- 屋根材の中でも耐用年数(耐久性)が長いこと。
- 導入コスト安く比較的安く新しい屋根材に葺き替えられること
- 屋根塗装の必要が無くメンテナンス費用が発生しないこと。
ビフォーアフター
屋根の葺き替え工事の他に、屋根庇の修理と破風板の板金工事も施工しています。屋根の葺き替え工事と合わせて施工前と施工後のビフォーアフターをご紹介します。屋根の葺き替え工事


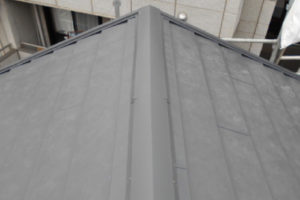
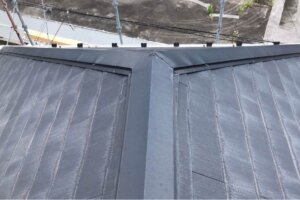
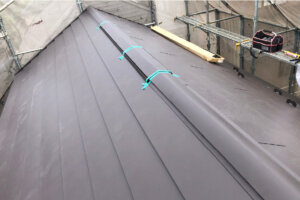
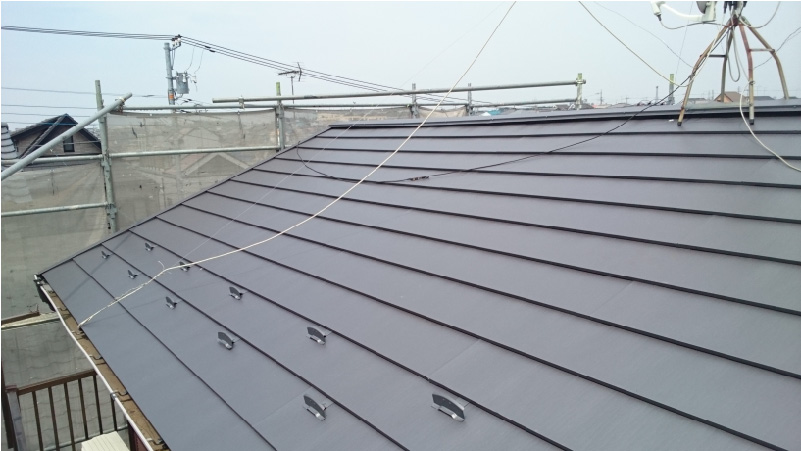
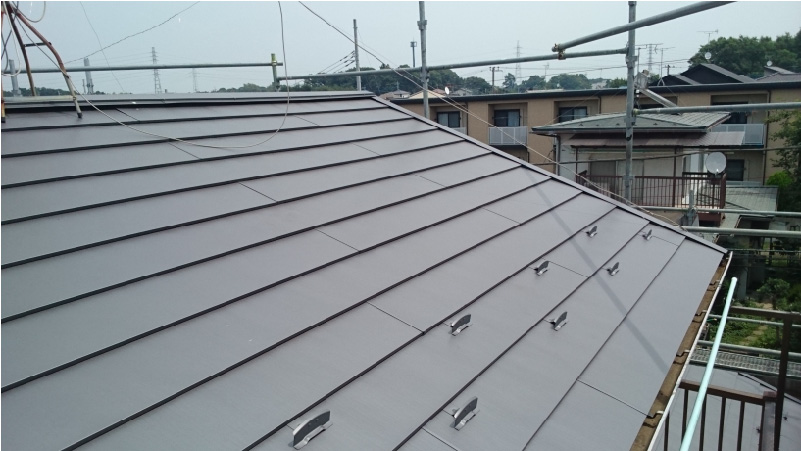
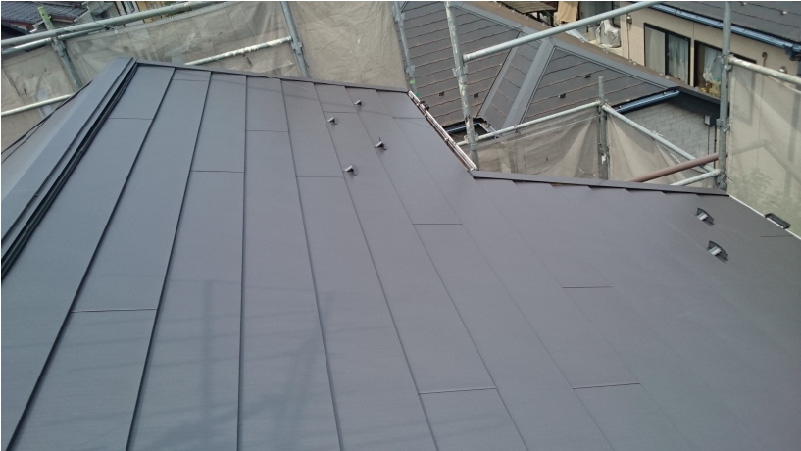
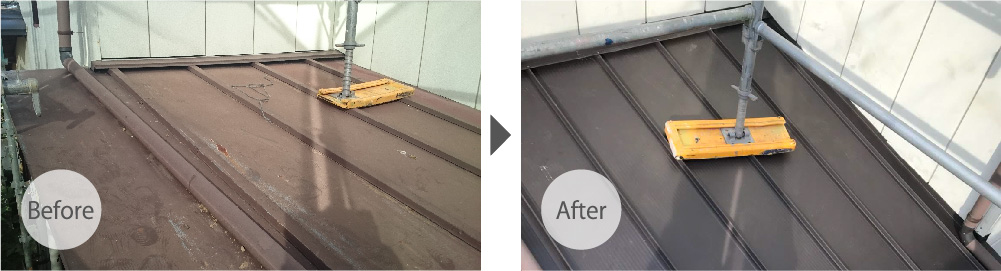 大屋根と下屋根をガルバリウム鋼板に葺き替えました。日本瓦からガルバリウム鋼板に葺き替えることで和風住宅の特有の美観が損なわれることがデメリットとして挙げられます。
しかし、今回は外壁も金属製のアルミサイディングが使用されているために、同じ金属製の屋根材に葺き替えることで統一感のある外観になりました。
大屋根と下屋根をガルバリウム鋼板に葺き替えました。日本瓦からガルバリウム鋼板に葺き替えることで和風住宅の特有の美観が損なわれることがデメリットとして挙げられます。
しかし、今回は外壁も金属製のアルミサイディングが使用されているために、同じ金属製の屋根材に葺き替えることで統一感のある外観になりました。
屋根の庇の修理

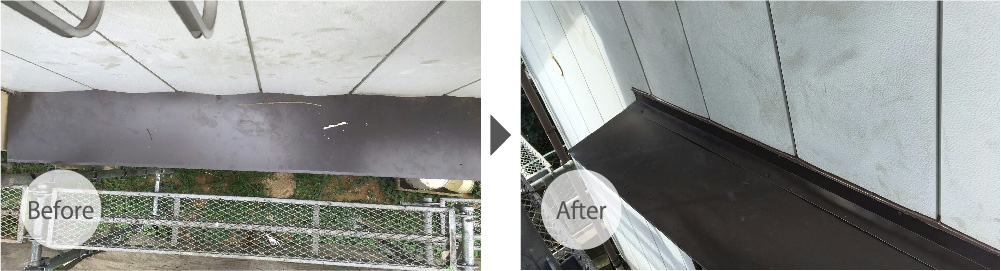 庇の修理は単純に交換すれば修理できるものではなく、外壁の躯体(内部構造)と密接に関係しているために、建物構造を理解していないと修理することができない箇所になります。
弊社は建物の設計やl構造に関する国家資格である建築士が在籍しているために庇の修理にも十分に対応することができます。
庇の修理は単純に交換すれば修理できるものではなく、外壁の躯体(内部構造)と密接に関係しているために、建物構造を理解していないと修理することができない箇所になります。
弊社は建物の設計やl構造に関する国家資格である建築士が在籍しているために庇の修理にも十分に対応することができます。
破風板の板金工事
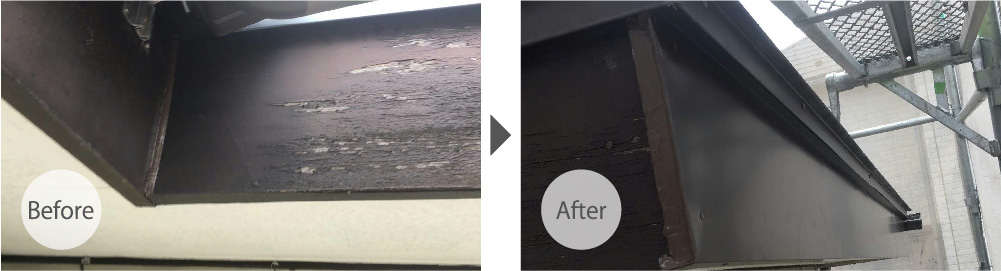 破風板は塗装によるメンテナンスが必要ですが、破風板金工事でガルバリウム鋼板にすることでメンテナンスの必要が無くなります。塗装によるメンテナンスよりも費用対効果が高いのが特徴です。
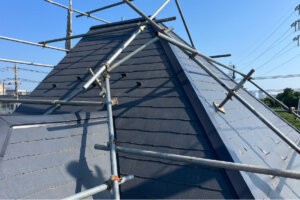
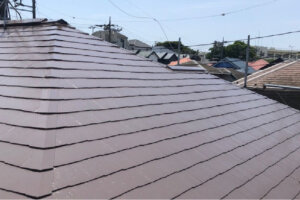
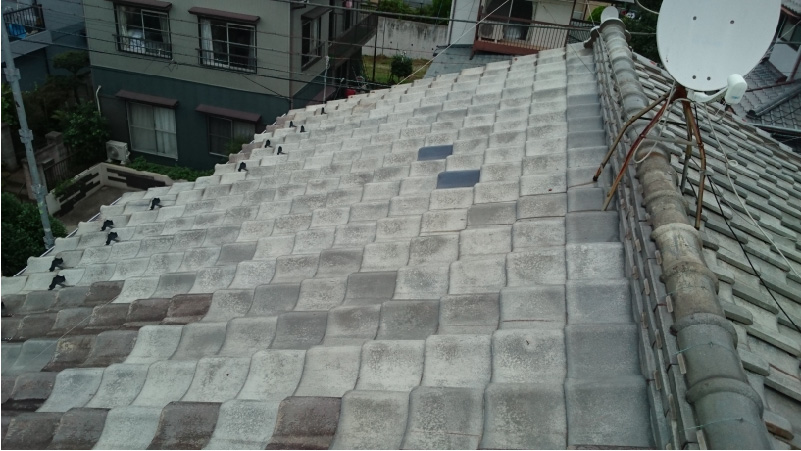
施工前の様子
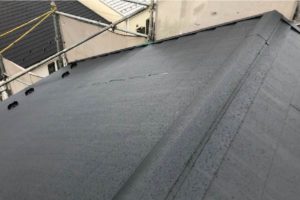
日本瓦は屋根材としては80年〜100年ほどの寿命がある高耐の屋根材です。屋根材本体の破損はなく、再利用ができる状態でしたが、住宅の耐震性能を考慮してガルバリム鋼板への葺き替えになりました。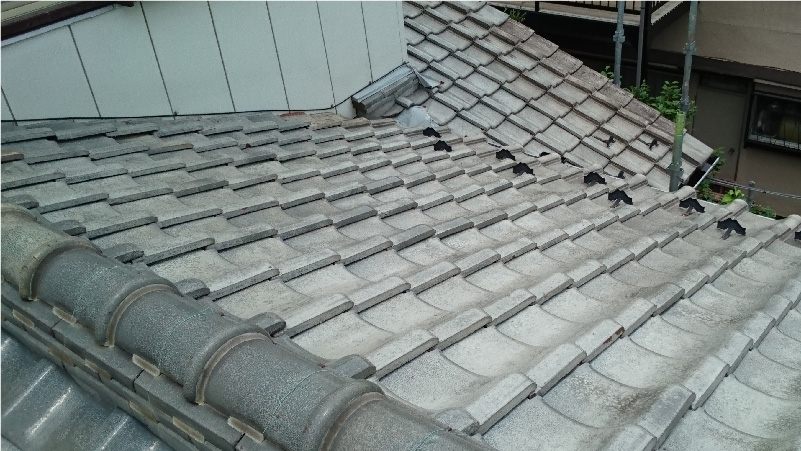
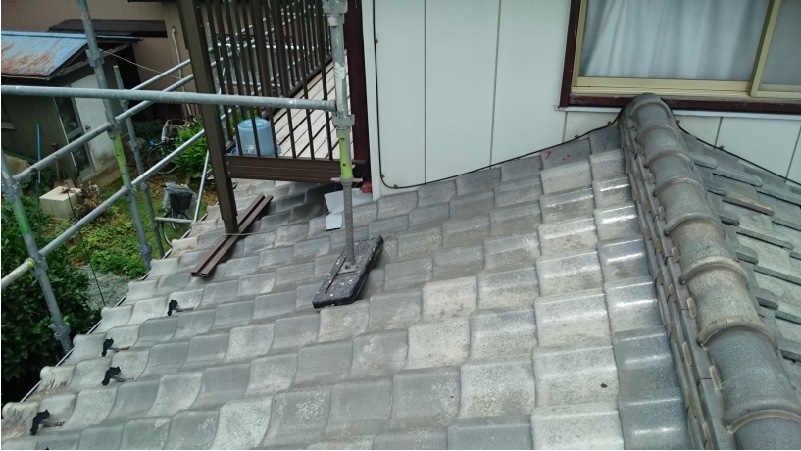
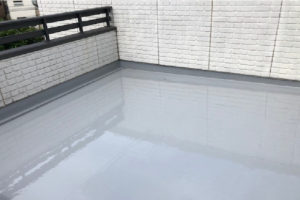
 下屋根のベランダ部分屋根の漆喰です。

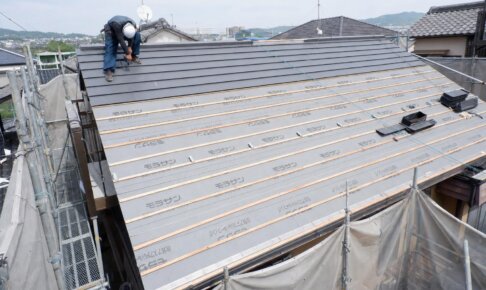
施工中の様子
屋根の「葺き替え工事」と「庇の修理」、「破風板金工事の」の3つの屋根工事を行っているので、それぞれ具体的に解説します。 まずは、瓦屋根の葺き替え工事から見て行きましょう。下屋根の瓦おろし(既存瓦の撤去)
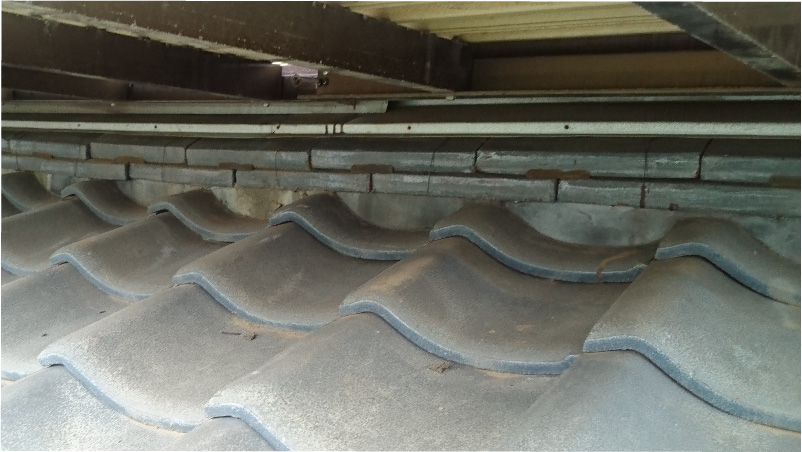
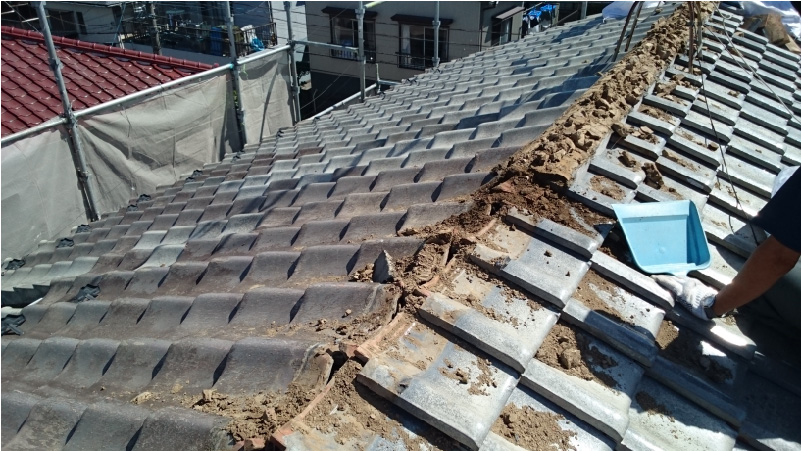
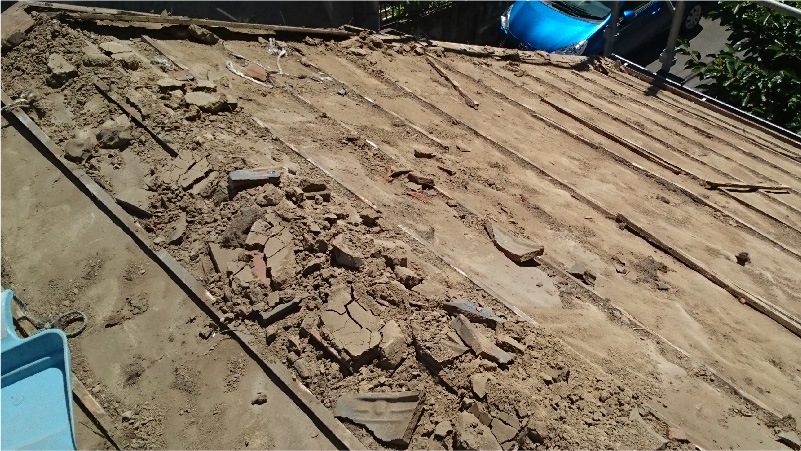
まず始めに、下屋根の瓦を撤去する瓦おろしを行いました。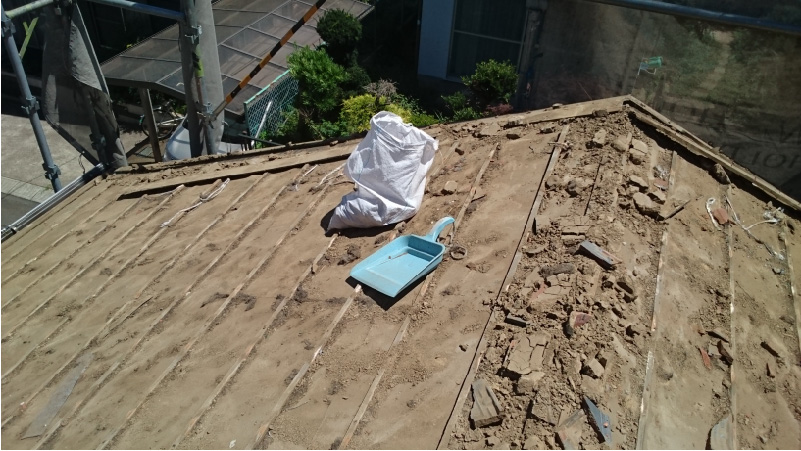 瓦を撤去すると土が出てきますが、この土は瓦屋根の棟の頂点にある「棟」を撤去した際に出てくるものです。屋根に腐食している箇所はなく、キレイな状態で保存されていました。
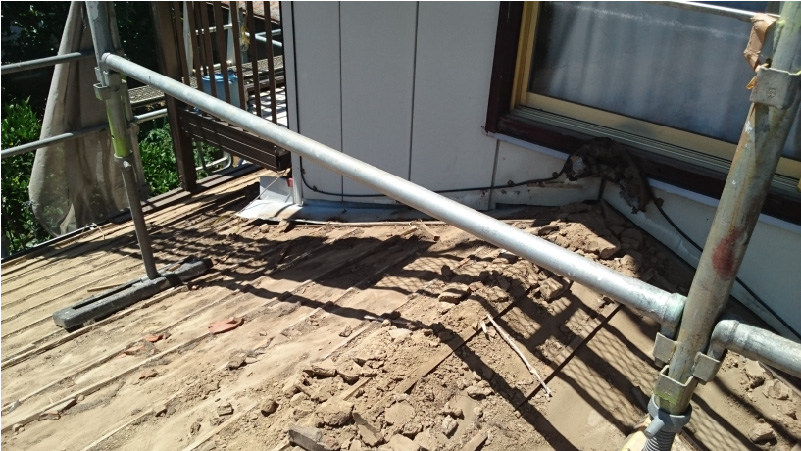 屋根と外壁の取り合い部分の瓦も撤去しました。
 ベランダの下の漆喰も撤去しました。
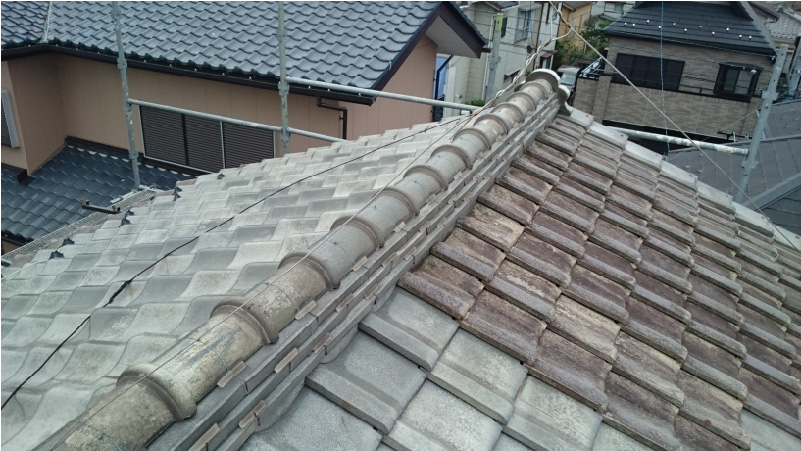
 棟部分と外壁との取り合い部分です。雨漏りの原因になりやすい箇所で、丁寧に瓦を撤去しました。
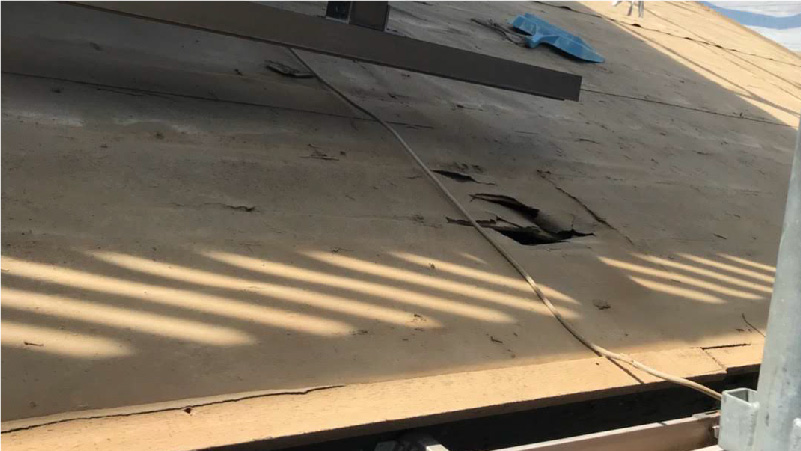 一部、既存のルーフィング(防水シート)が破れている箇所がありました。瓦を固定している垂木(たるき)も撤去して瓦おろしは完了です。
大屋根の瓦おろし(既存瓦の撤去)
下屋根の瓦おろしが完了したら次は、大屋根の瓦おろしを行います。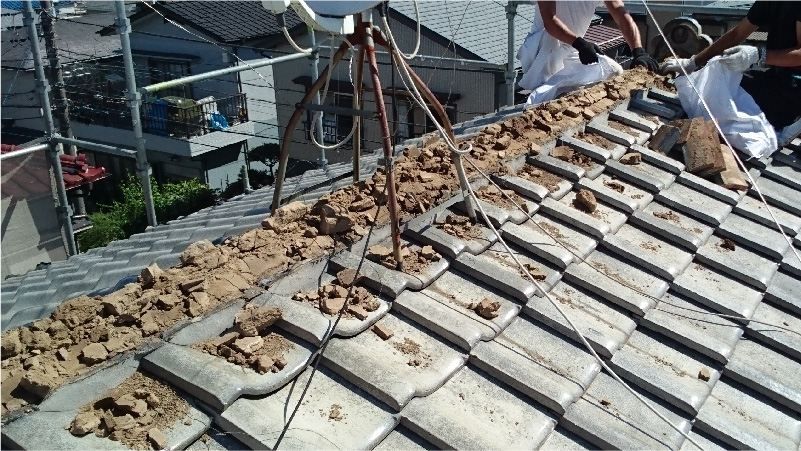 屋根のてっぺんにある棟の瓦を撤去します。
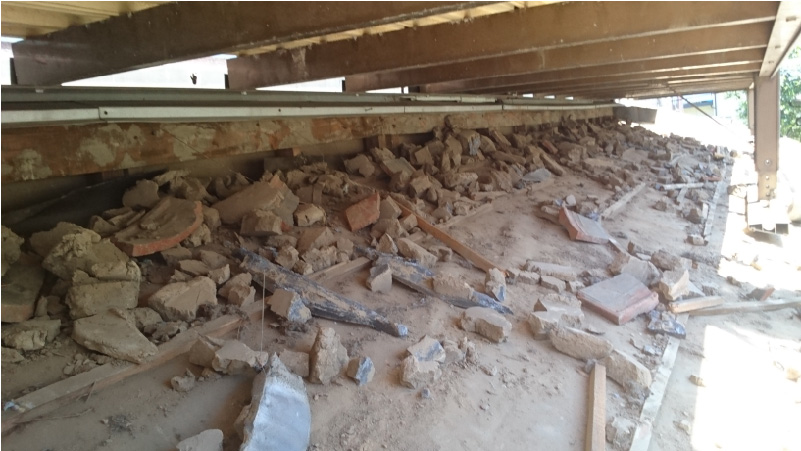
 棟瓦は土の土台の上に乗っているために、大量の土がでてきます。瓦屋根は屋根材自体も重いですが、漆喰の土の重さなどの構造的にも重量感があります。
 屋根を清掃して瓦を固定している垂木も撤去をしたら大屋根の瓦おろしは完了です。
野地板(コンパネ)の設置
大屋根、下屋根共にすべての瓦を撤去したら、新しい野地板(コンパネ)を設置します。屋根の葺き替え工事に使用する野地板は厚みが12mmのコンパネ(コンクリートパネル)を使用するのが一般的です。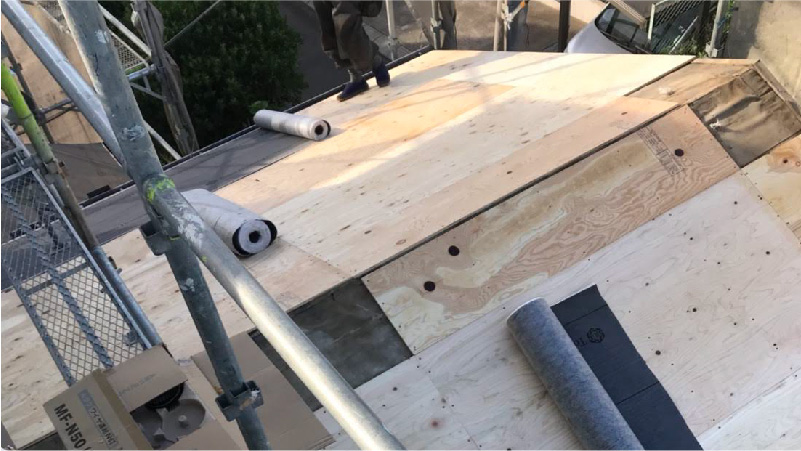 既存の瓦を撤去したら次に、新しい野地板(コンパネ)を設置します。
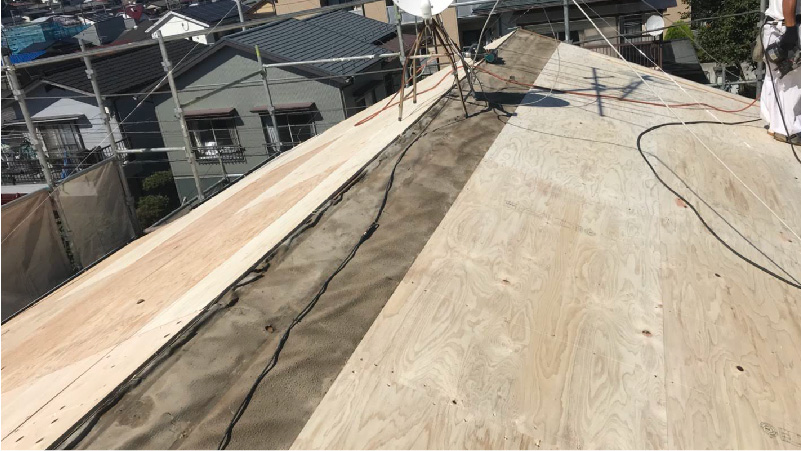 大屋根も同じく野地板(コンパネ)を設置しました。
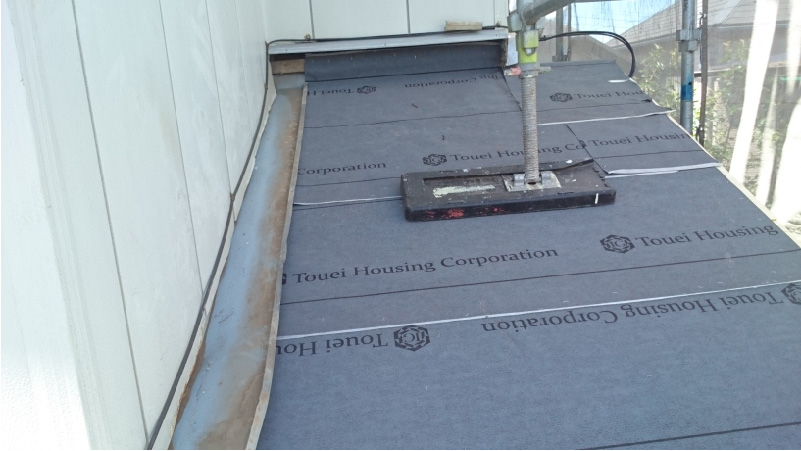
ルーフィングの設置(防水シート)の設置
屋根に野地板を設置した箇所からルーフィングを設置します。ルーフィングは、雨水が屋根の内部に侵入することを食い止めるものですが、屋根の二次防水(第二の屋根材)として非常に重要な役割を担っています。
 屋根と外壁の取り合い部分も雨仕舞いをしっかりと行い丁寧にルーフィングを設置しました。
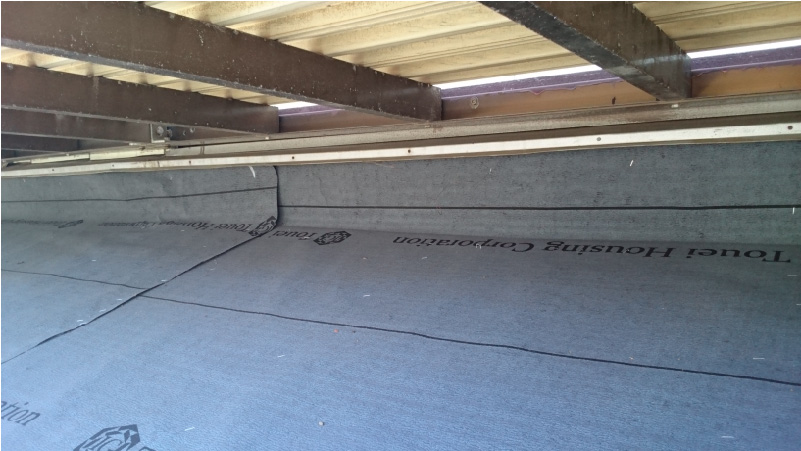 ベランダ下の部分も雨仕舞いを行いルーフィングを設置しました。
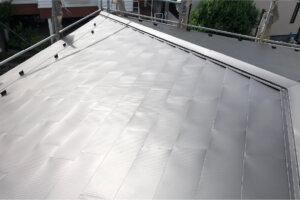
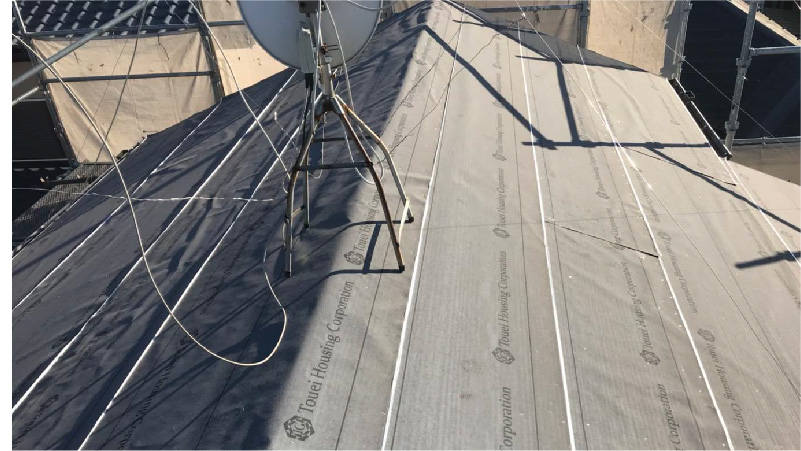 大屋根のルーフィングの設置です。

下屋根の役物(唐草・谷板金)の設置
ルーフィングを設置したら次に、唐草、谷板金などの役物を設置します。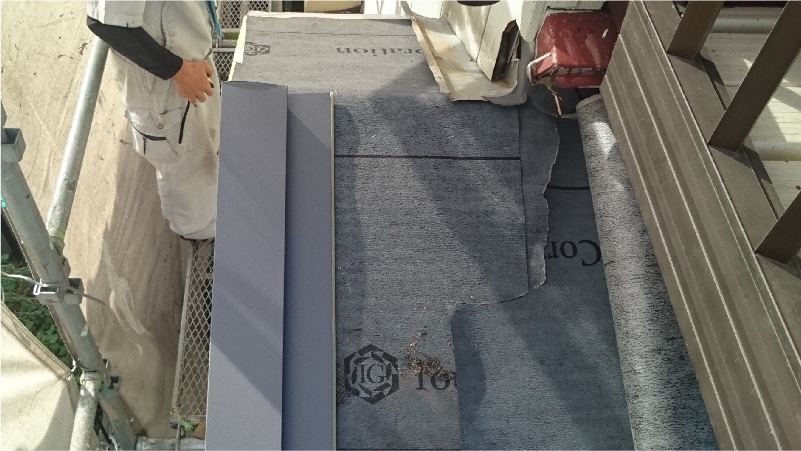 唐草と呼ばれる役物を設置します。
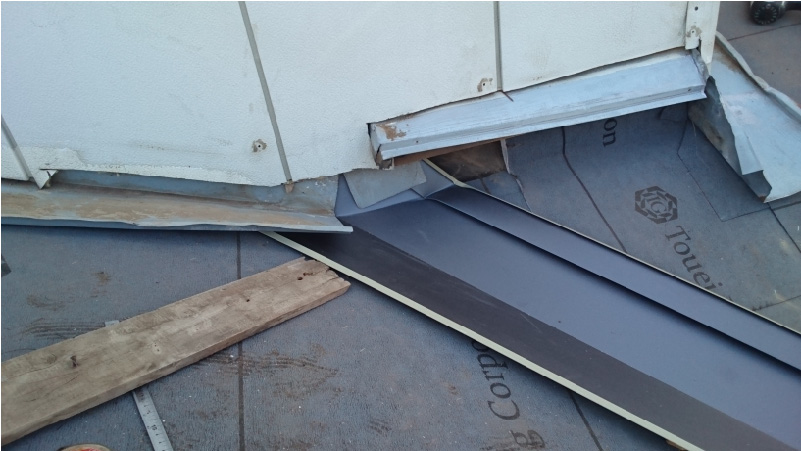 こちらは谷樋です。屋根の雨水を排水する重要な役物になります。
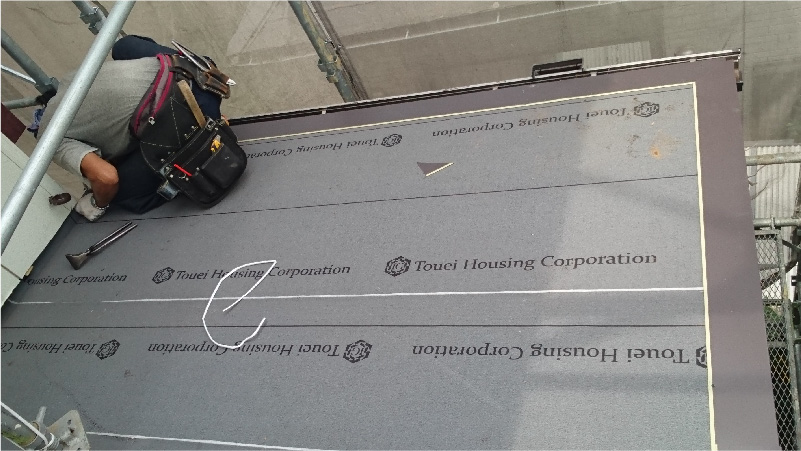
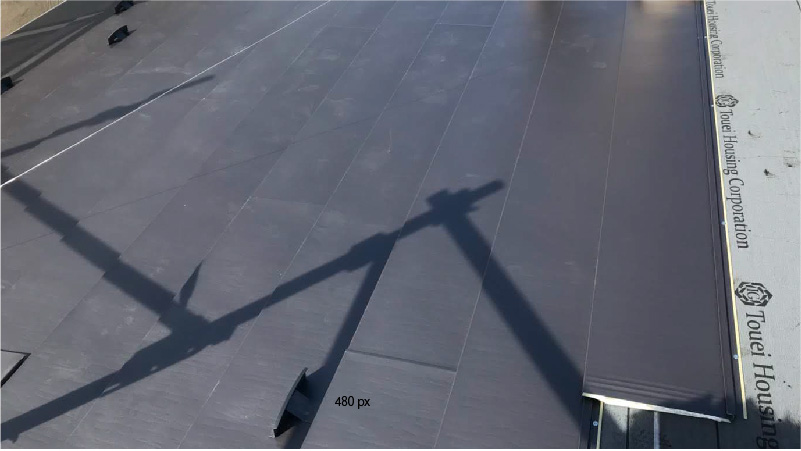
下屋根の屋根材(ガルバリウム鋼板)の設置
役物を設置したら、次に新しい屋根材のガルバリウム鋼板を設置します。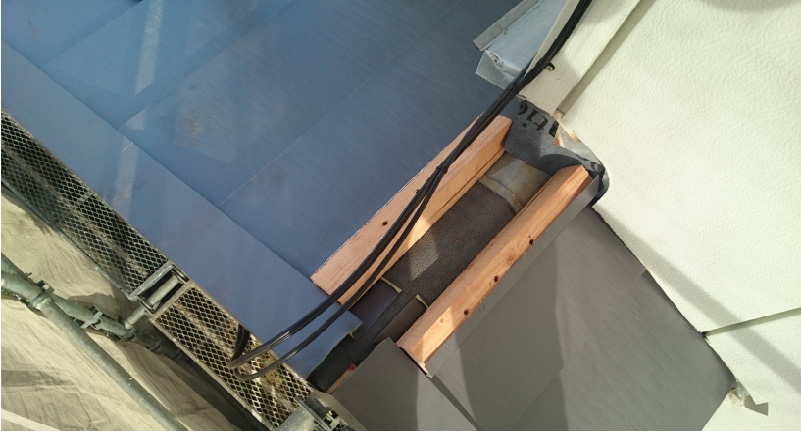 雨漏りの原因になりやすい屋根と外壁との取り合い部分もしっかりと雨仕舞い施工しました。
 棟の板金の下地を取り付けて下から上に向かって屋根材を葺いていきます。
 棟の板金を取り付けて下屋根の葺き替え工事は完了です。
下屋根の瓦棒(トタン)部分の葺き替え
一部、日本瓦ではなく瓦棒(トタン)の部分もあるので、同じくガルバリウム鋼板に葺き替えます。 一部、サビが発生しており屋根を葺き替える最適なタイミングでした。
 既存のトタンを撤去して野地板を設置します。
 野地板を設置したら瓦の葺き替えと同様にルーフィングを設置します。
 新規屋根材のガルバリウム鋼板に葺き替えて、トタン瓦棒の葺き替えは完了です。
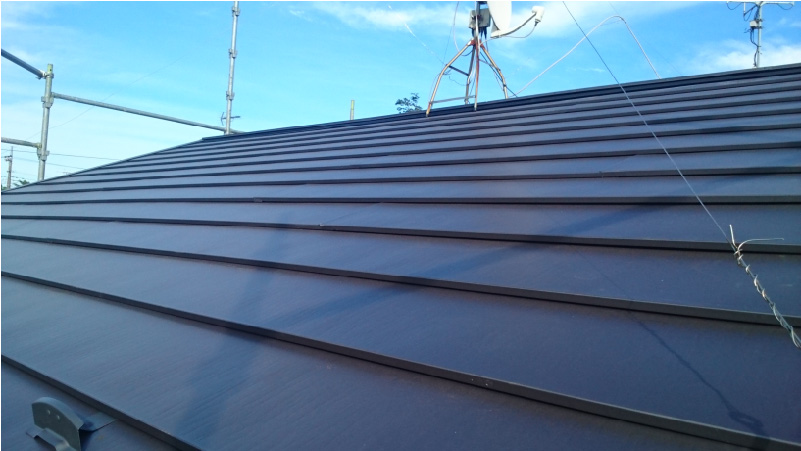
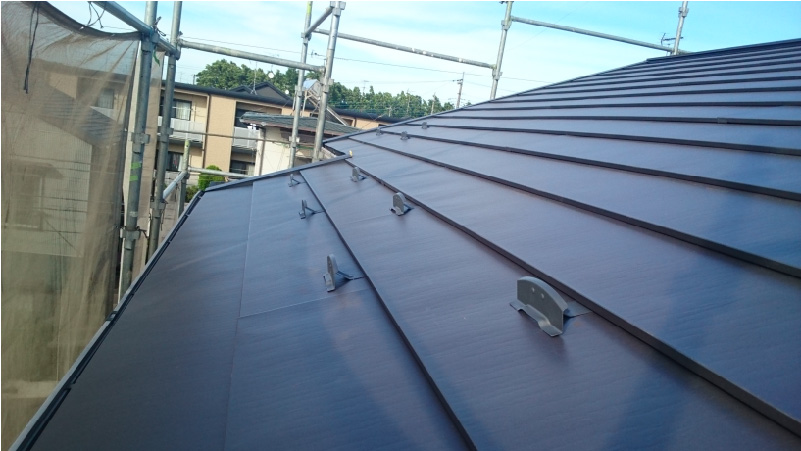
大屋根の役物(唐草)の設置
下屋根の葺き替え工事が完了したら、大屋根に新しい屋根材を設置します。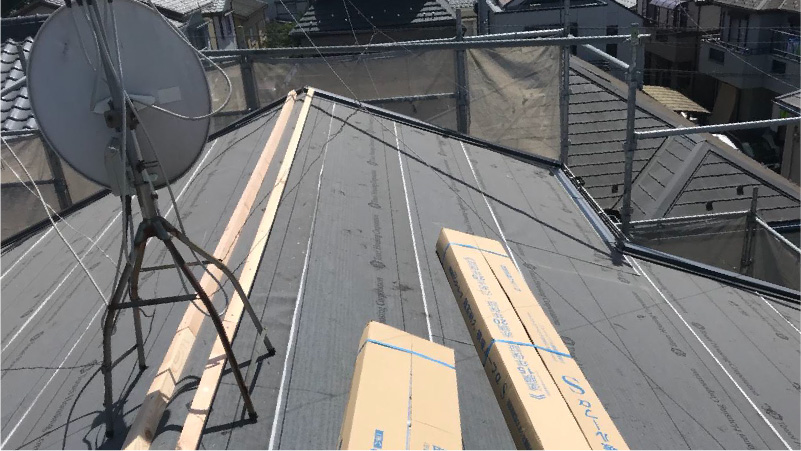 まずは、屋根の先端に唐草などの役物を設置します。そして、棟の下地の貫板を設置します。
 下から屋根材を順番に葺いていきます。 屋根の雪止めも設置します。最後に棟板金を設置して施工完了です。
屋根の葺き替え工事の施工後の様子

屋根の庇の修理と外壁の部分張り替え
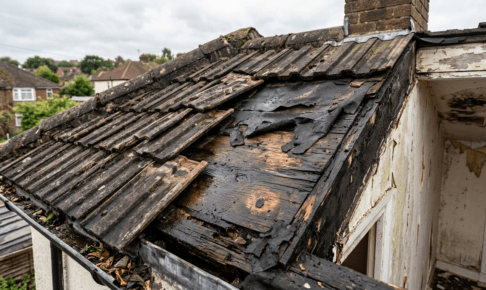
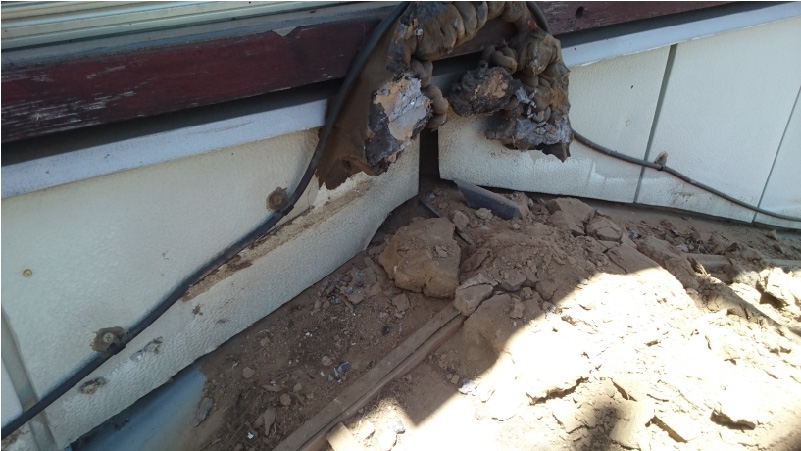
庇は2箇所修理をしました。そのうち、1箇所は雨水が侵入しており外壁の張り替えの根本的な修理が必要な状態でした。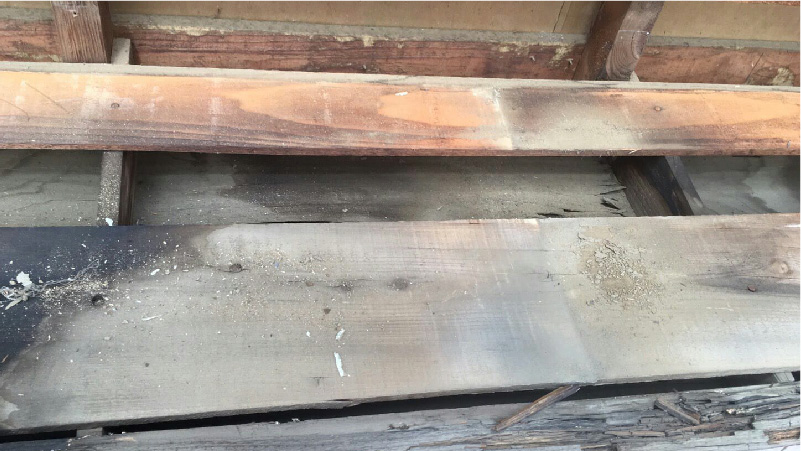 雨水が侵入して庇の躯体がボロボロに腐食しています。
 庇の内部に水が入り込んだことで、雨染みが広がっています。
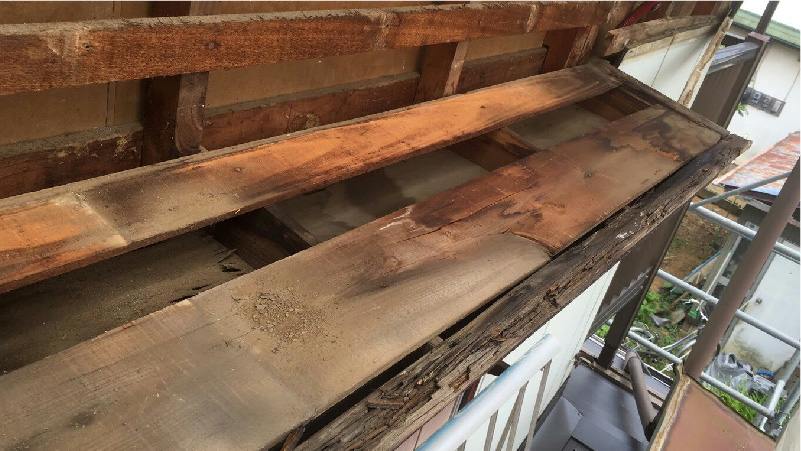
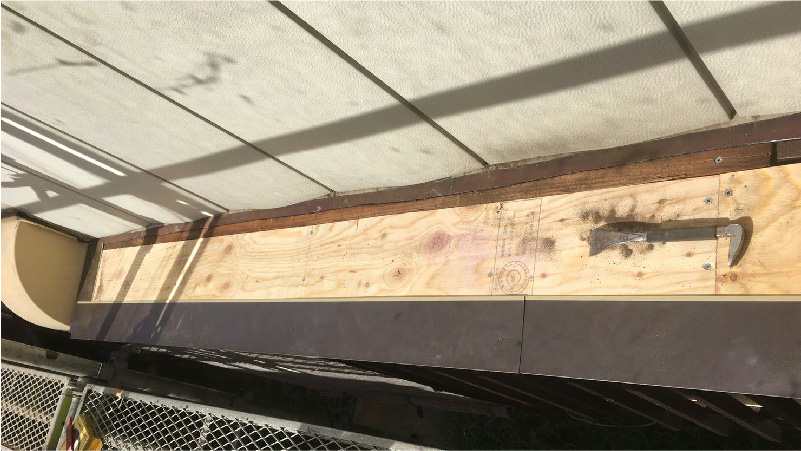
 腐食した箇所を部分補修しました。
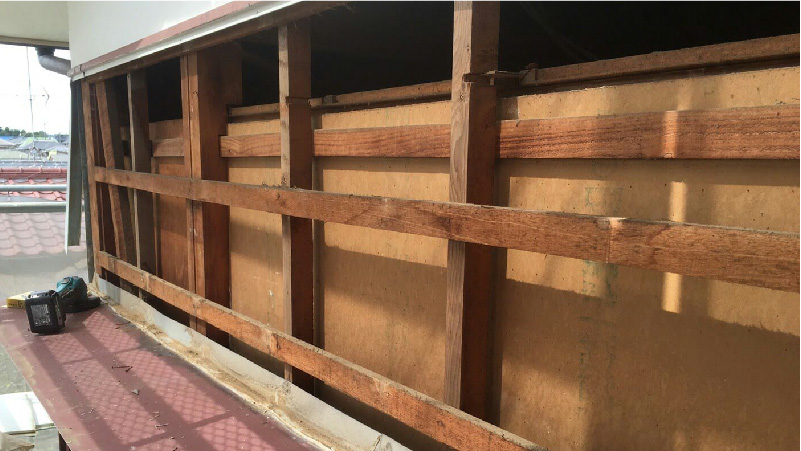
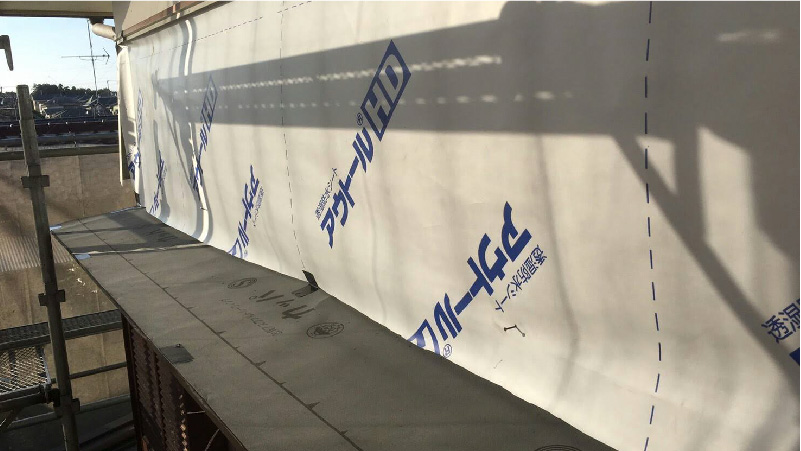 防水シートを設置して新しい外壁材を貼ります。
 新しく外壁を張り替え、庇の板金を設置したら作業完了です。
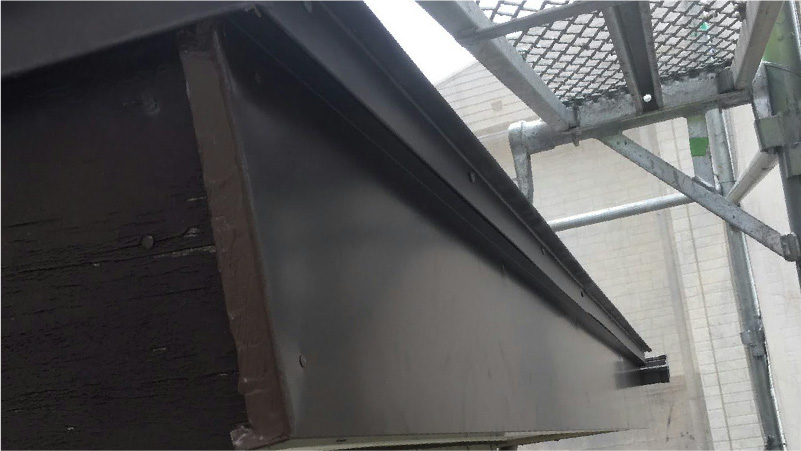
庇の板金の張り替え
2箇所目の庇は板金を張り替えました。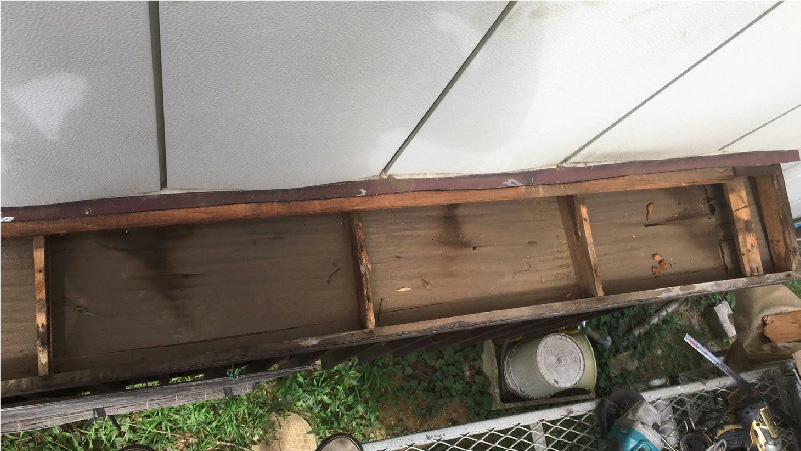


破風板の板金工事
木材の破風板をガルバリウム鋼板で覆う破風板の板金工事を行いました。従来の破風板は塗装が必要ですが、ガルバリウム鋼板で巻くことでメンテナンスの必要がなくなります。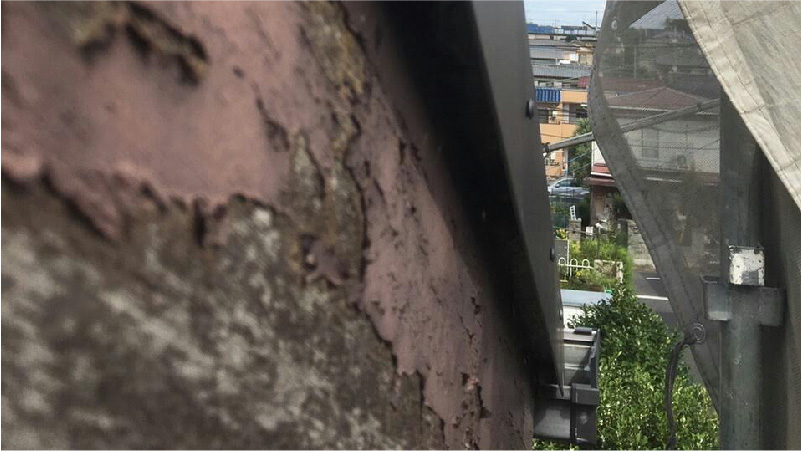 塗料がボロボロに剥がれており、メンテナンスが必要な状態でした。
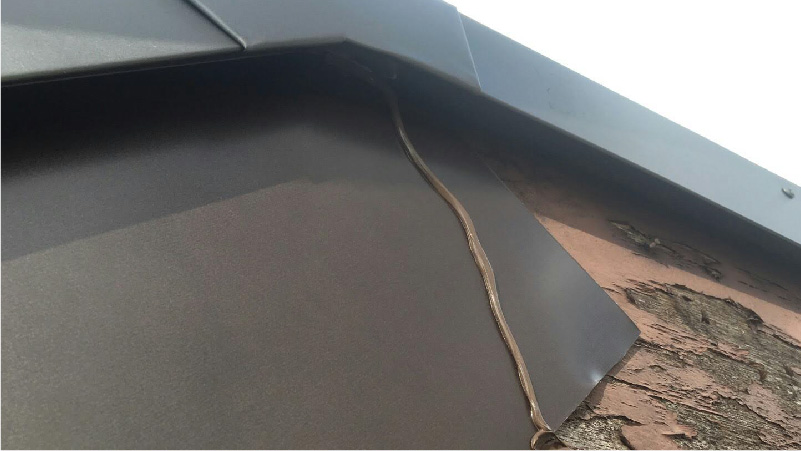 金属のガルバリウム鋼板を金属板を捲いていきます。
簡 単 無 料 お 見 積 り
×