目次 [非表示]
- 1. ビフォーアフター
- 2. 大屋根の劣化症状と現地調査の様子
- 3. 大屋根の葺き替え工事の施工中の様子
- 3-1. 【工程1】既存の屋根材の解体・撤去
- 3-2. 【工程2】野地板(コンパネの施工)
- 3-3. 【工程3】ルーフィングシート(防水シート)の施工
- 3-4. 【工程4】屋根材本体の施工
- 3-5. 【工程5】破風板金の施工
- 3-6. 【工程6】棟板金の施工
- 4. 大屋根の葺き替え工事の施工後の様子
- 5. 下屋根の劣化症状と現地調査の様子
- 6. 下屋根の葺き替え工事の工程と施工中の様子
- 6-1. 【工程1】既存の屋根材の撤去
- 6-2. 【工程2】野地板の施工
- 6-3. 【工程3】ルーフィングの施工
- 6-4. 【工程4】屋根材本体の施工
- 6-5. 【工程6】屋根板金の施工
- 7. 下屋根の葺き替え工事の施工後の様子
- 8. 瓦棒屋根の劣化症状と現地調査の様子
- 9. 瓦棒屋根の葺き替え工事の工程と施工中の様子
- 9-1. 【工程1】屋根材の撤去
- 9-2. 【工程2】野地板の施工
- 9-3. 【工程3】ルーフィングの施工
- 9-4. 【工程4】ガルバリウム鋼板の施工
- 9-5. 【工程5】棟板金の施工
- 10. 瓦棒屋根の葺き替え工事の施工後の様子
- 11. 破風板金工事
- 12. 外壁のサイディング工事の工程と施工中の様子
- 12-1. 【工程1】外壁材の撤去・解体
- 12-2. 【工程2】防水シートの施工
- 12-3. 【工程3】外壁材の施工
- 12-4. サイディング工事の施工後の様子
- 13. 外壁塗装の施工工程と施工中の様子
- 13-1. 【工程1】外壁塗装の高圧洗浄
- 13-2. 【工程2】外壁塗装の塗装工程
- 13-3. 【工程3】付帯部の塗装
お問い合わせの経緯
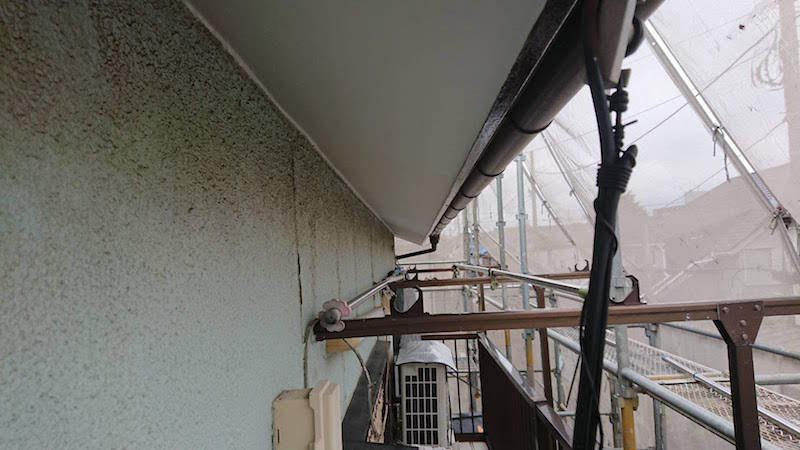
台風で屋根の軒天の板が剥がれて修理を検討されていました。築年数が50年が経過して建物全体の老朽化も進行しており、軒天の部分修理だけではなく外装全体のメンテナスを提案できる業者を探されていました。インターネットで業者を探していた際に弊社のホームページをご覧になり、興味を持って頂きました。建築士が在籍しており建物の状態に応じて最適な提案を期待できることから弊社にご相談を頂きました。
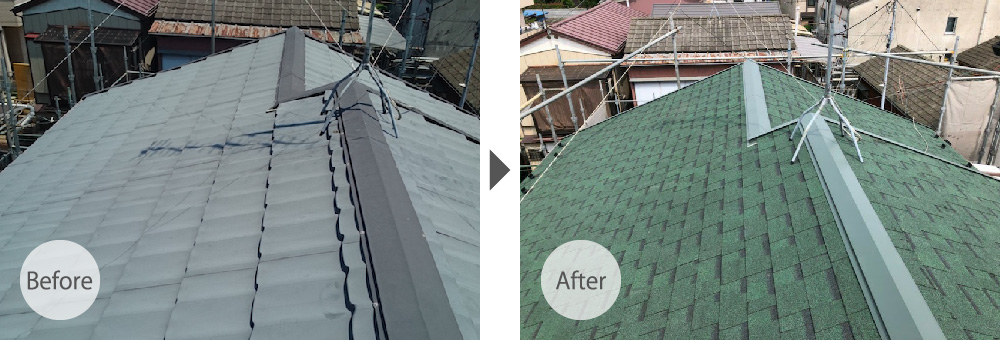
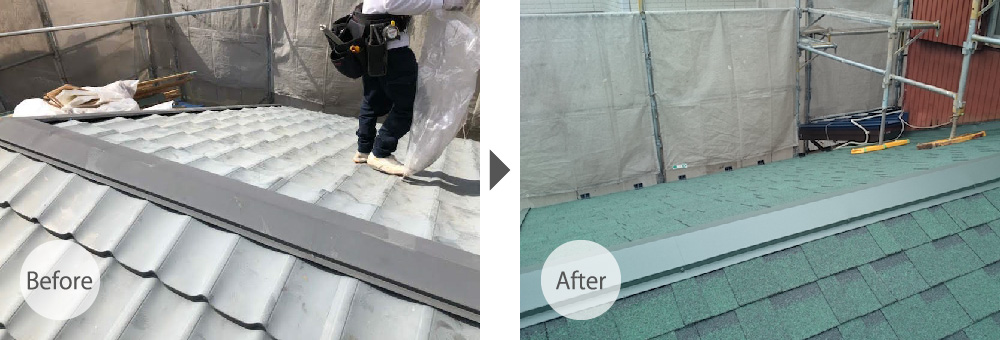
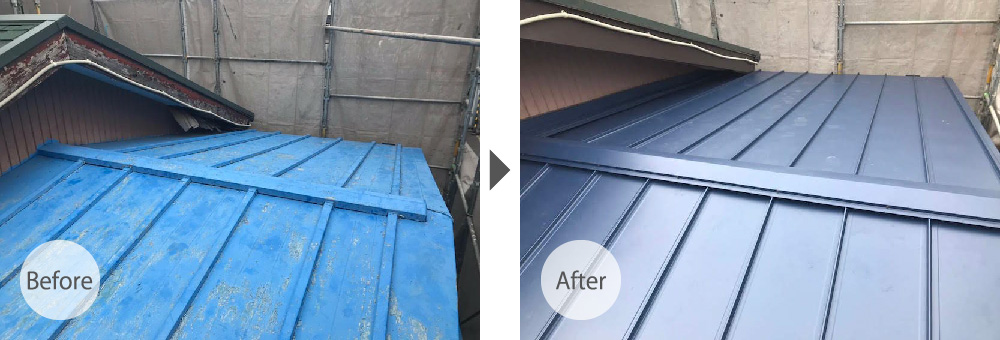
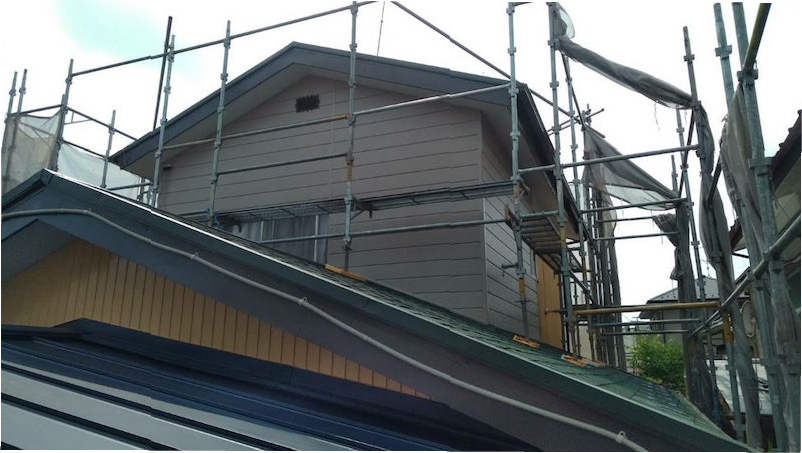
ビフォーアフター
担当者のコメント
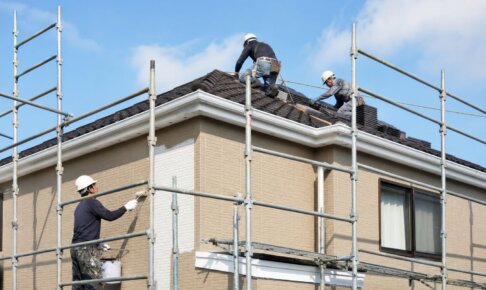
お問い合わせ後、すぐに現地調査に伺いました。屋根に上がり屋根の劣化症状を隅々まで確認させて頂きましました。築年数が50年が経過しており、屋根だけではなく、建物全体の老朽化も進行していました。
屋根と外壁、外装全体の劣化症状を確認させて頂き、屋根は「葺き替え工事」、外壁は「サイディング工事」と「塗装工事」よる総合的なメンテナンスをご提案させて頂きました。
大屋根の劣化症状と現地調査の様子
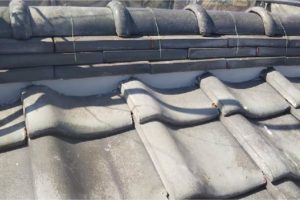
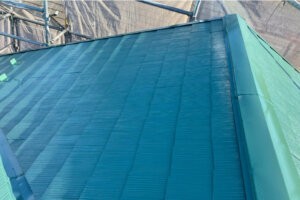
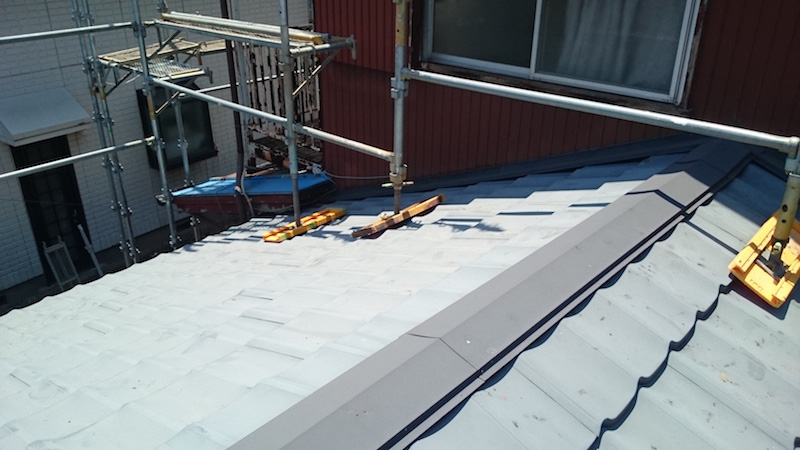
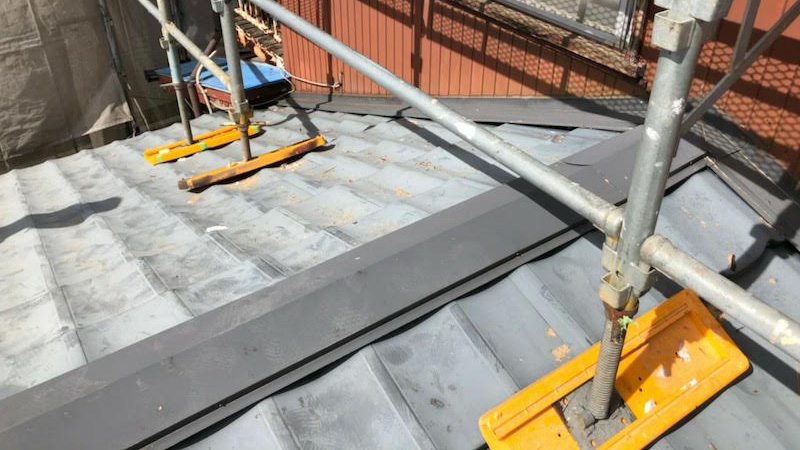
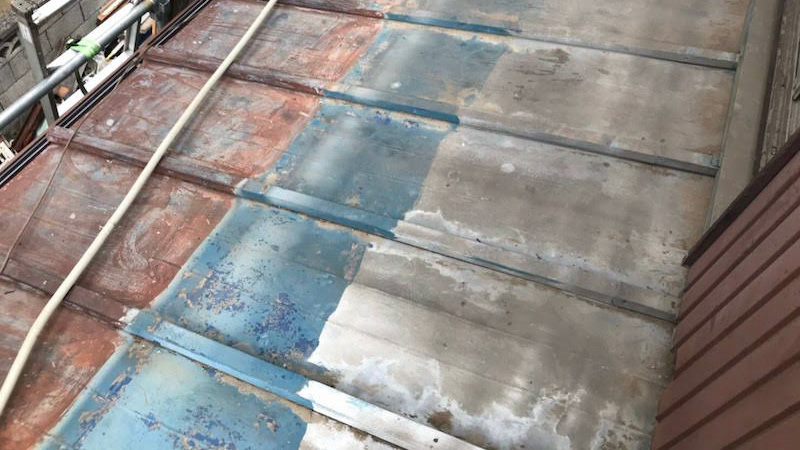
まず始めに、大屋根の劣化症状について見て行きましょう。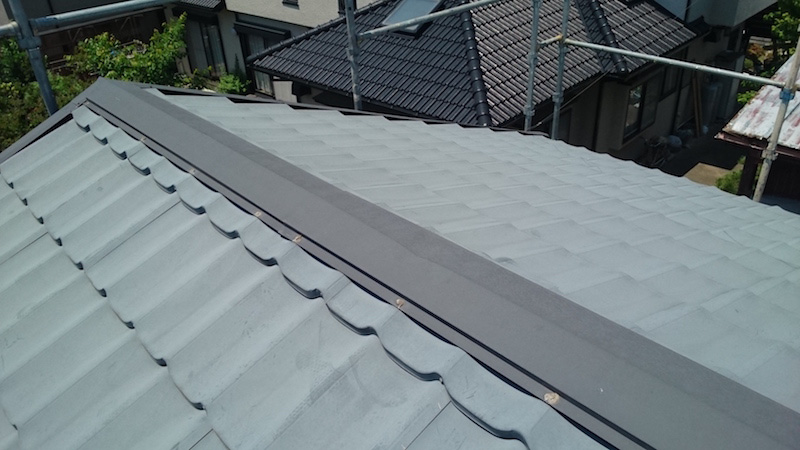 過去に金属瓦にリフォームされた屋根でした。ガルバリウム鋼板と呼ばれる屋根材が使用されていますが、チョーキング現象と呼ばれる塗料の劣化症状が発生していました。前回のリフォームから20年以上が経過しているため、具体的にメンテナンスを検討する時期に差し掛かっていました。
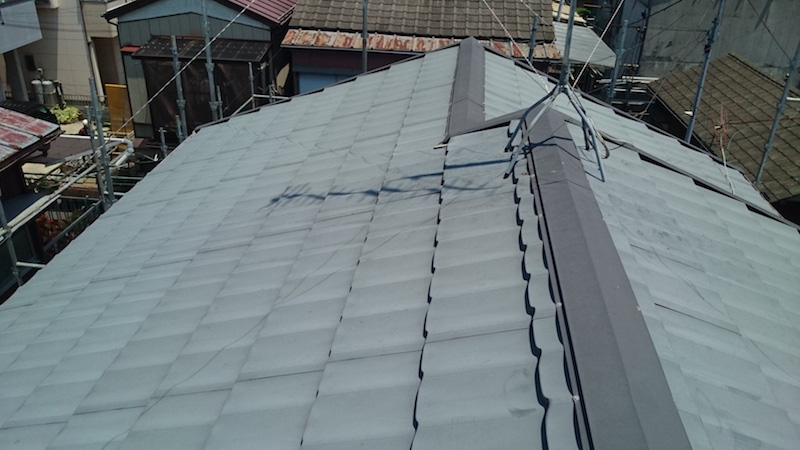 チョーキング現象とは屋根の表面に白っぽいチョークの粉のような物質が吹き出す現象です。太陽の紫外線で劣化した塗料が原因です。この状態を放置すると錆が発生する恐れがあるため、メンテナンスが必要です。
大屋根の葺き替え工事の施工中の様子
ここからは具体的に屋根の葺き替え工事の施工中の様子について見て行きましょう。【工程1】既存の屋根材の解体・撤去
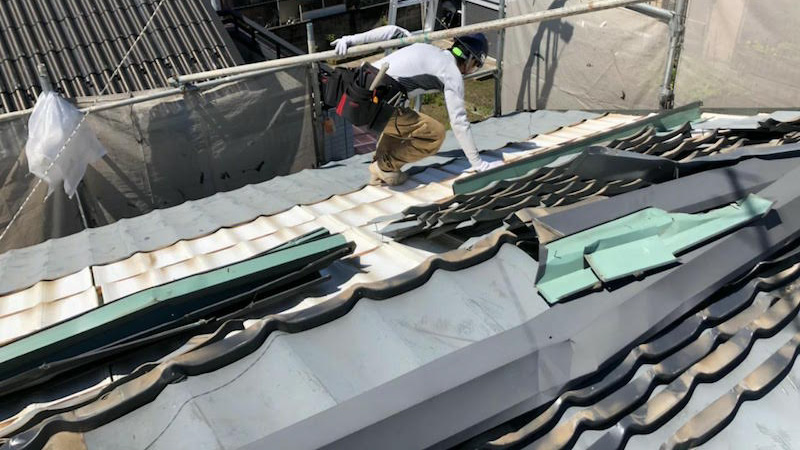
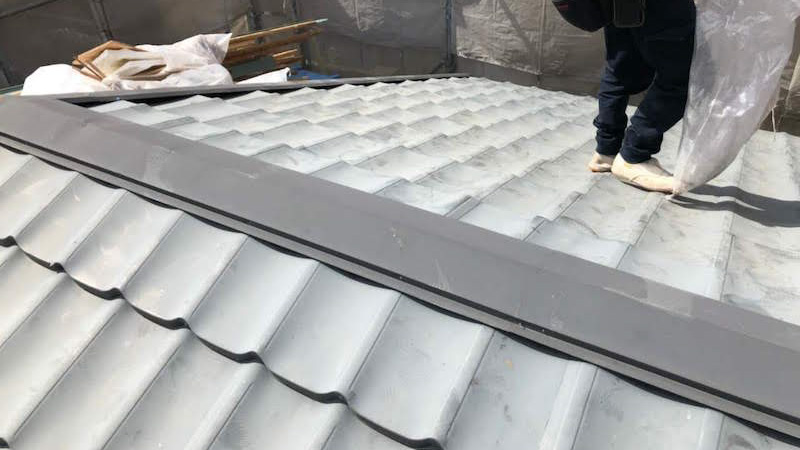
まず始めに、既存の屋根材を撤去・解体します。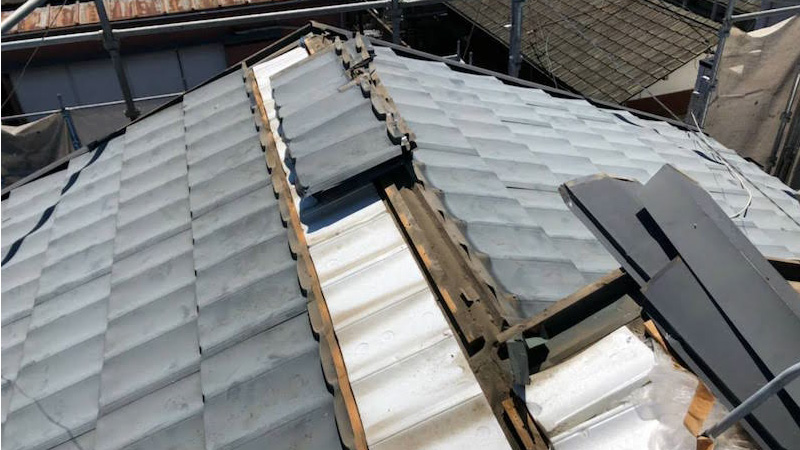 屋根の頂点の棟板金を撤去して、金属の屋根材を1枚ずつ撤去していきます。
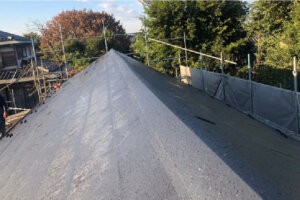
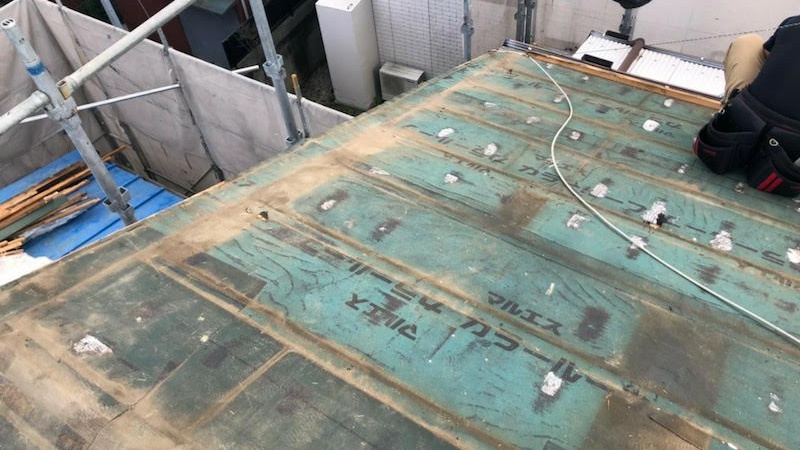
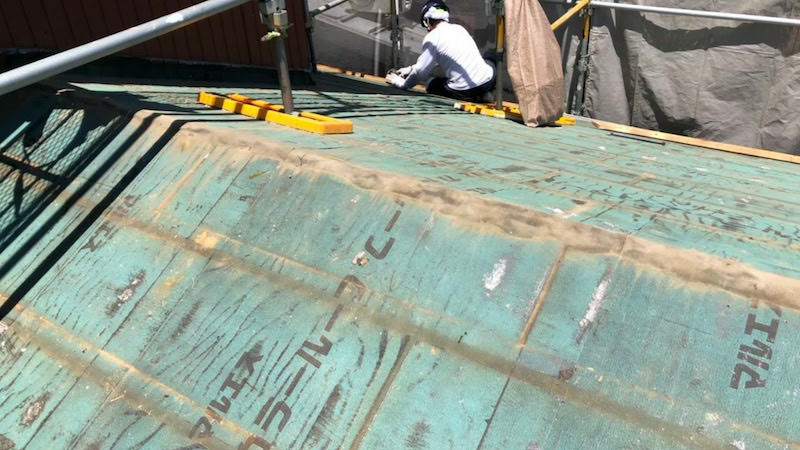
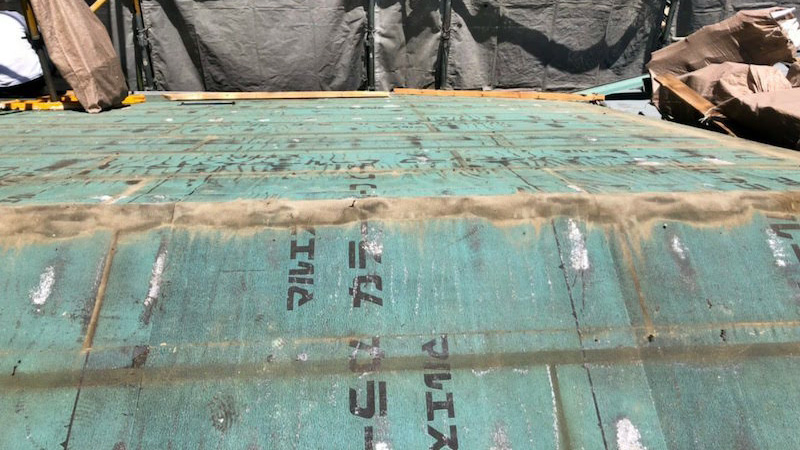
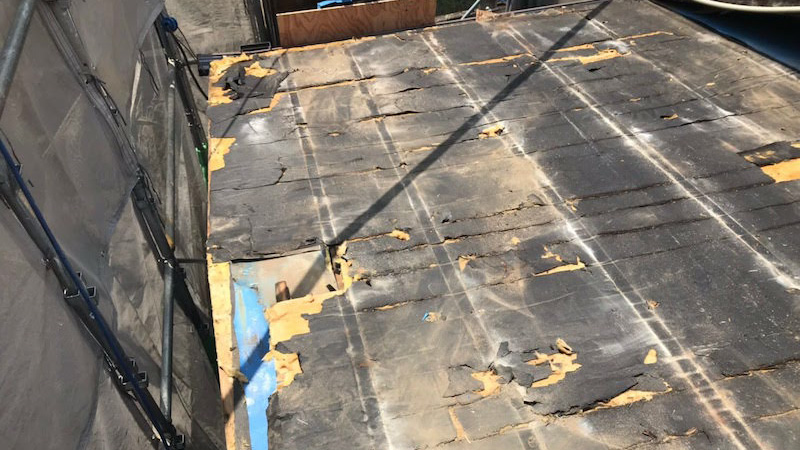
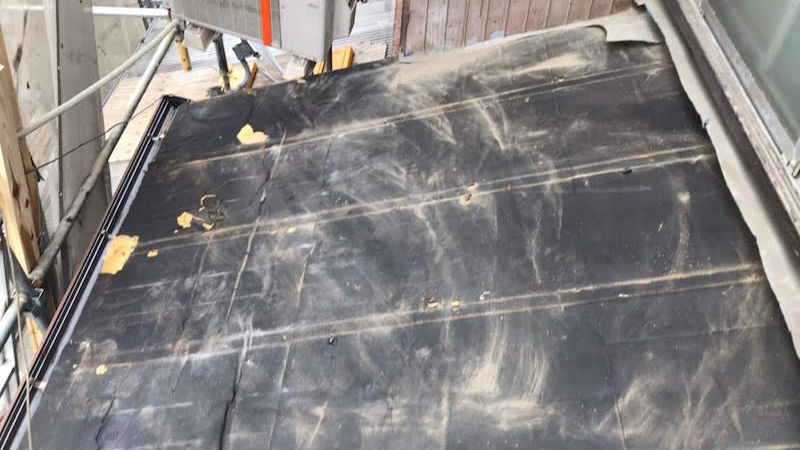
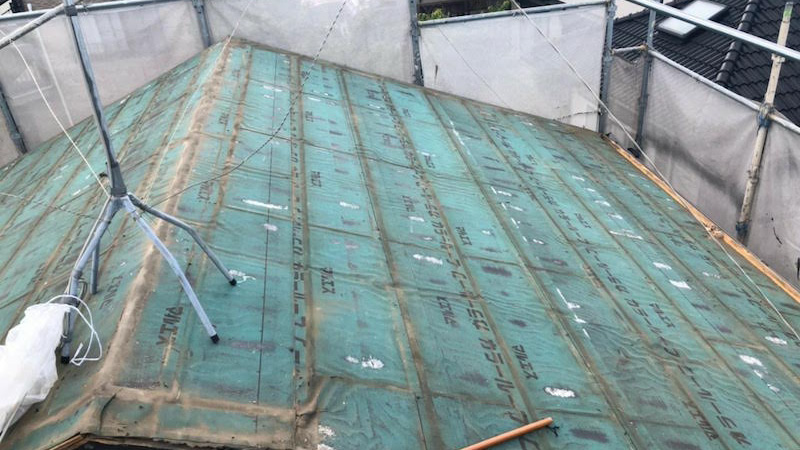 屋根材の撤去が完了しました。屋根がルーフィングだけの状態になりました。ルーフィングシートが破れている箇所がありました。

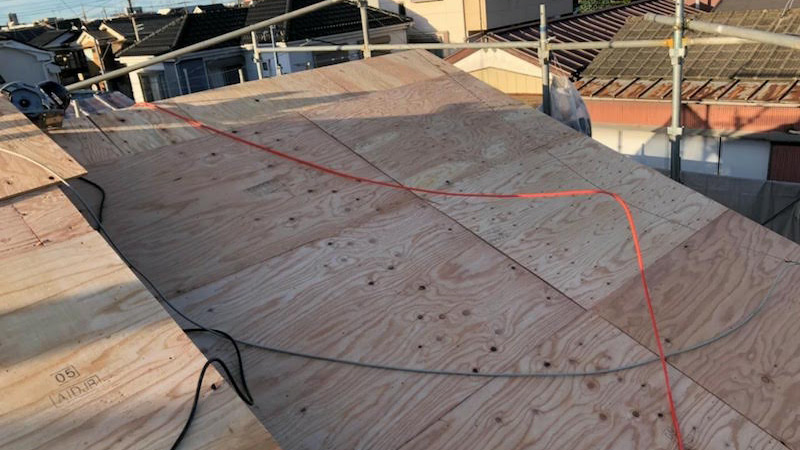
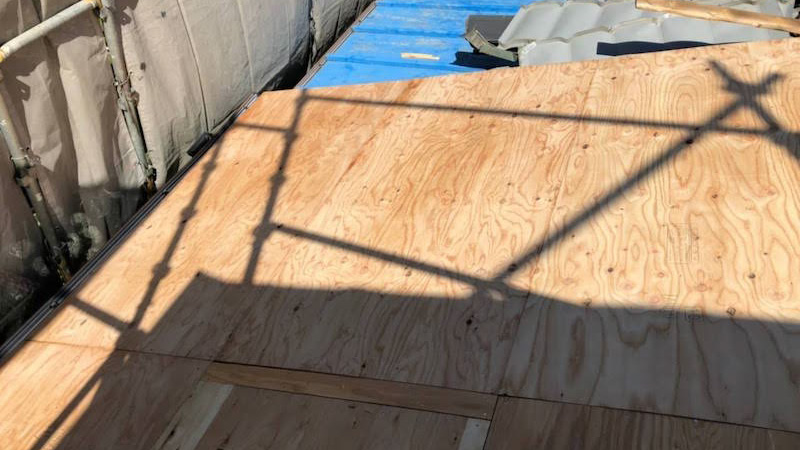
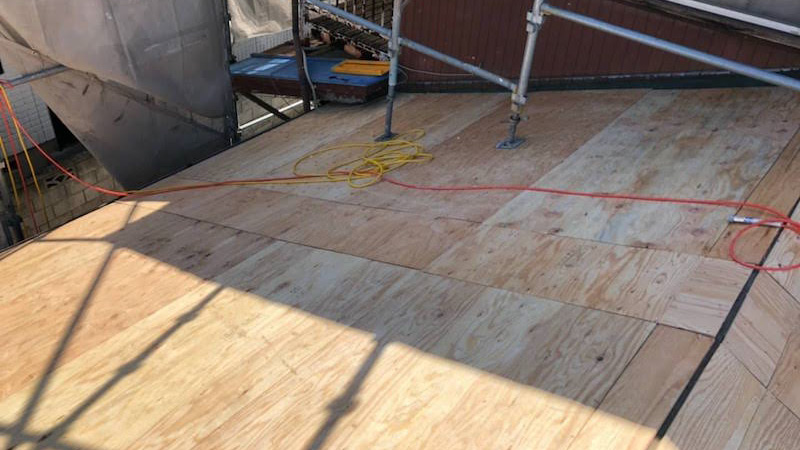
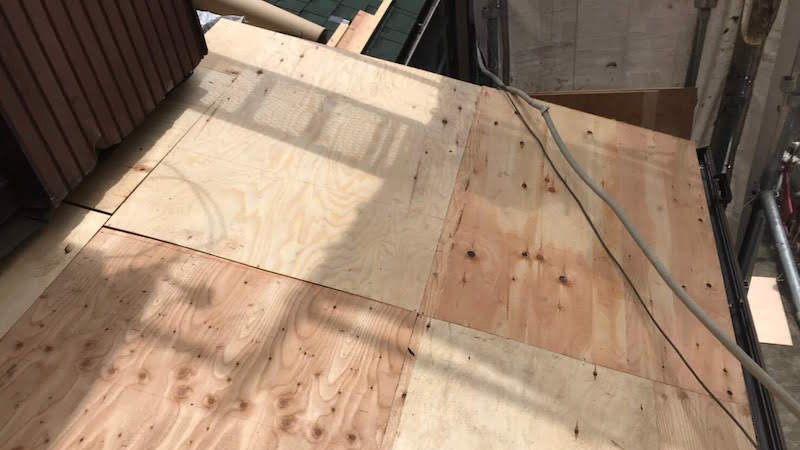
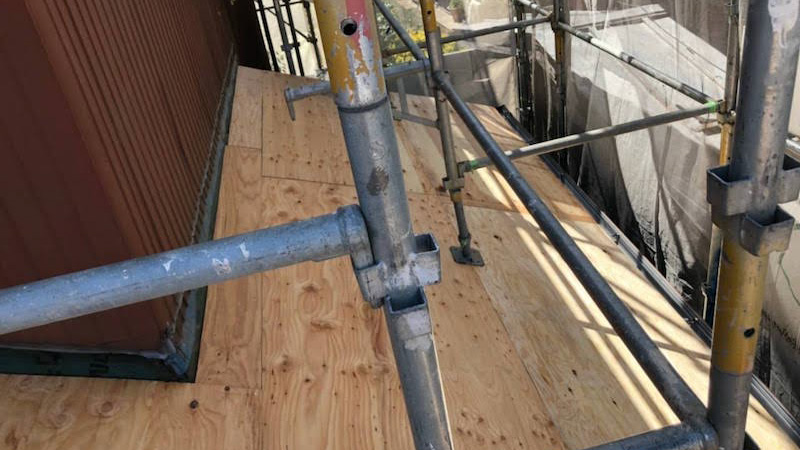
【工程2】野地板(コンパネの施工)
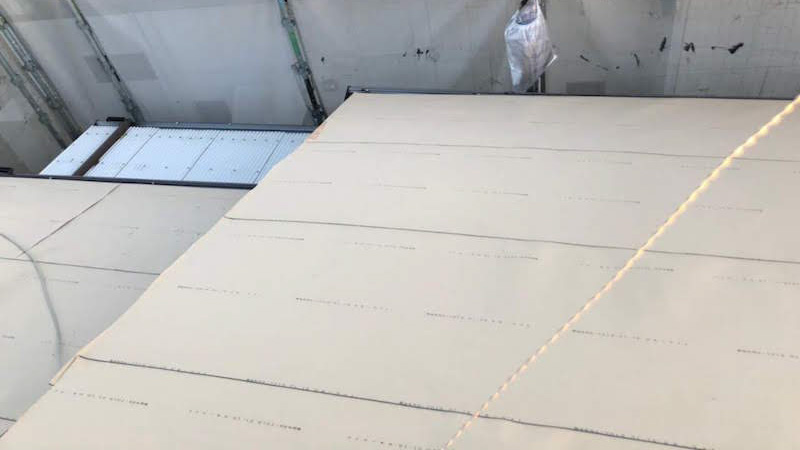
既存の屋根材の撤去が完了したら、野地板を施工します。野地板が屋根の土台になります。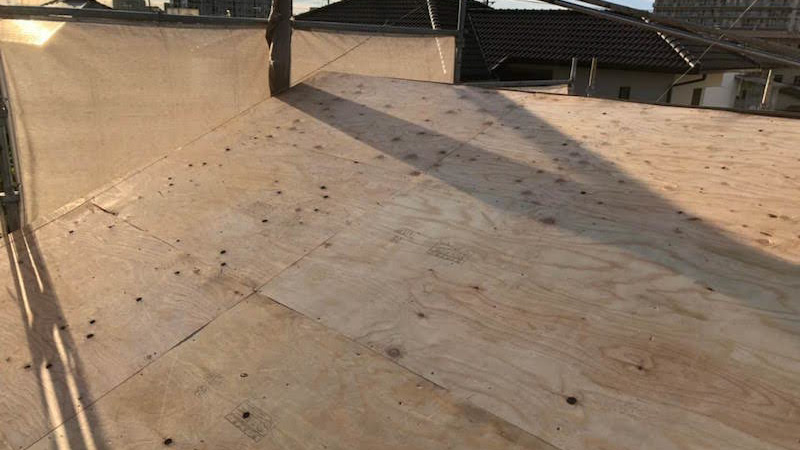 野地板には構造用合板と呼ばれるベニア合板が使用されます。屋根の形状に合わせて加工をしながら隙間が生じないように丁寧に設置します。
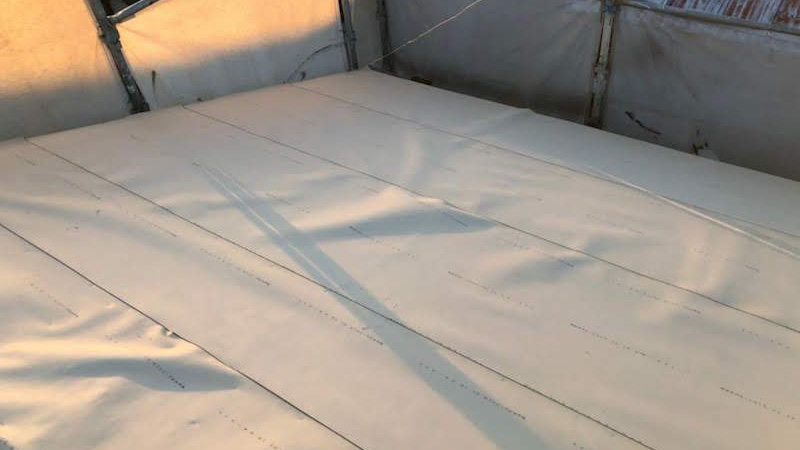
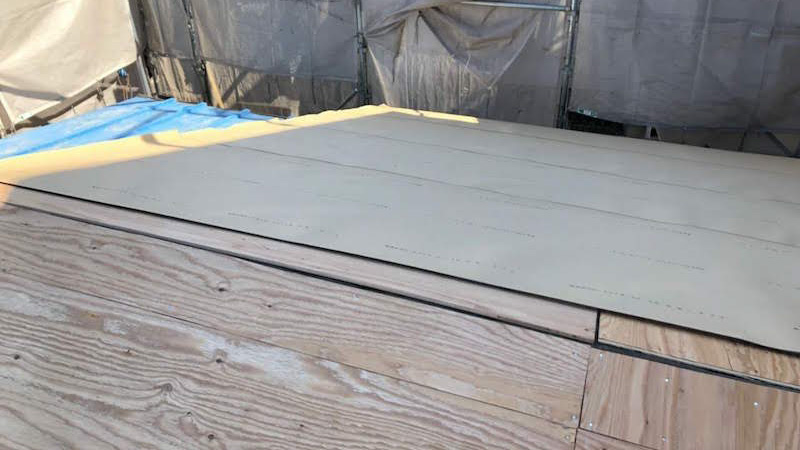
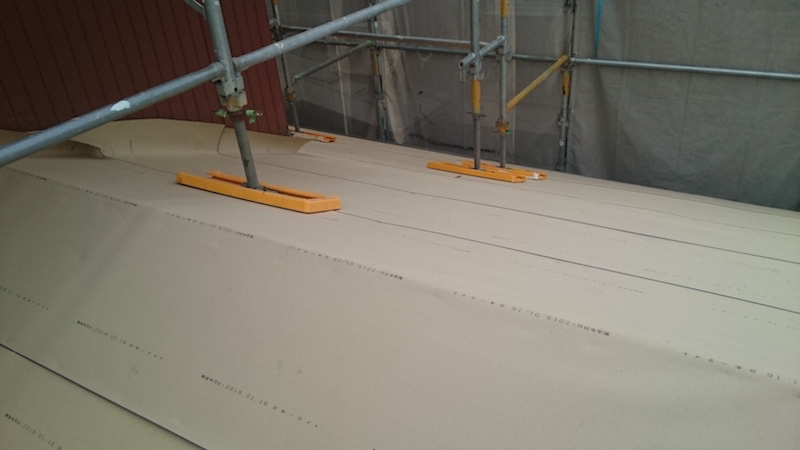
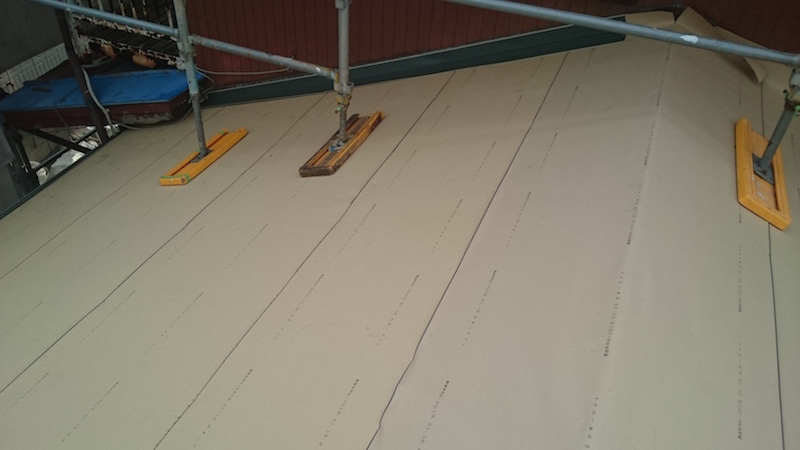
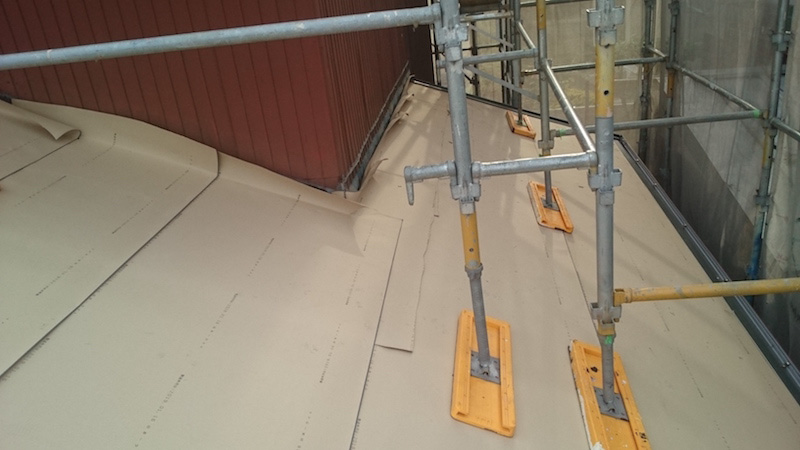
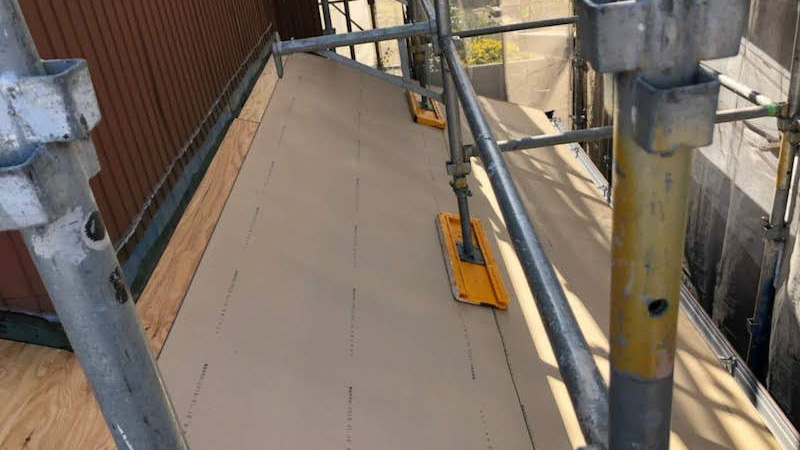
【工程3】ルーフィングシート(防水シート)の施工
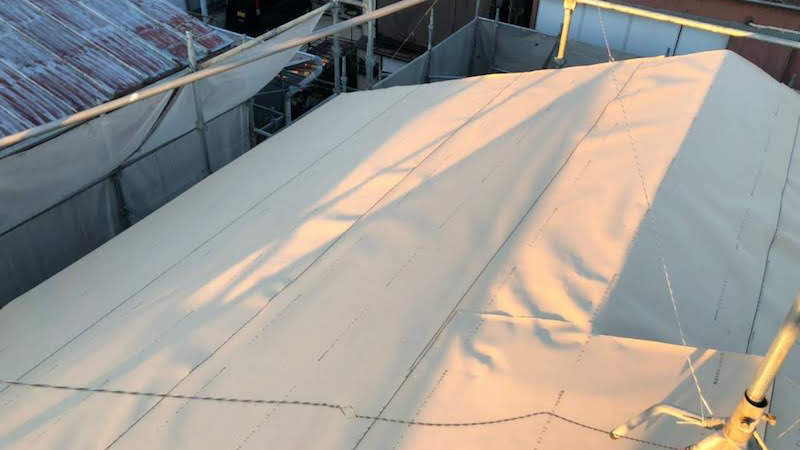
野地板の施工が完了したらルーフィングシートを施工します。ルーフィングシートは屋根の二次防水としての役割があります。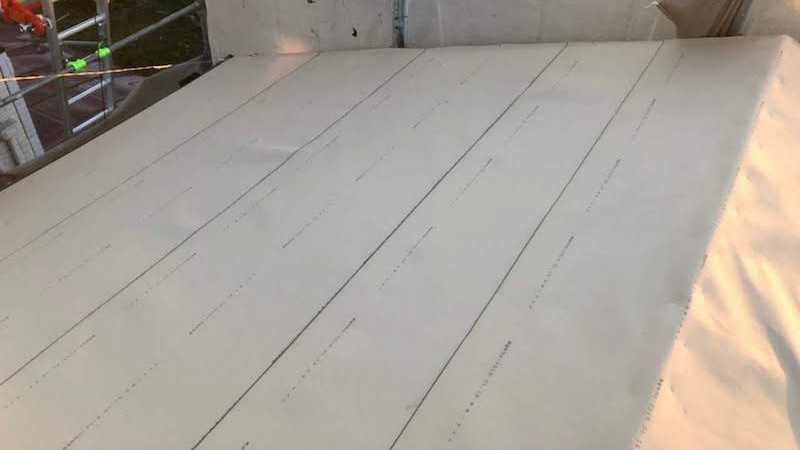 ルーフィングシートは軒先から棟に向かって順番に設置します。この順番が逆になると雨漏りの原因になるので注意をしながらルーフィングシートを施工します。
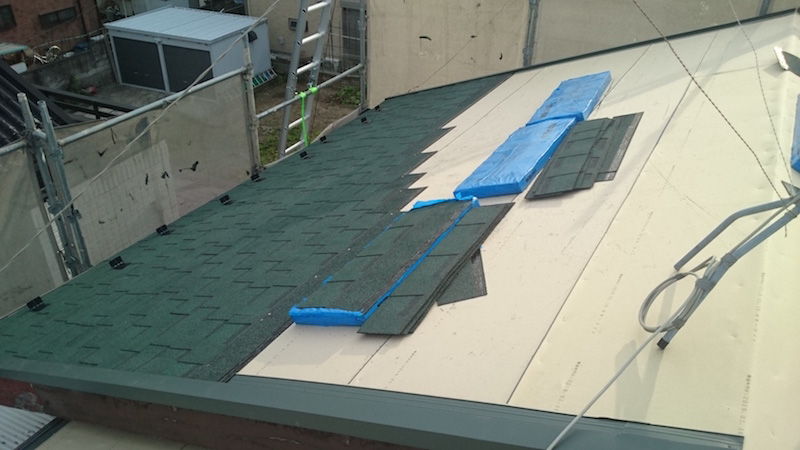
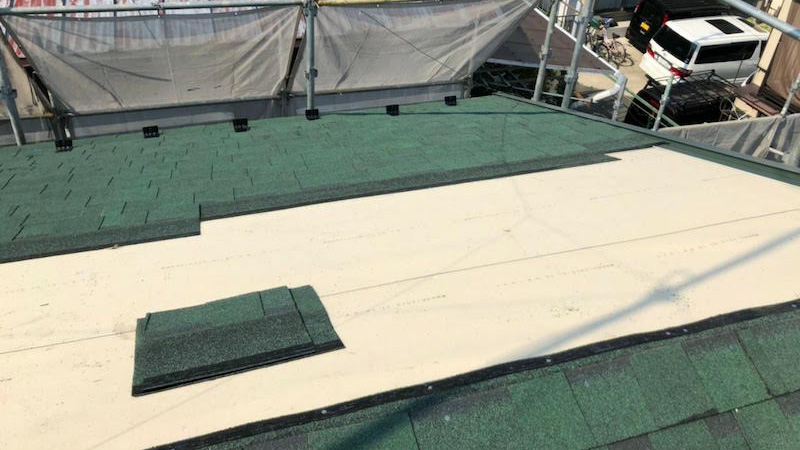
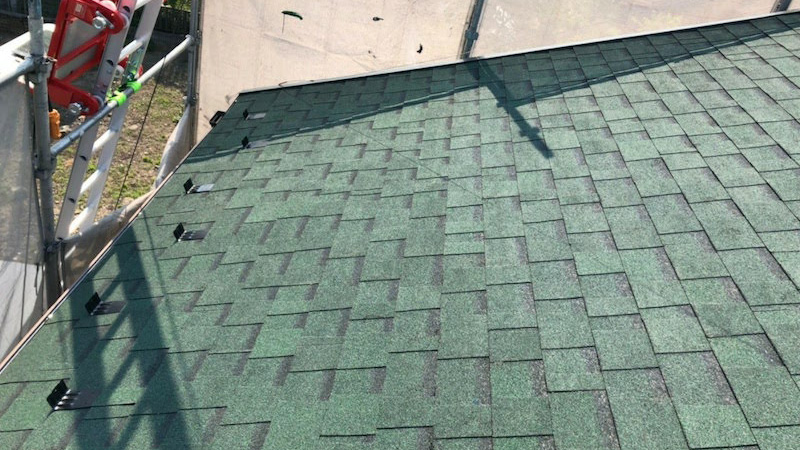
【工程4】屋根材本体の施工
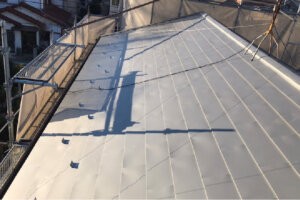
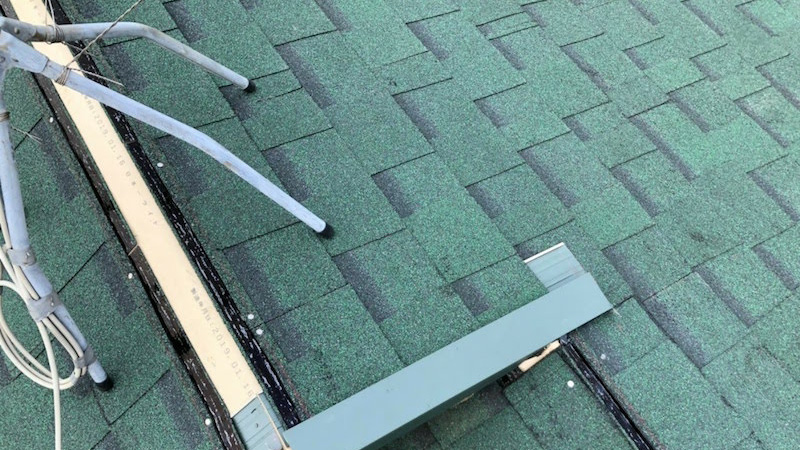
ルーフィングの施工が完了したら、屋根材本体を施工します。屋根材はアスファルトシングルを使用します。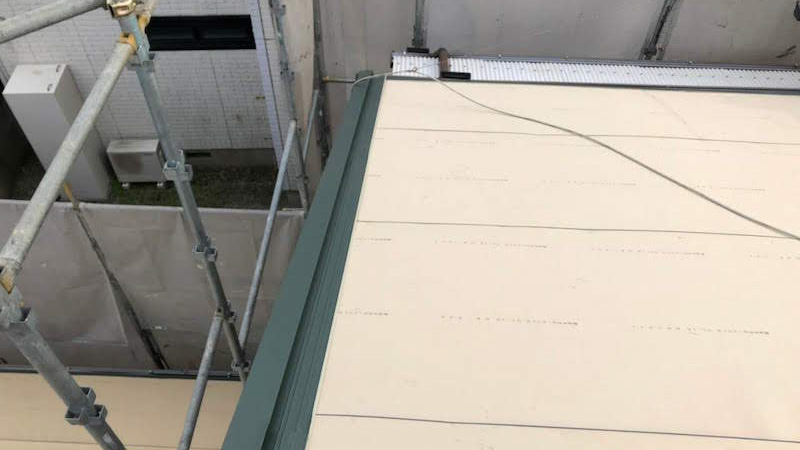 まず、ケラバ部分にケラバ水切りを設置します。
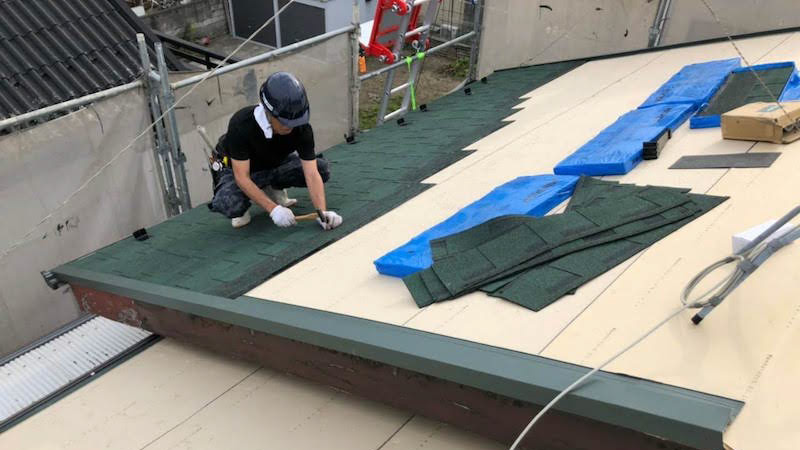
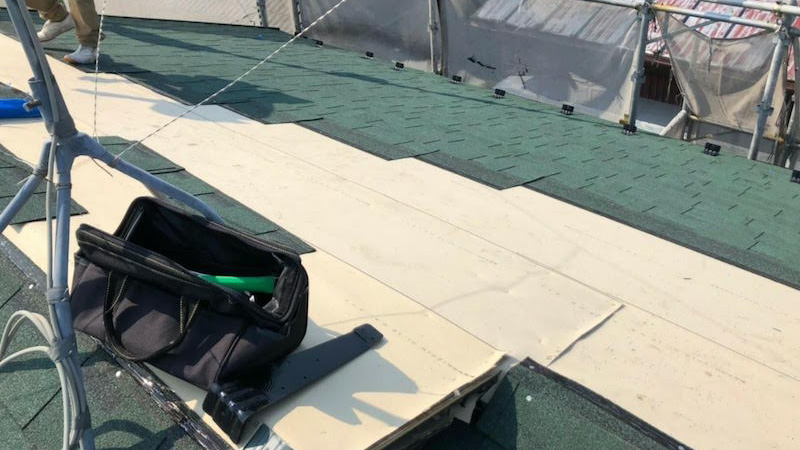
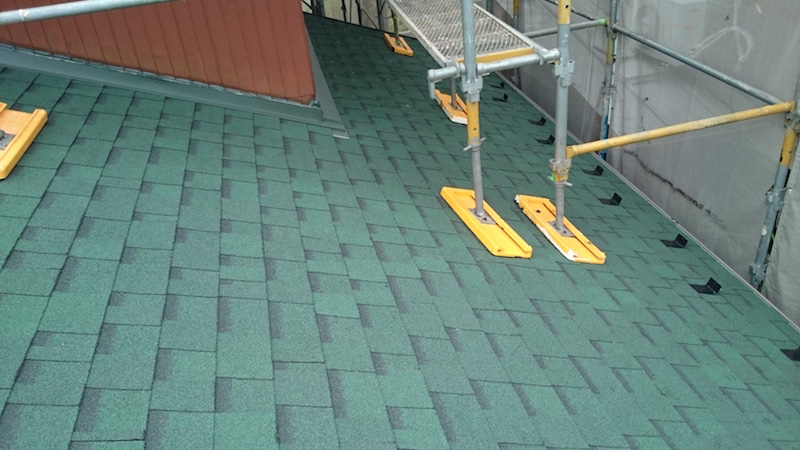
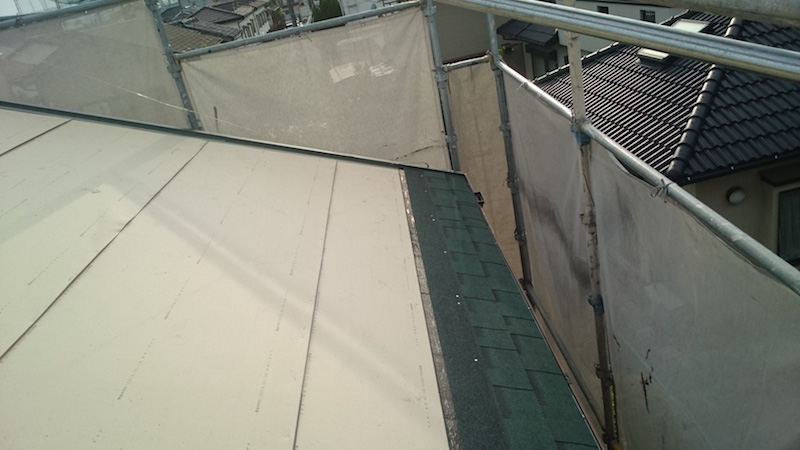 ルーフィングと同様に軒先きから順番にアスファルトシングルを施工します。
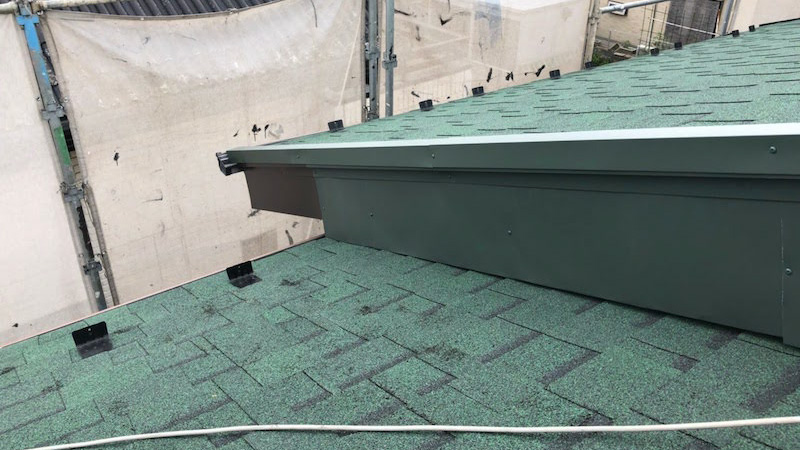
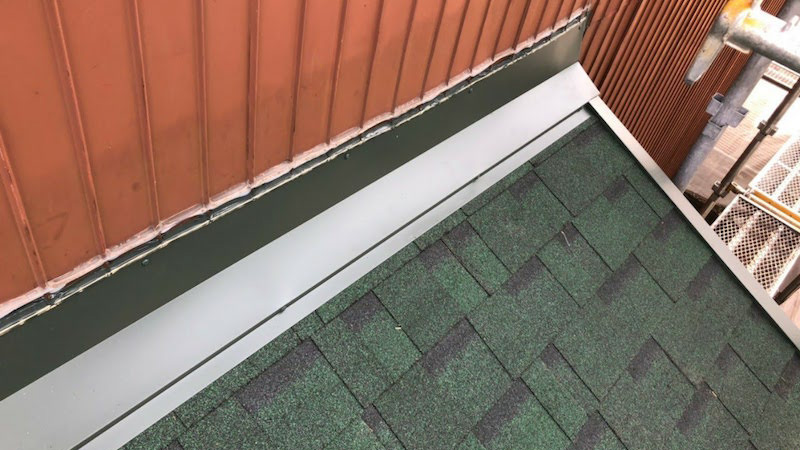
【工程5】破風板金の施工
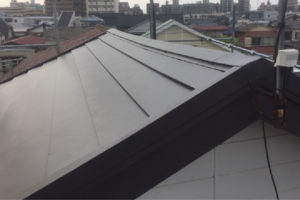
屋根材の施工が完了したら破風板金を行います。破風板をガルバリウム鋼板で巻くで長持ちするようになります。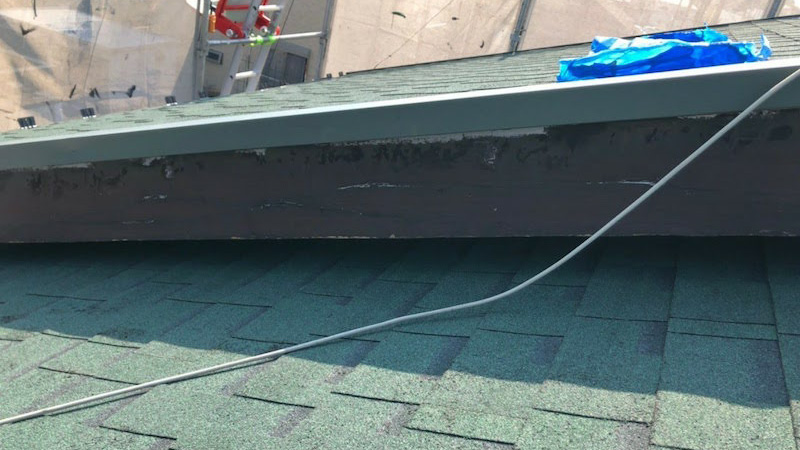
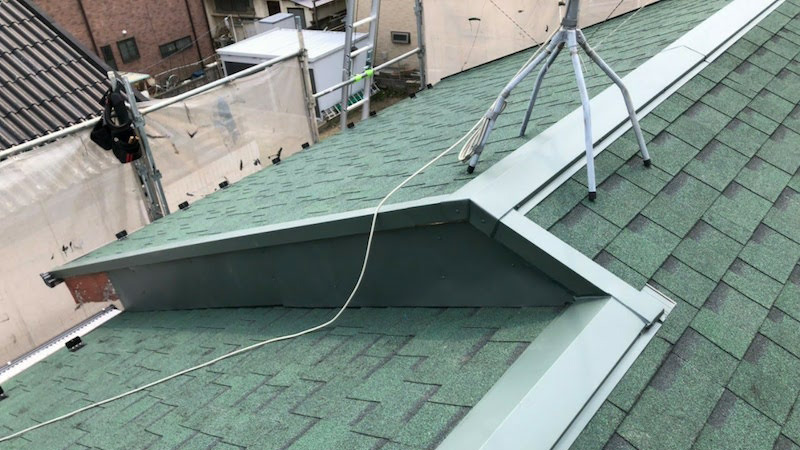
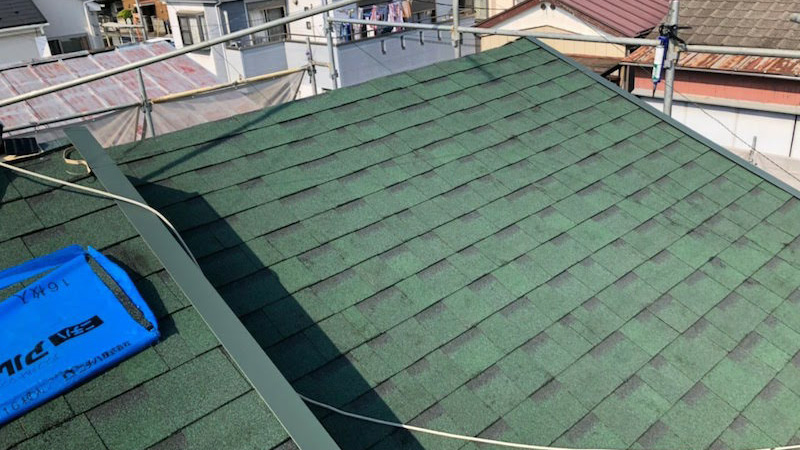
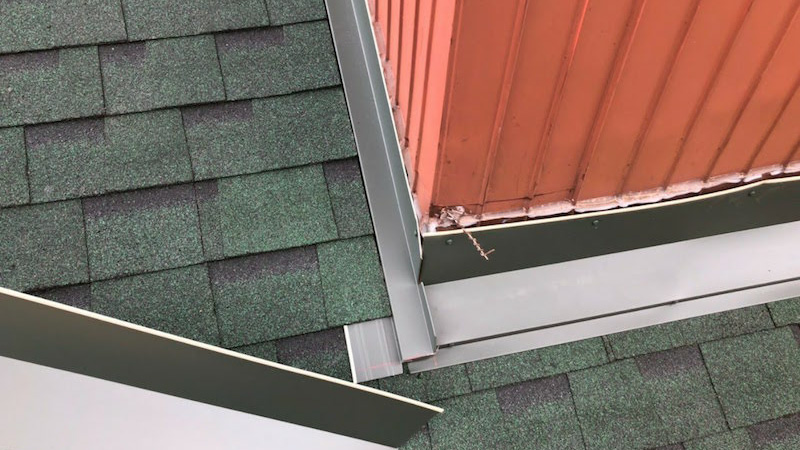
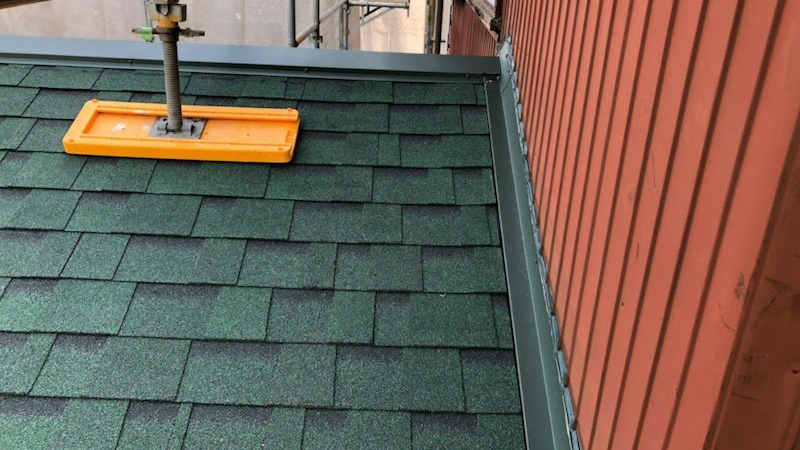
【工程6】棟板金の施工
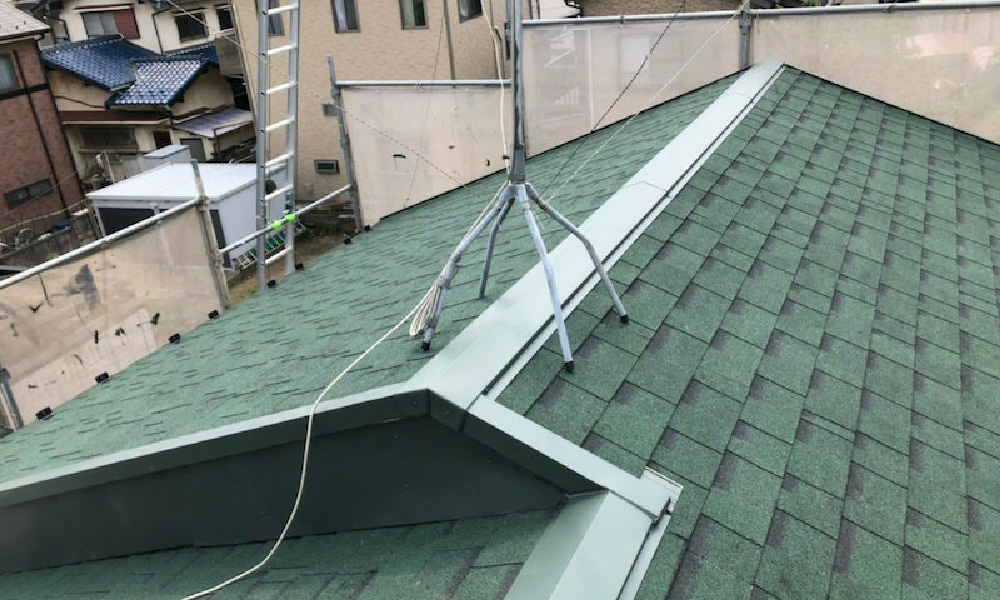
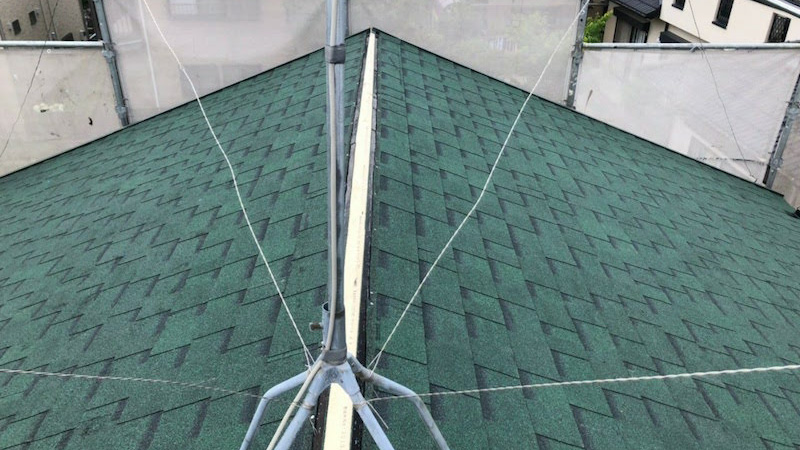
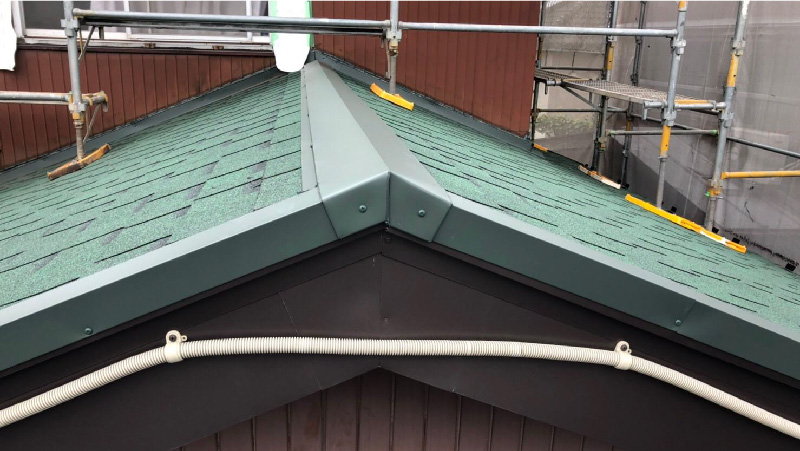
最後に棟板金を施工したら完了です。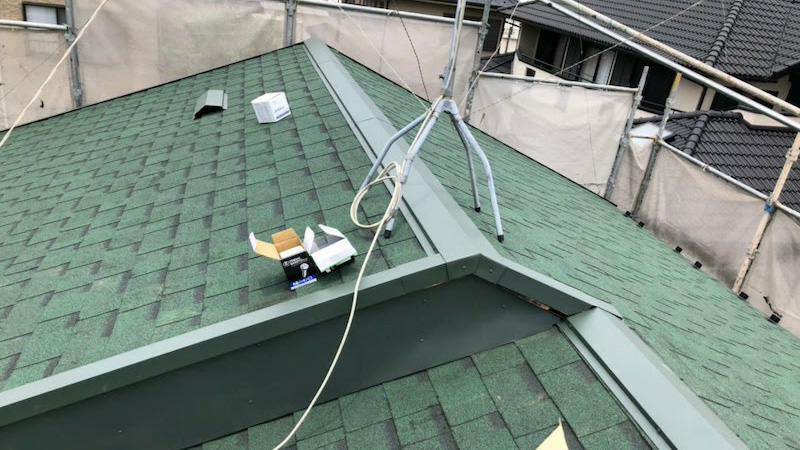
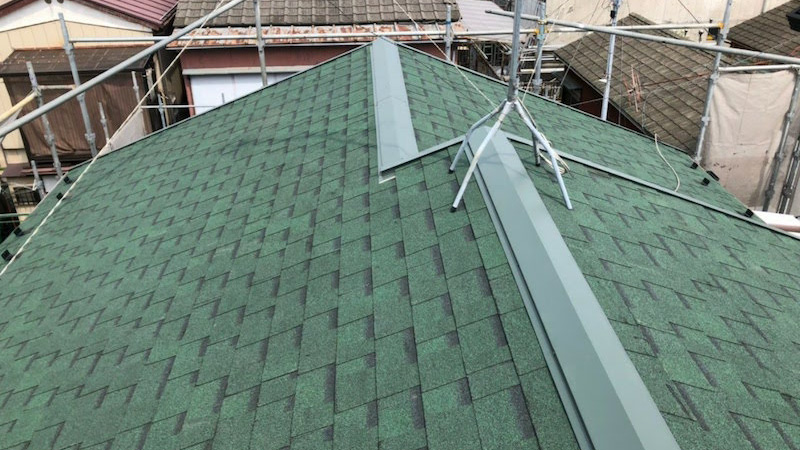
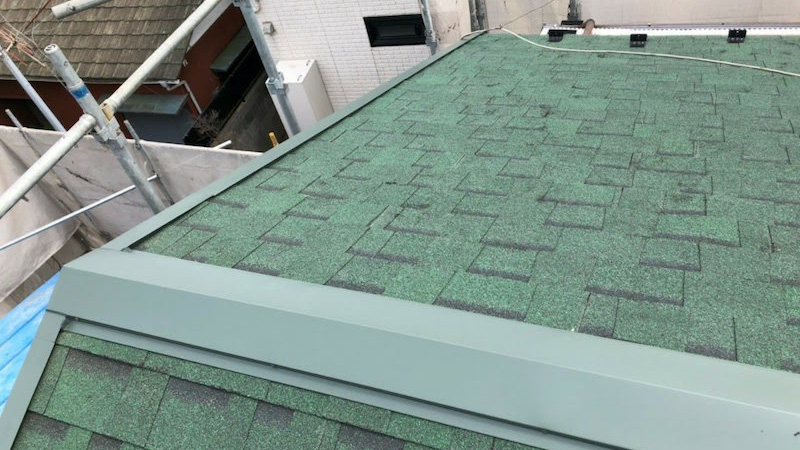
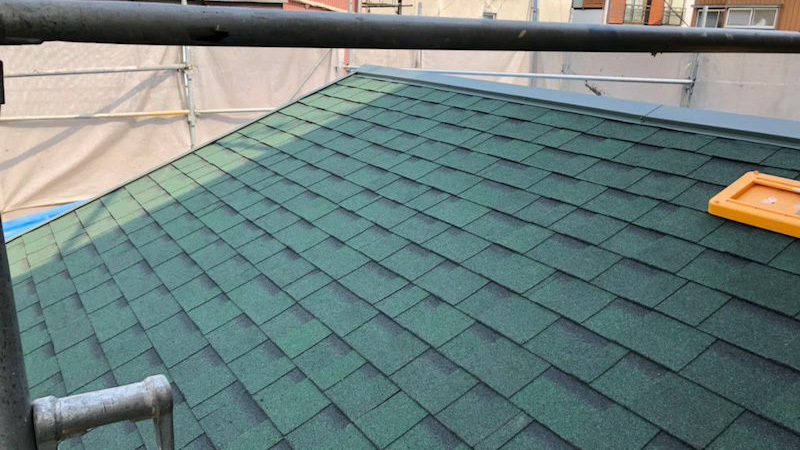
大屋根の葺き替え工事の施工後の様子
下屋根の劣化症状と現地調査の様子
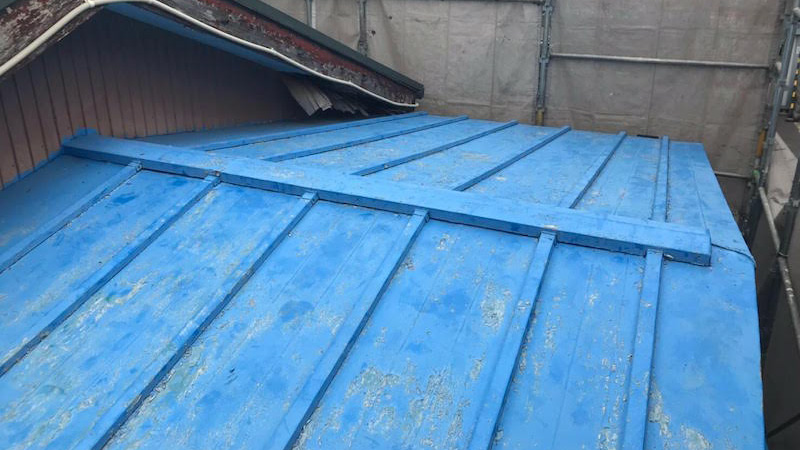
大屋根と同様に下屋根もアスファルトシングルに葺き替えます。下屋根も金属瓦ですが、チョーキング現象と呼ばれる塗料の劣化症状が発生しており、メンテナンスが必要な状態でした。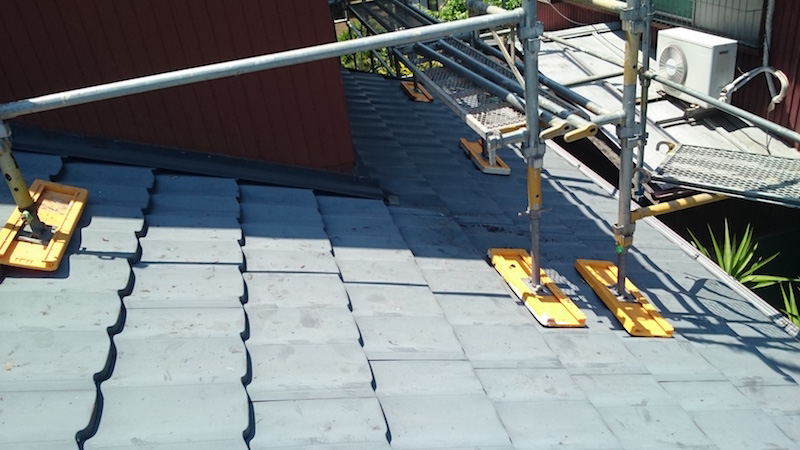
下屋根の葺き替え工事の工程と施工中の様子
【工程1】既存の屋根材の撤去
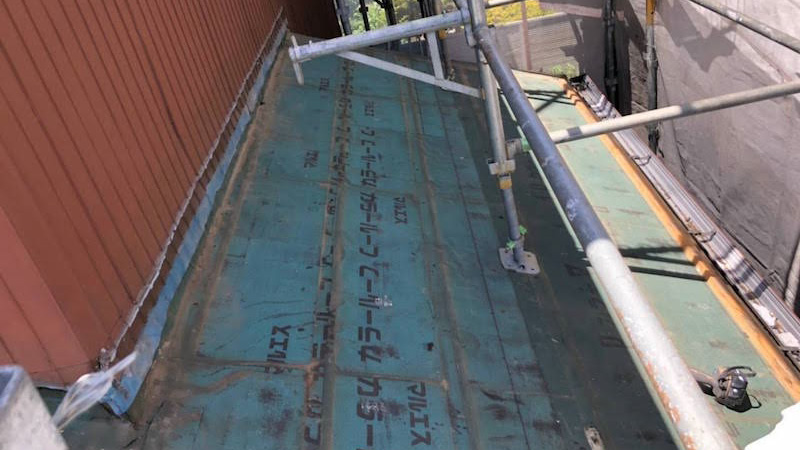
大屋根同様に既存の屋根材を撤去・解体します。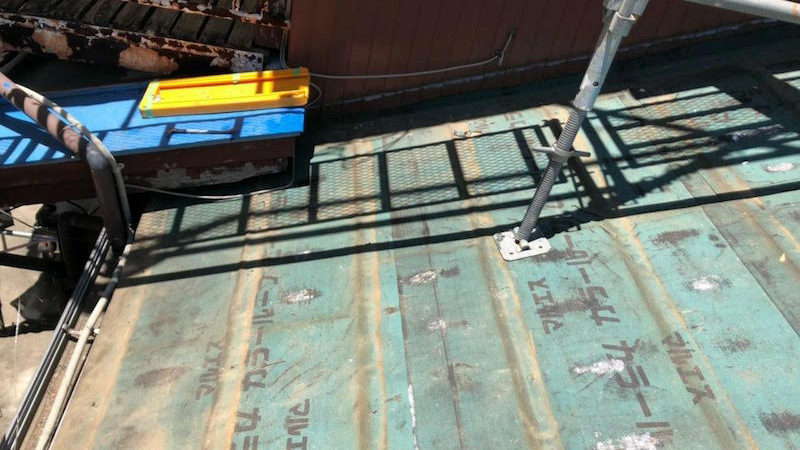 屋根材の撤去後の様子です。大屋根と同様に下屋根のルーフィングも劣化している状態でした。
【工程2】野地板の施工
屋根材の撤去が完了したら、次は野地板を施工します。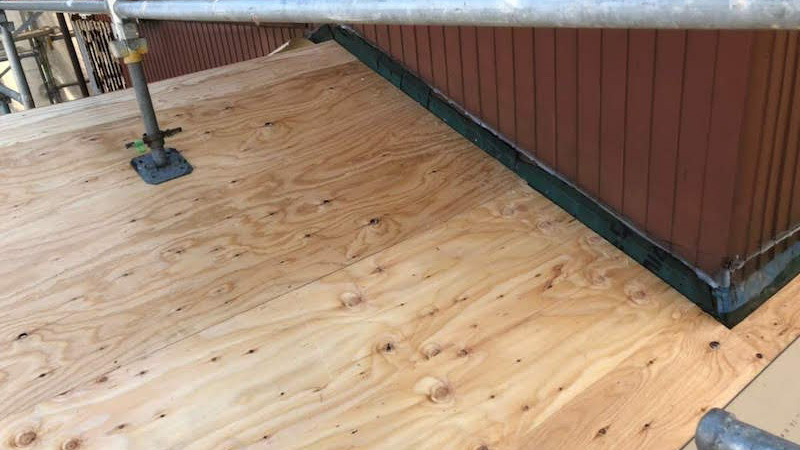
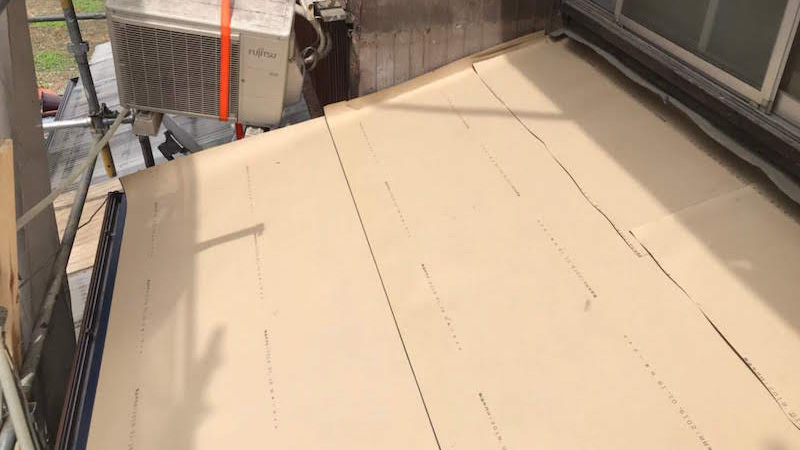
【工程3】ルーフィングの施工
野地板の施工が完了したらルーフィングを施工します。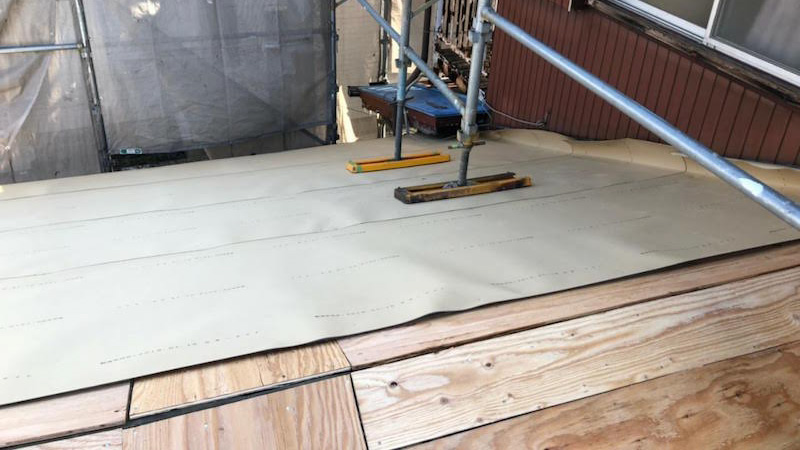
【工程4】屋根材本体の施工
ルーフィンングの施工が完了したら屋根材本体を施工します。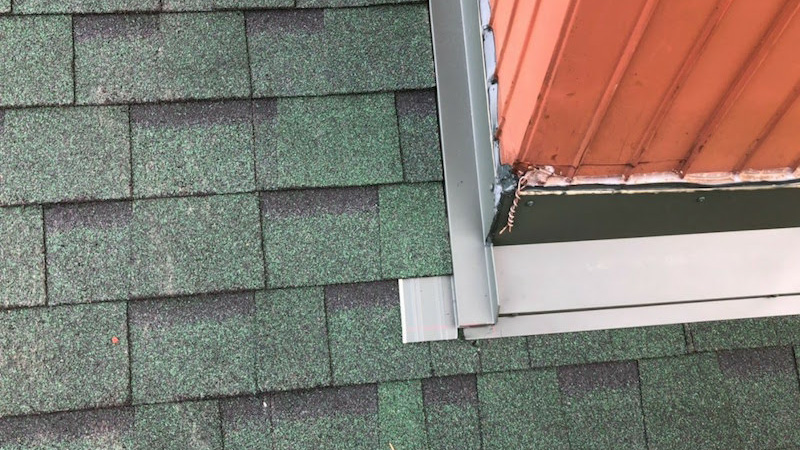
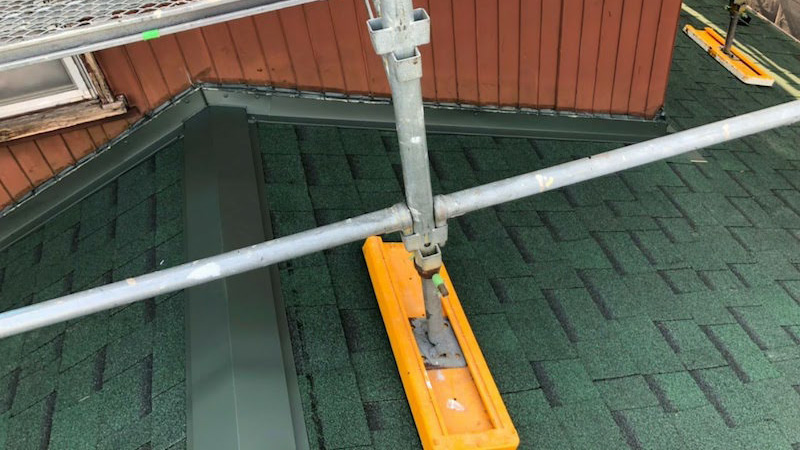
【工程6】屋根板金の施工
屋根板金を施工したら施工完了です。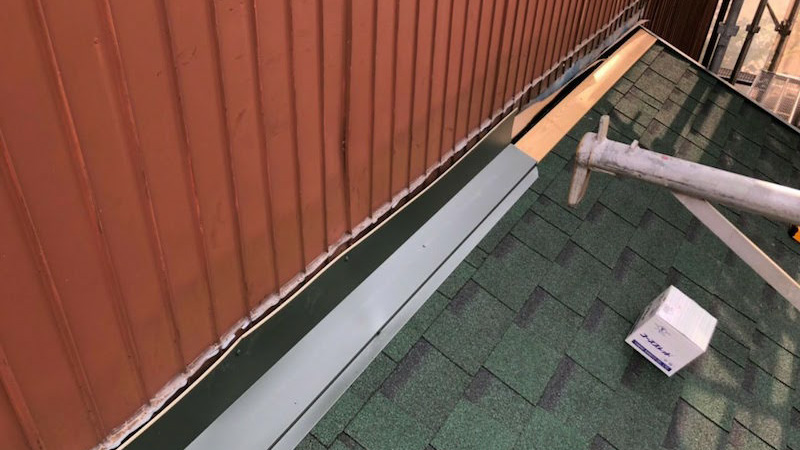
下屋根の葺き替え工事の施工後の様子

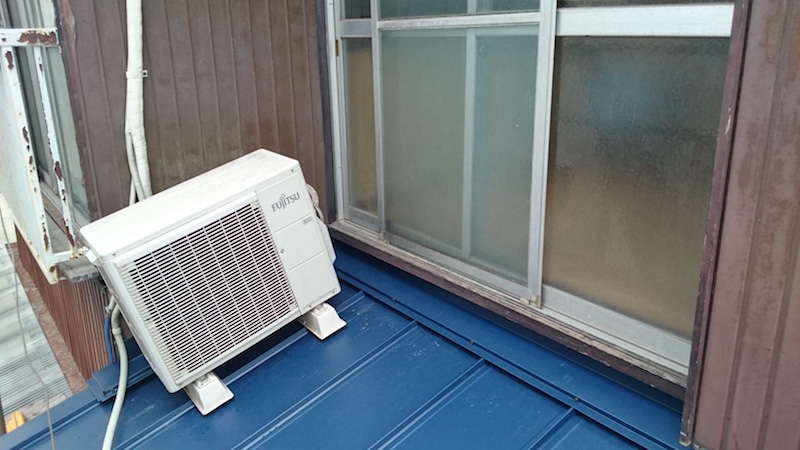
瓦棒屋根の劣化症状と現地調査の様子
ここからは瓦棒屋根の劣化症状について見て行きましょう。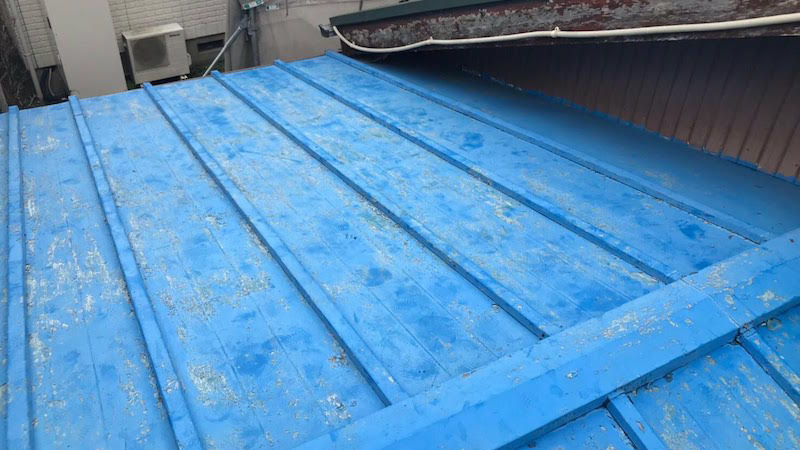 瓦棒屋根はトタン屋根ですが、塗装が剥がれている状態でメンテナンスが必要な状態でした。ガルバリウム鋼板に葺き替えます。
瓦棒屋根の葺き替え工事の工程と施工中の様子
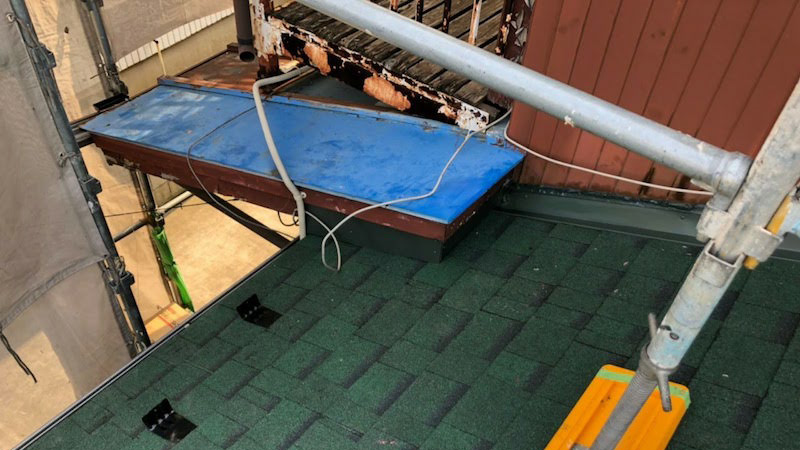
【工程1】屋根材の撤去
まず、既存の瓦棒屋根を撤去解体します。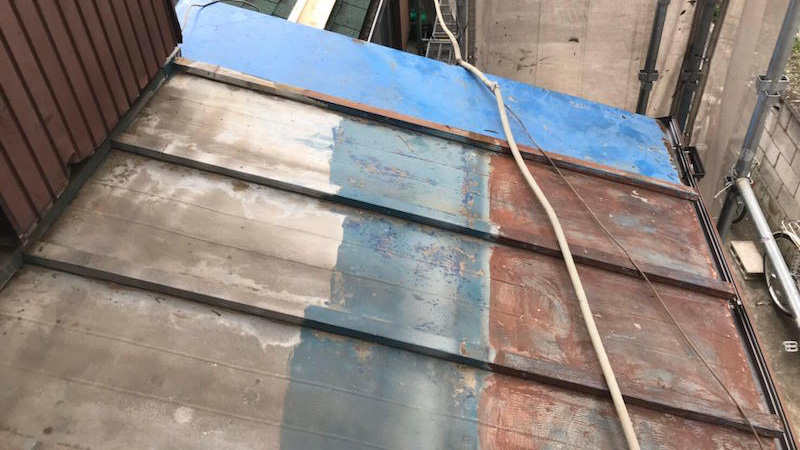
 瓦棒を撤去した後の状態です。ルーフィングシートが破れている状態です。
 雨漏りの危険があるのでメンテナンスが必要な状態です。
【工程2】野地板の施工
屋根材を撤去したら野地板を施工します。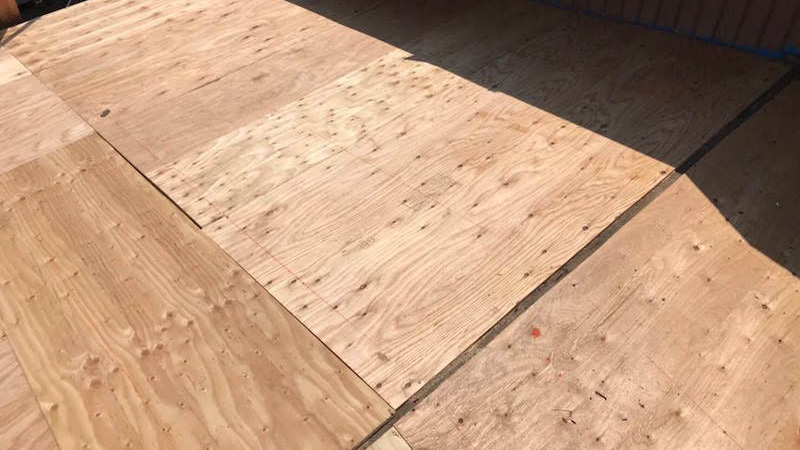
【工程3】ルーフィングの施工
野地板の施工が完了したらルーフィングを施工します。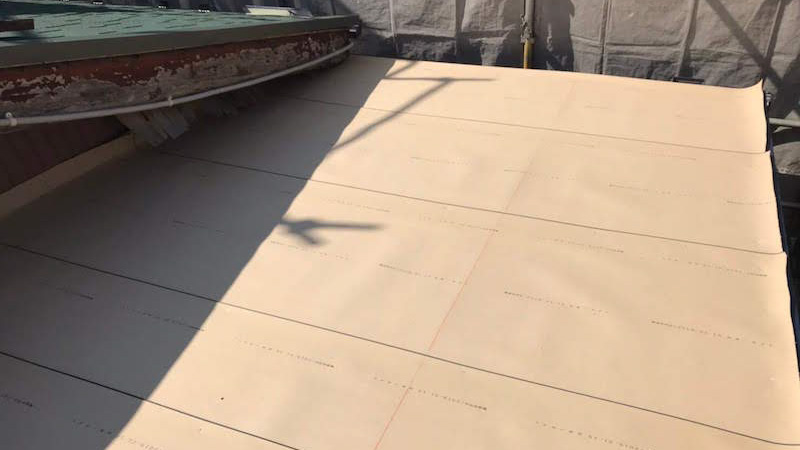
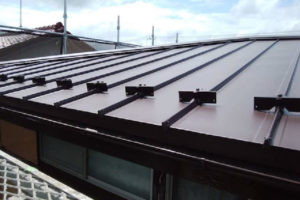
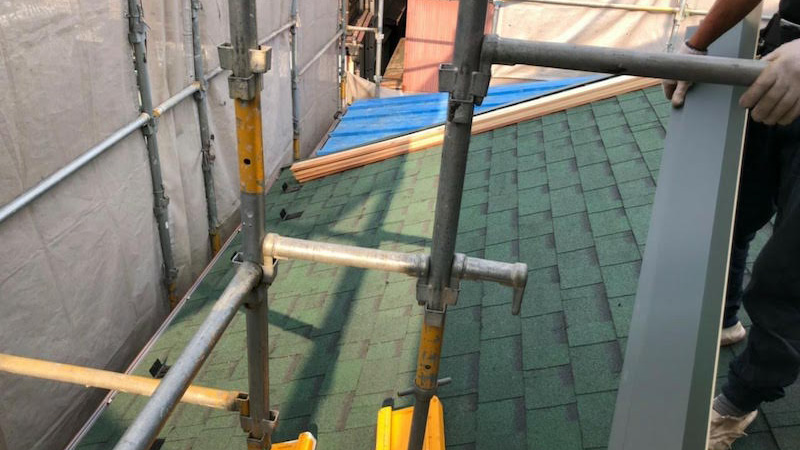
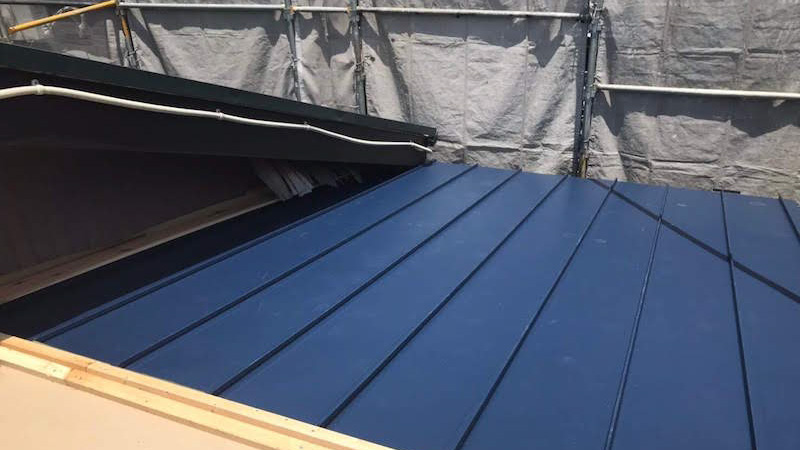
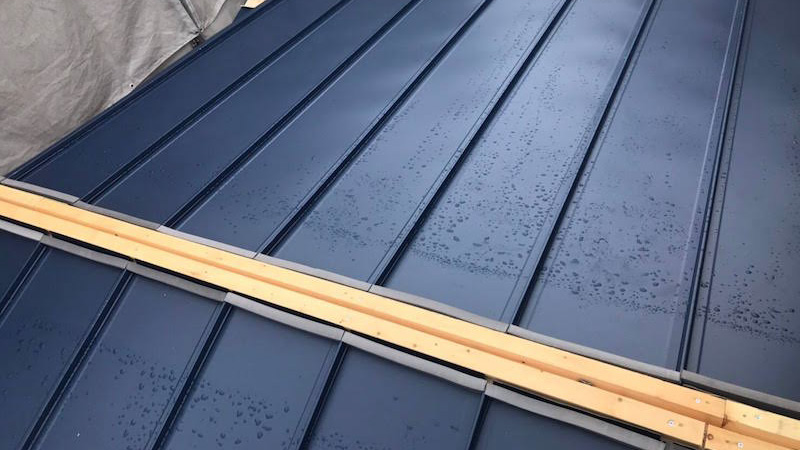
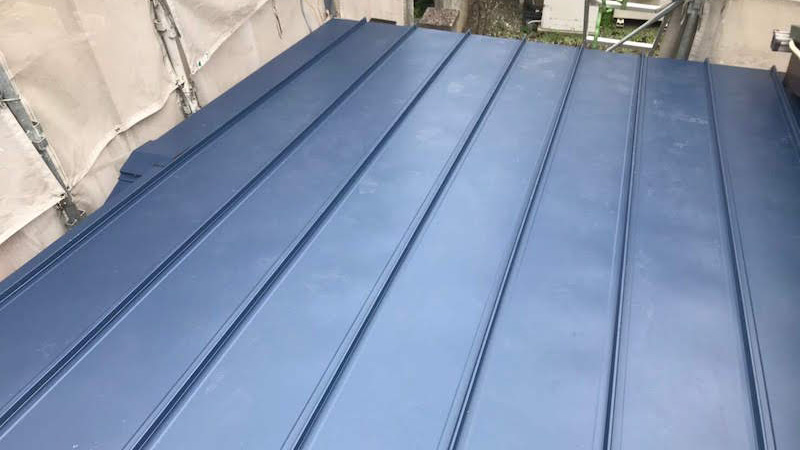
【工程4】ガルバリウム鋼板の施工
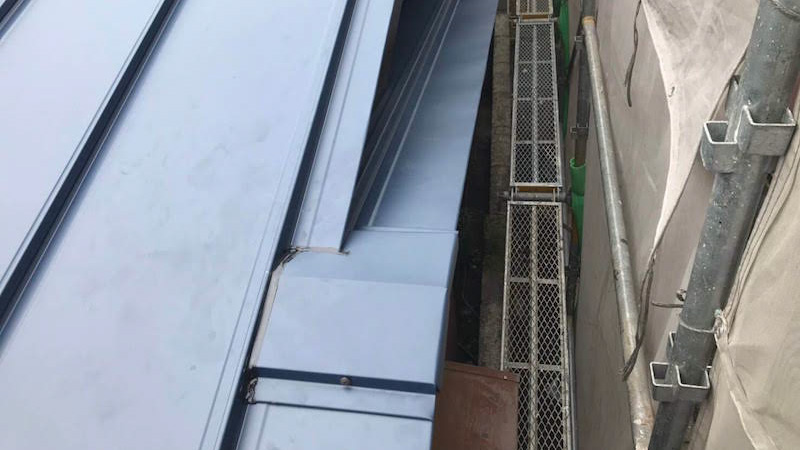
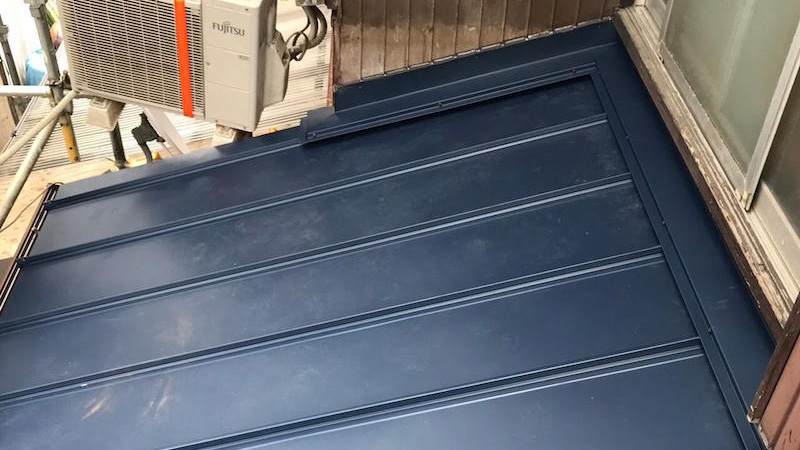
ルーフィングの施工が完了したらガルバリウム鋼板を施工します。勾配が緩やかなので立平葺きで施工をしました。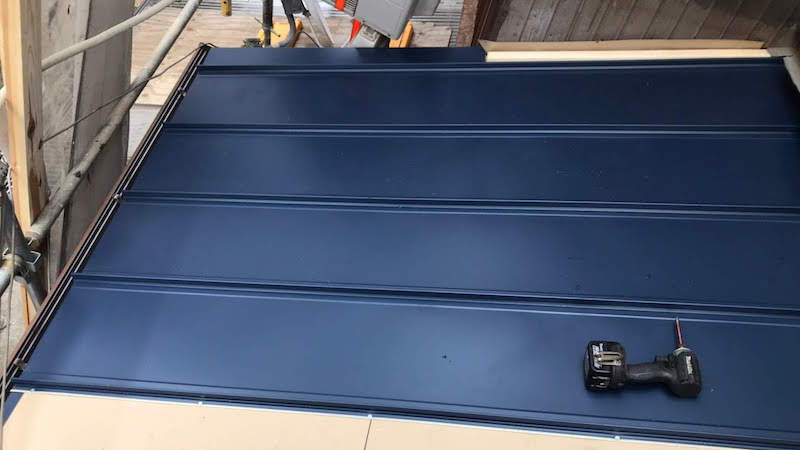
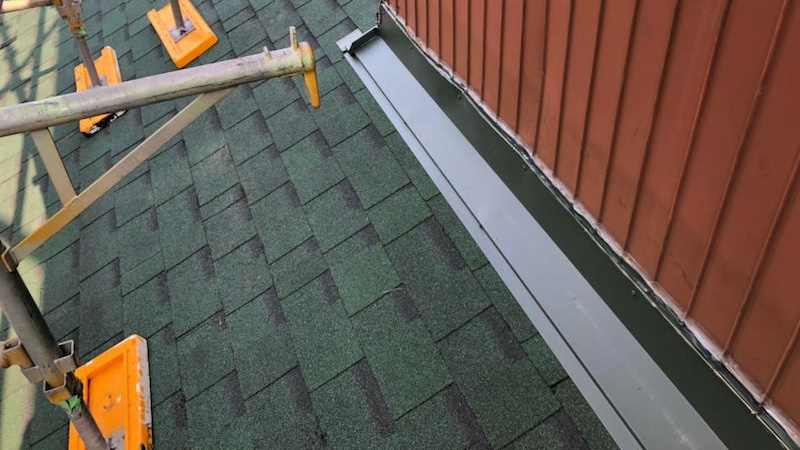
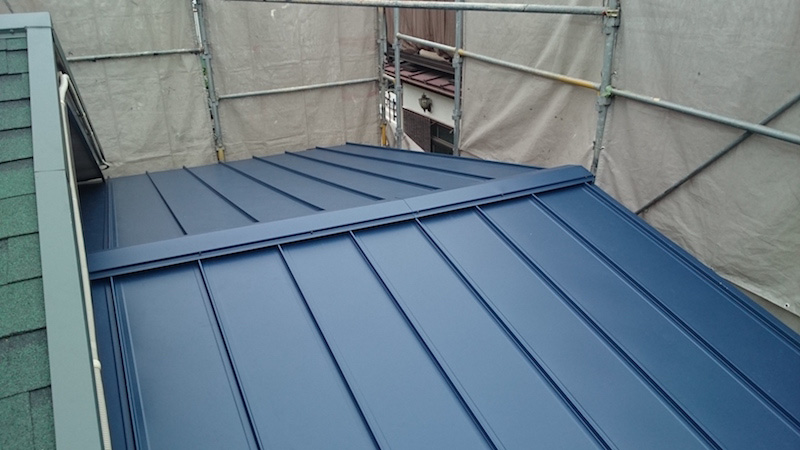
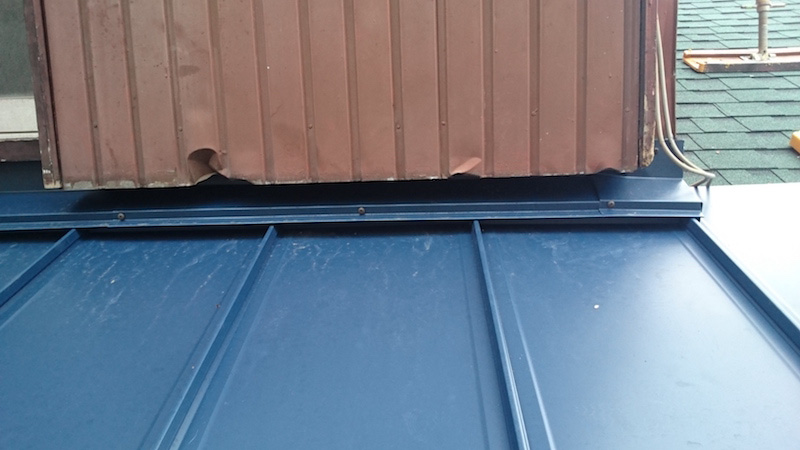
【工程5】棟板金の施工
棟板金を取り付けたら施工完了です。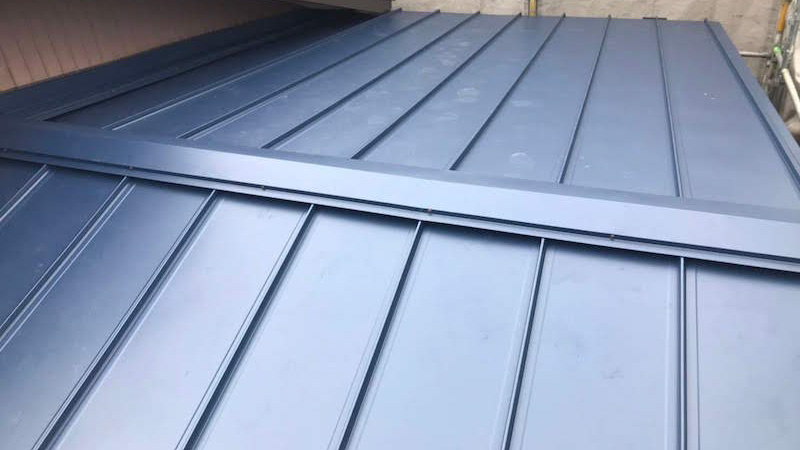
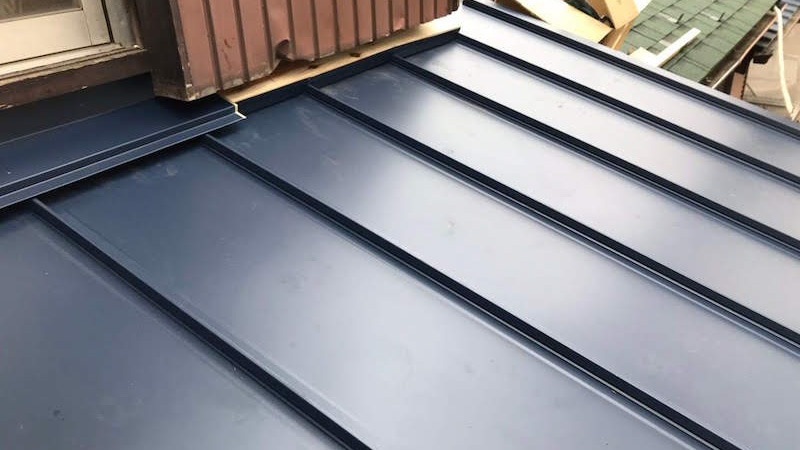
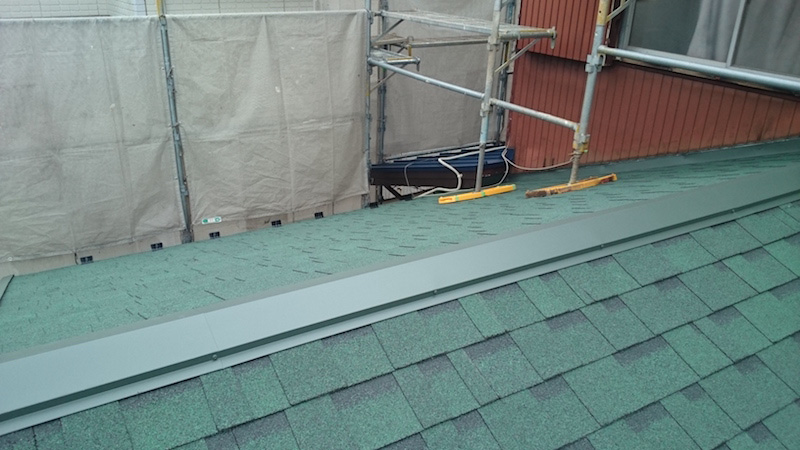
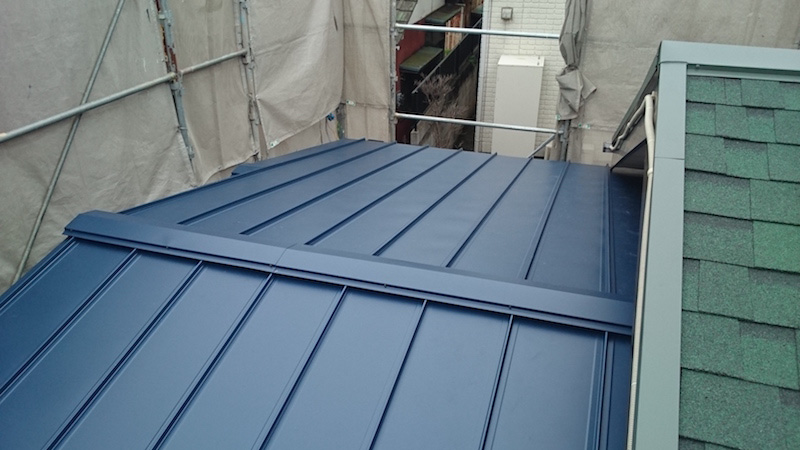
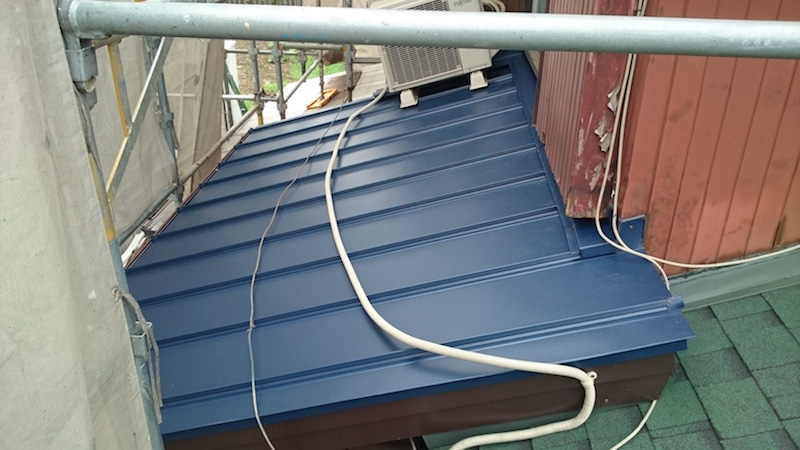
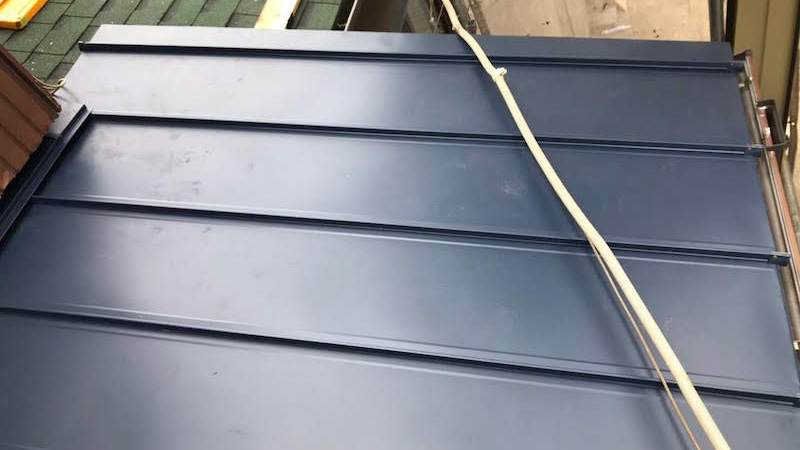
瓦棒屋根の葺き替え工事の施工後の様子
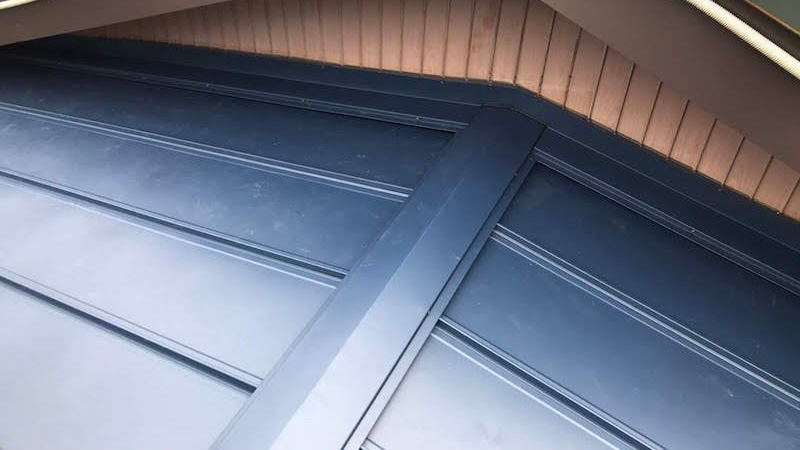
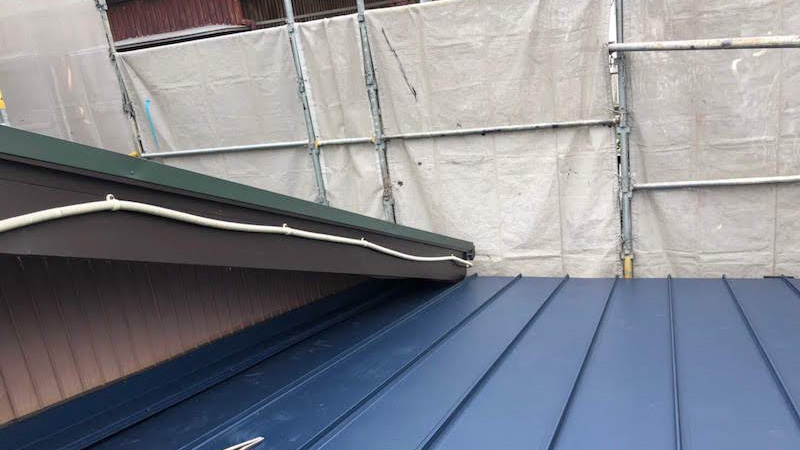
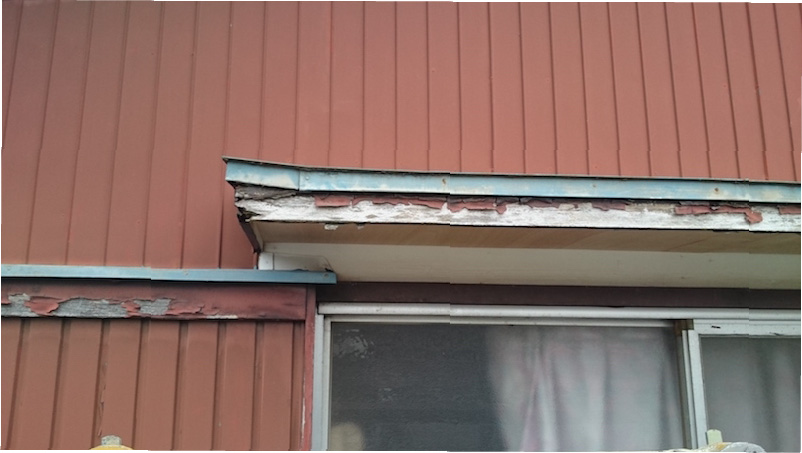
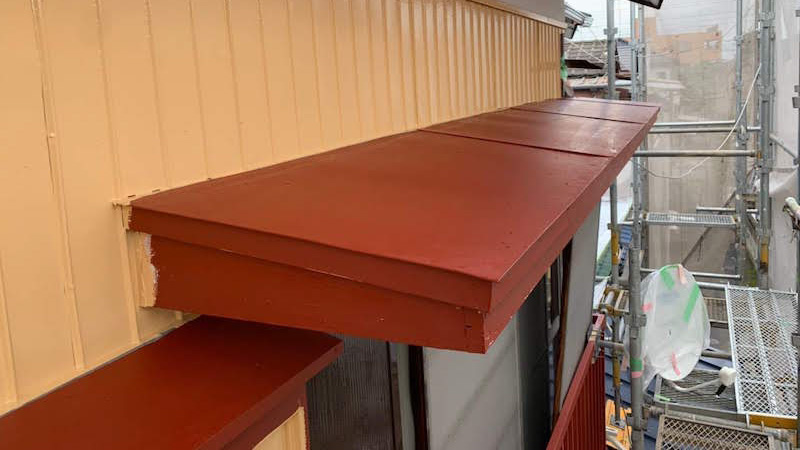
破風板金工事
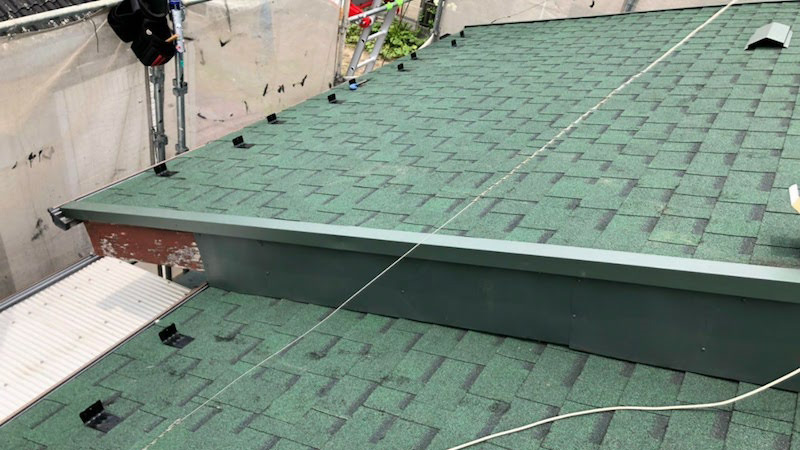
屋根の葺き替え工事とセットで破風板金工事も行いました。破風板にガルバリウム鋼板を巻きました。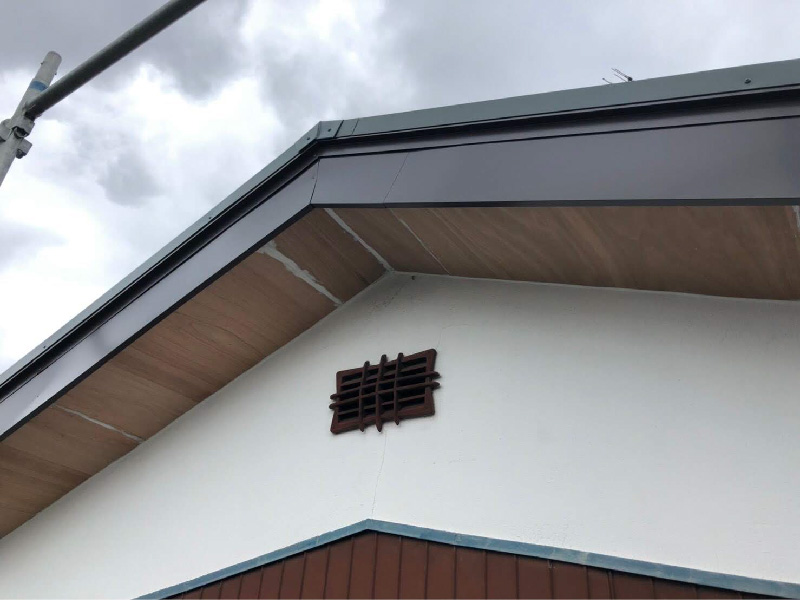
外壁のサイディング工事の工程と施工中の様子
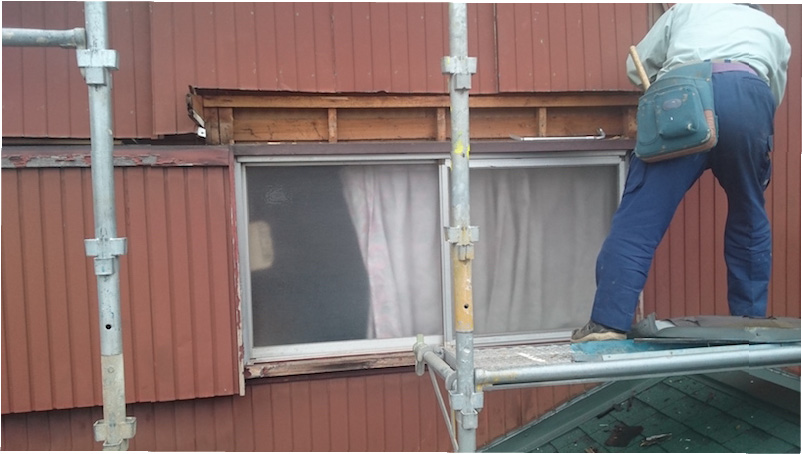
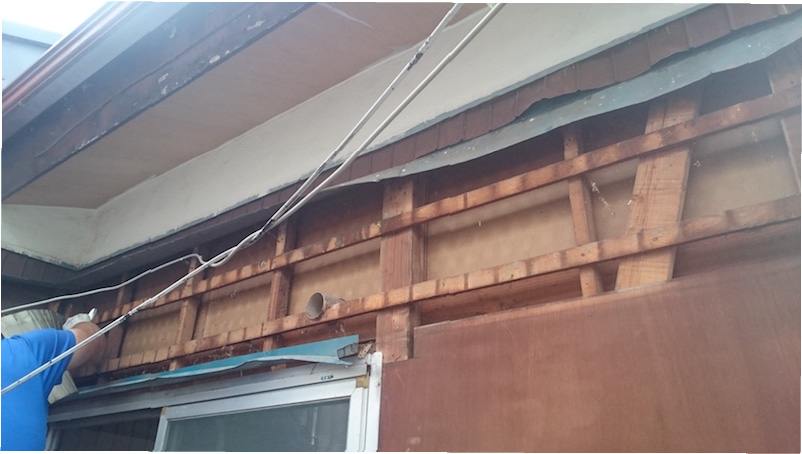
ここからは外壁のサイディング工事の様子を見て行きましょう。【工程1】外壁材の撤去・解体
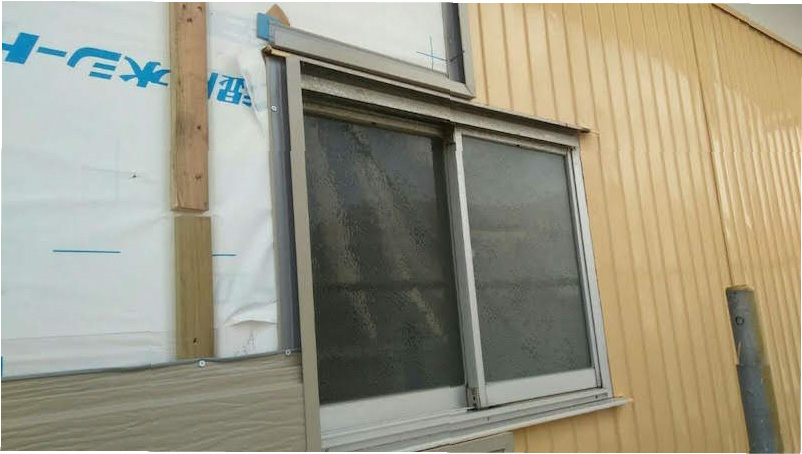
まず始めに、既存の外壁材を撤去解体します。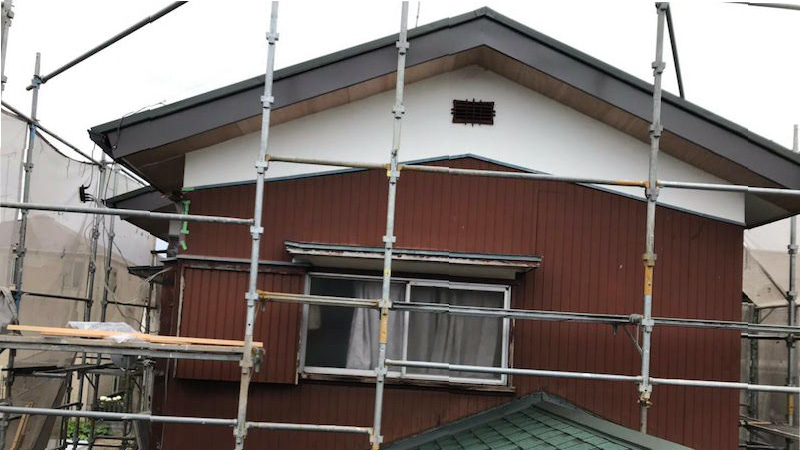
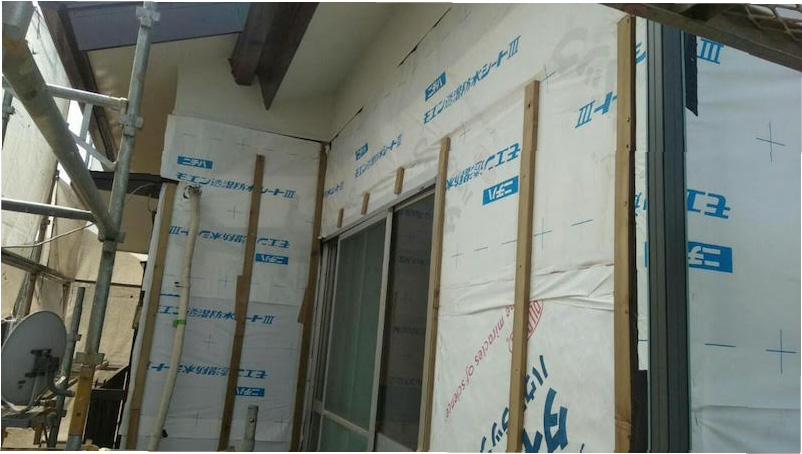
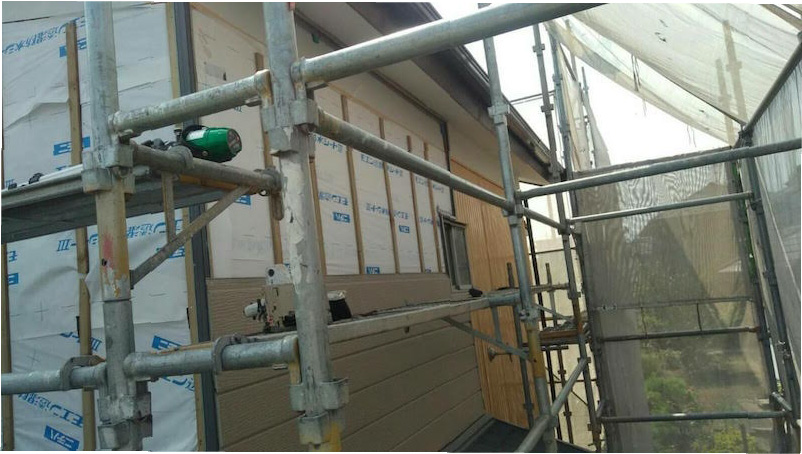
【工程2】防水シートの施工
外壁材の撤去と解体が完了したら防水シートを施工します。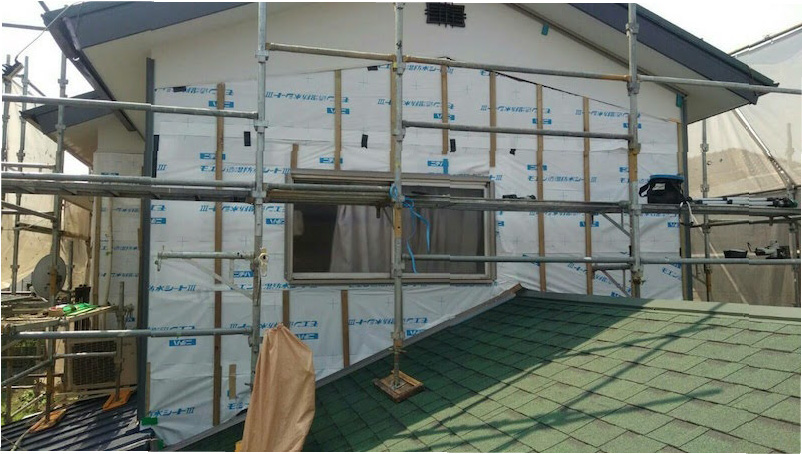
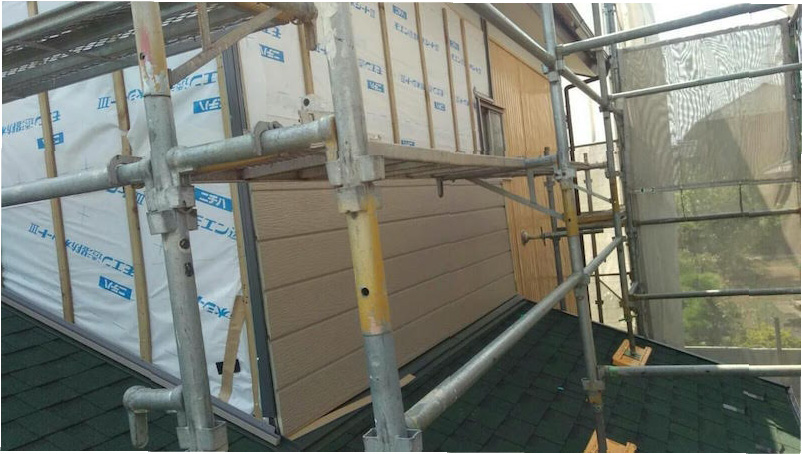
【工程3】外壁材の施工
ルーフィングの施工が完了したら外壁材を施工します。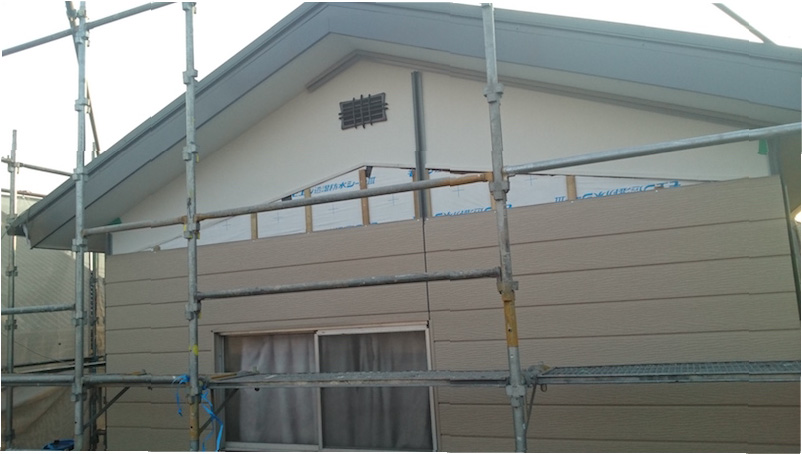
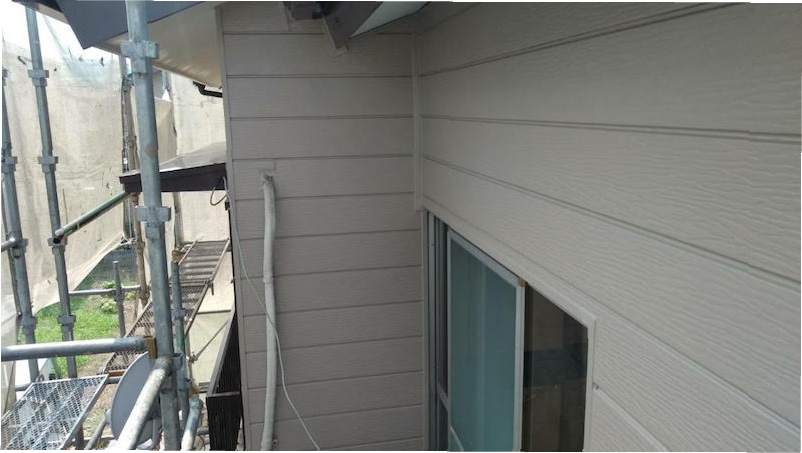
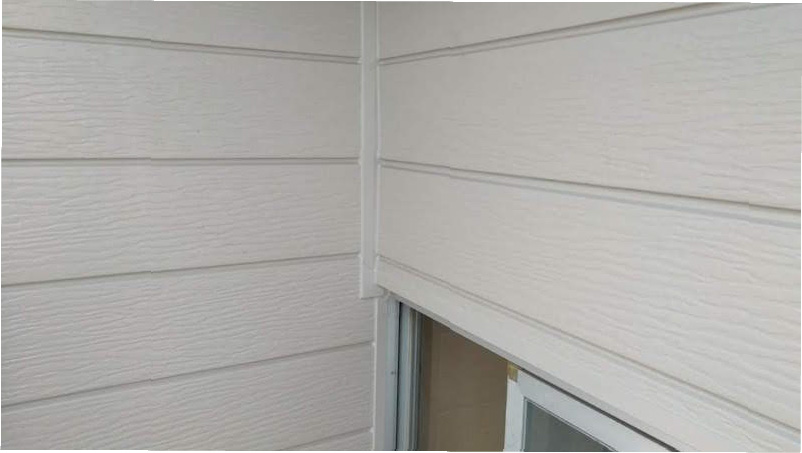
サイディング工事の施工後の様子
外壁塗装の施工工程と施工中の様子
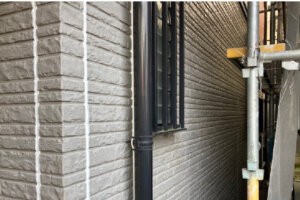
金属の外壁材ですが、劣化している状態でした。ここからは外壁塗装の施工事例をご紹介します。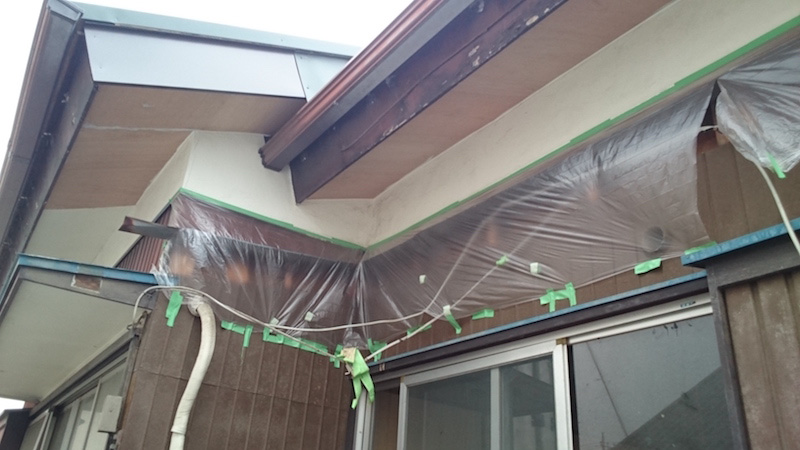
【工程1】外壁塗装の高圧洗浄
まず始めに、高圧洗浄で外壁の汚れをキレイに洗い流します。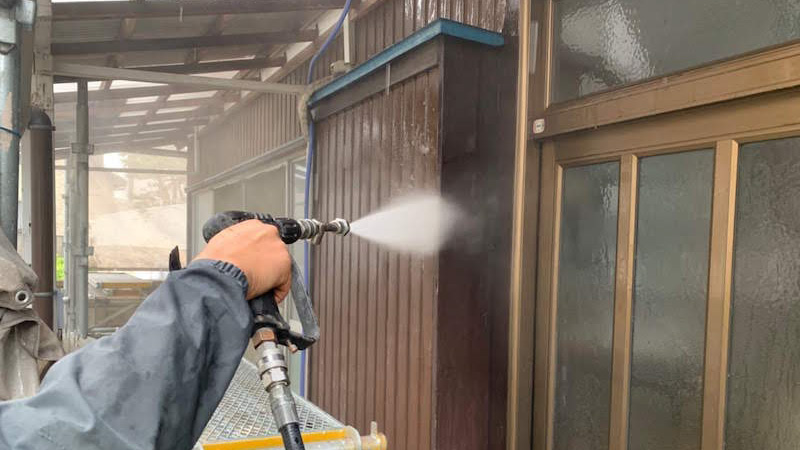
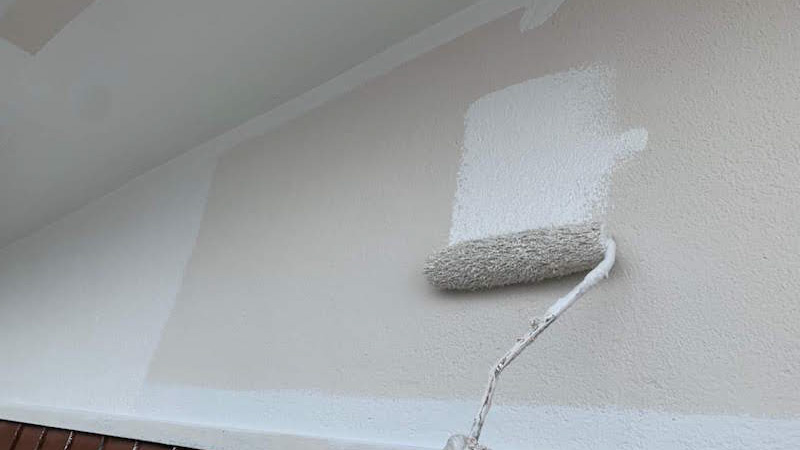
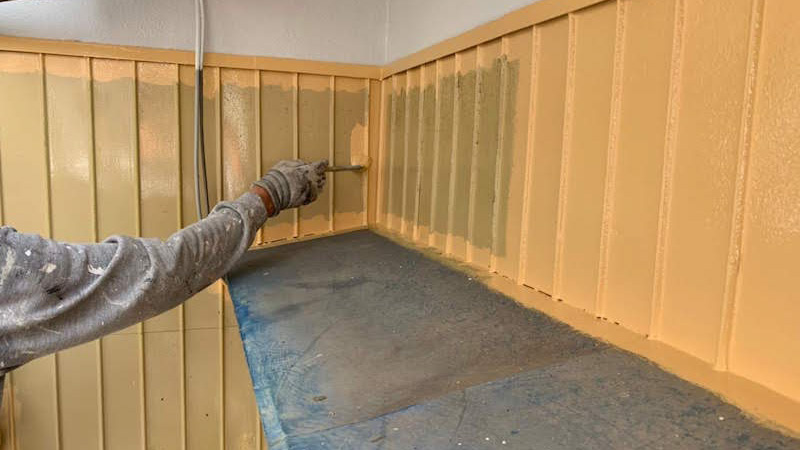
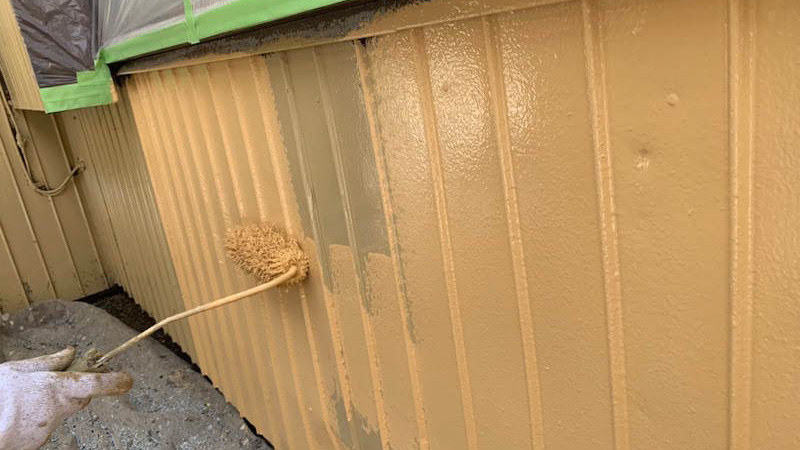
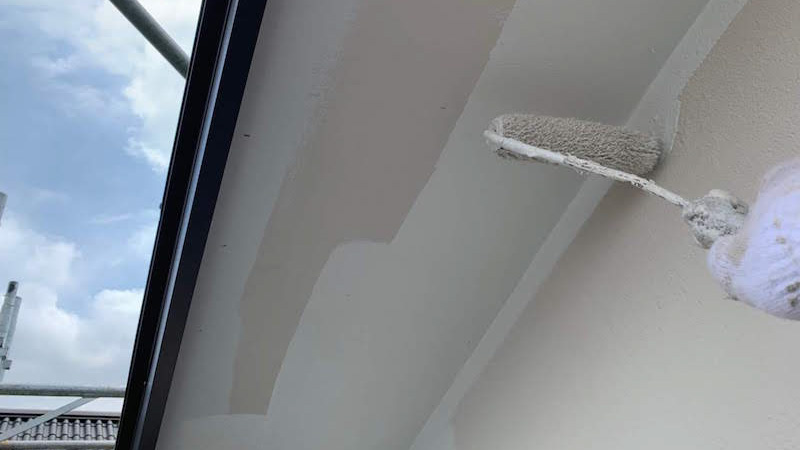
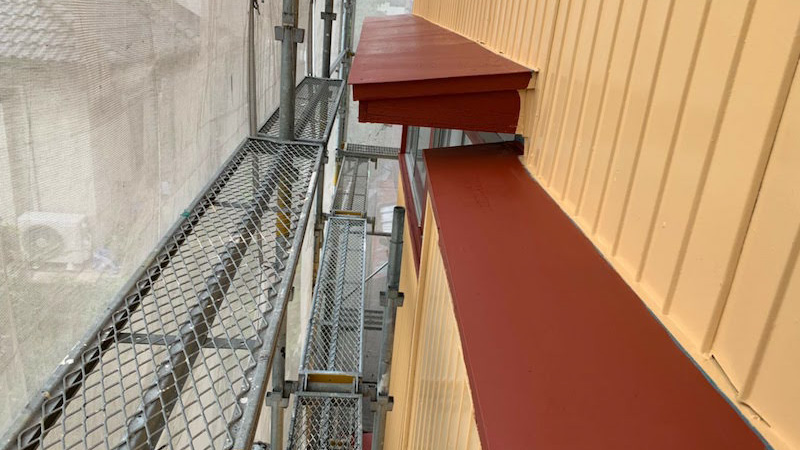
【工程2】外壁塗装の塗装工程
高圧洗浄で外壁の汚れをキレイに洗い流したら、外壁塗装を行います。「下塗り」「中塗り」「上塗り」の重ね塗りを行います。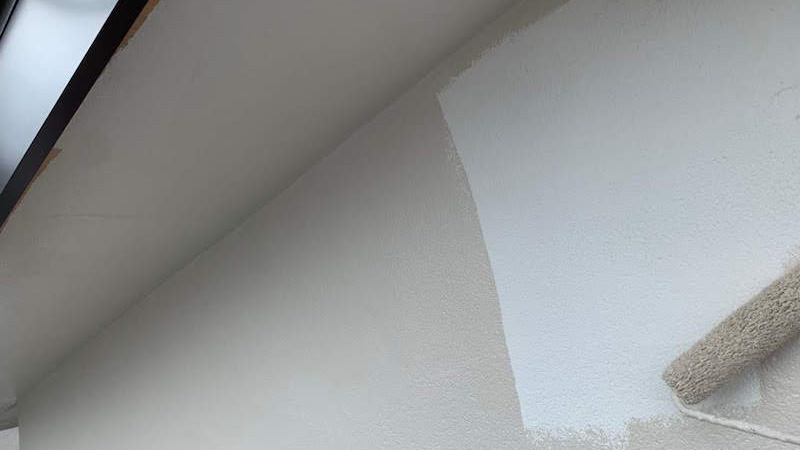
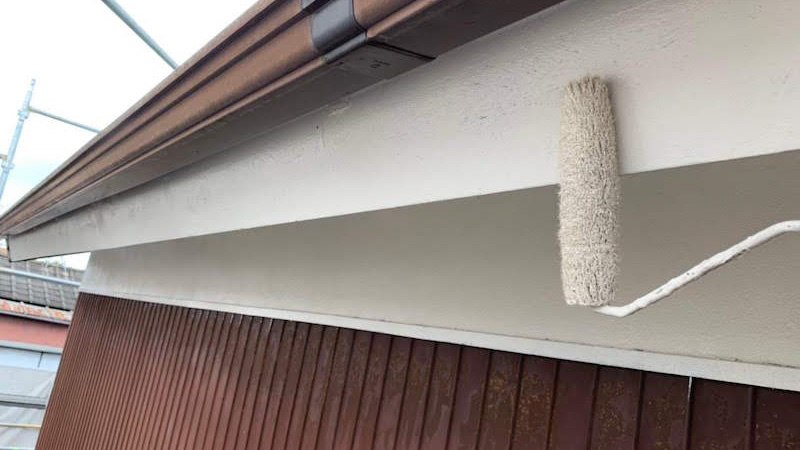
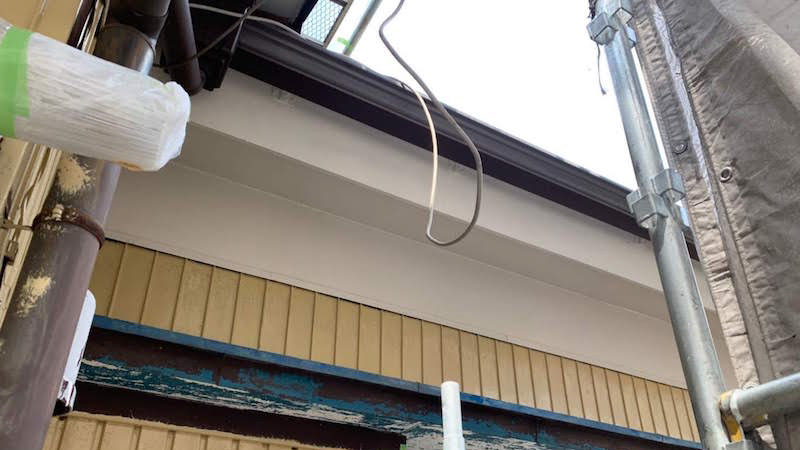
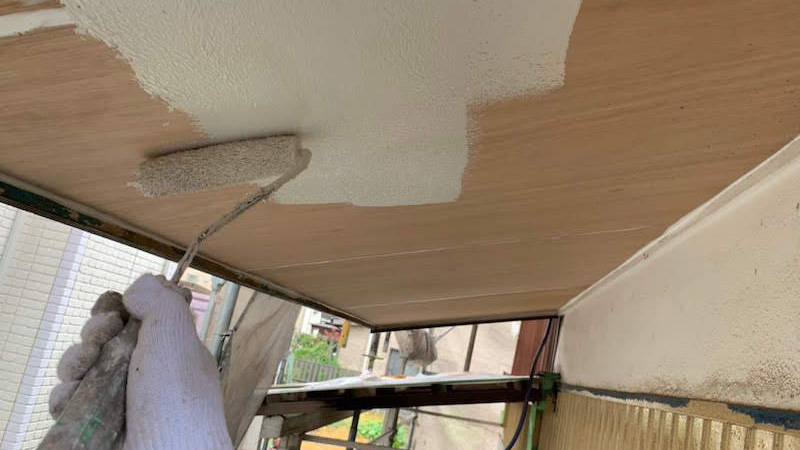
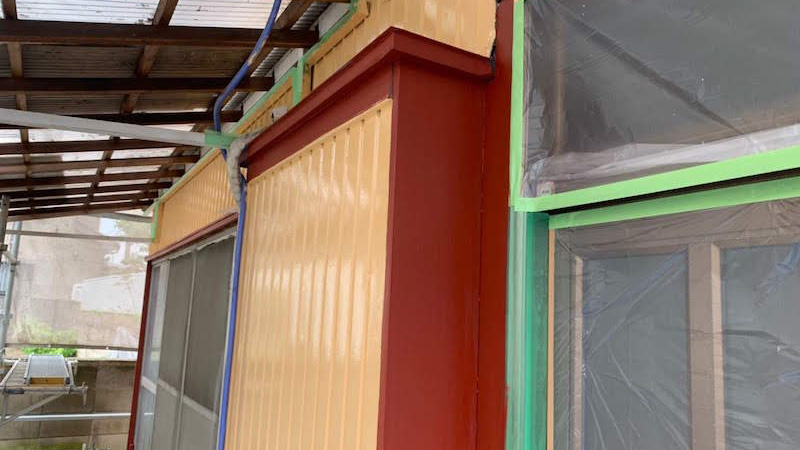
【工程3】付帯部の塗装
軒天や破風板、雨戸などの付帯部を塗装したら施工完了です。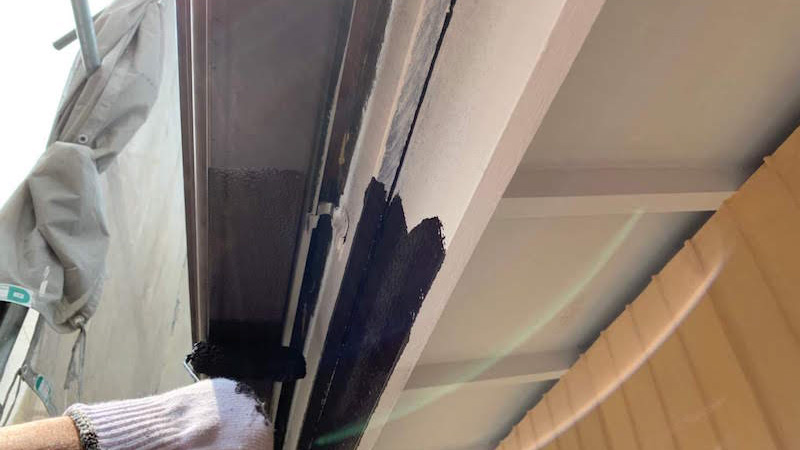
簡 単 無 料 お 見 積 り
×