目次 [非表示]
- トタン屋根の耐用年数(寿命)が20年以上経過していること
- 将来的なメンテナンスの手間と費用を大幅に削減できること
- 安く高耐久な費用対効果の高い屋根リフォームを実現できること
ビフォーアフター
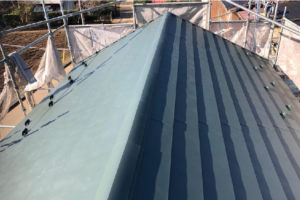
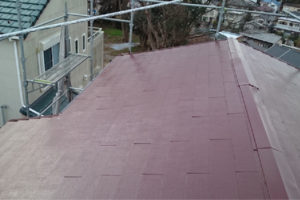
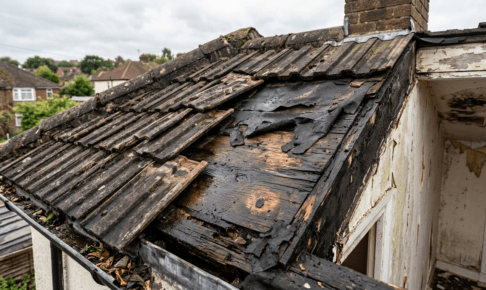
下屋根のトタン瓦棒屋根のみ屋根リフォームを行いました。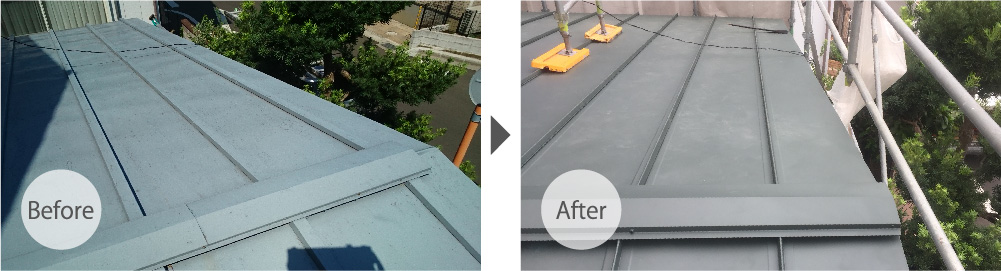 トタンは別名「亜鉛メッキ鋼板」と呼ばれています。トタン屋根は表面にメッキされている「亜鉛」が優先的に腐食(錆びる)ことで、基材(本体)の金属板の腐食を防止する特徴があります。トタンを保護する塗装が剥がれてしまうと表面の亜鉛メッキが錆びて腐食し、穴が空いてしまいます。
今回、新しく葺き替えたガルバリウム鋼板はトタンと同じ金属板の屋根材ですが、亜鉛とアルミの合金で表面のメッキが剥がれない限り錆びることはありません。そのため、トタンと異なり屋根塗装によるメンテナンスの必要が無く将来的なメンテナンスの手間と費用を大幅に削減することができます。
トタンは別名「亜鉛メッキ鋼板」と呼ばれています。トタン屋根は表面にメッキされている「亜鉛」が優先的に腐食(錆びる)ことで、基材(本体)の金属板の腐食を防止する特徴があります。トタンを保護する塗装が剥がれてしまうと表面の亜鉛メッキが錆びて腐食し、穴が空いてしまいます。
今回、新しく葺き替えたガルバリウム鋼板はトタンと同じ金属板の屋根材ですが、亜鉛とアルミの合金で表面のメッキが剥がれない限り錆びることはありません。そのため、トタンと異なり屋根塗装によるメンテナンスの必要が無く将来的なメンテナンスの手間と費用を大幅に削減することができます。
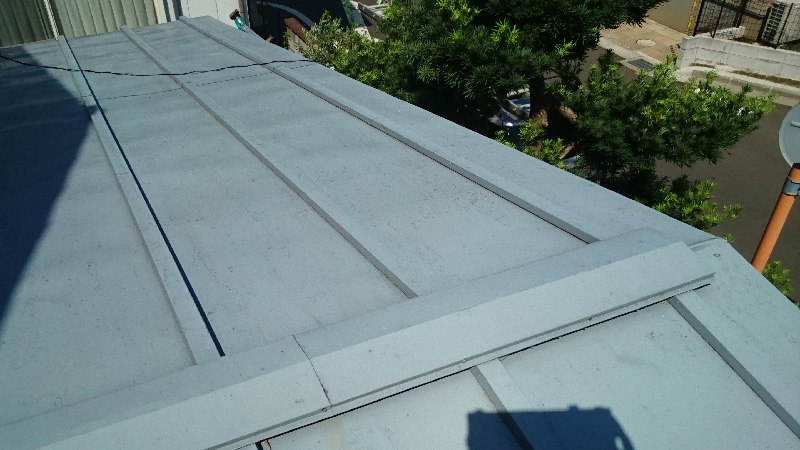
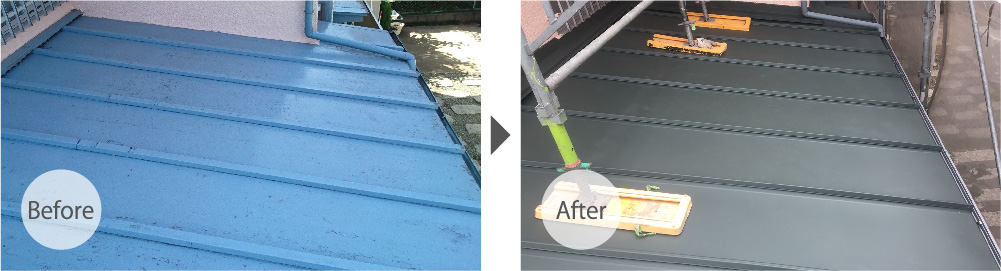 ガルバリウム鋼板などの金属板は加工性に優れており、勾配が緩やかな屋根でも施工可能です。今回、葺き替えた下屋根も勾配が2寸と非常に緩やかですがガルバリウム鋼板であれば十分施工が可能です。
施工前の様子
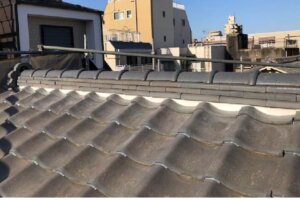
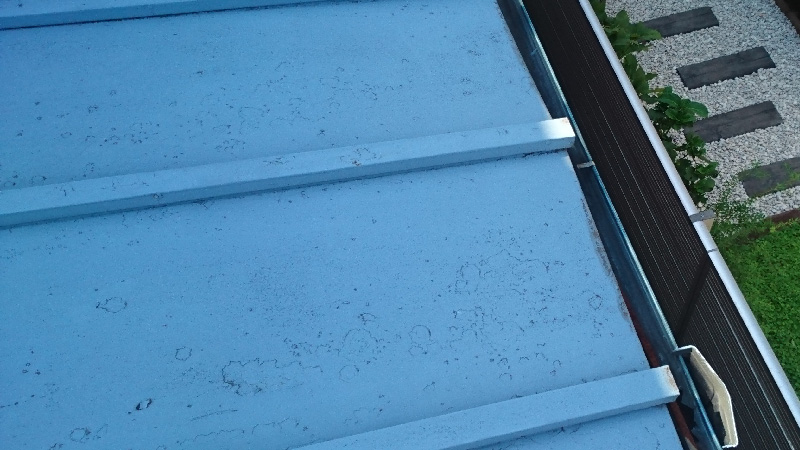 錆びた状態で塗装をしたことによる施工不良が発生している箇所がありました。トタン屋根を塗装する際は、ケレンと呼ばれる下地調整(錆び取り)を行うのが絶対条件です。
このように錆の上から塗装をしてしまうと、再塗装ができなくなりかえって屋根材をダメにしてしまうので注意が必要です。
錆びた状態で塗装をしたことによる施工不良が発生している箇所がありました。トタン屋根を塗装する際は、ケレンと呼ばれる下地調整(錆び取り)を行うのが絶対条件です。
このように錆の上から塗装をしてしまうと、再塗装ができなくなりかえって屋根材をダメにしてしまうので注意が必要です。
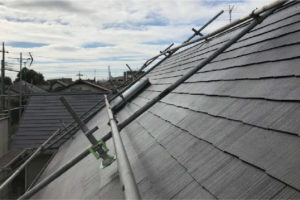
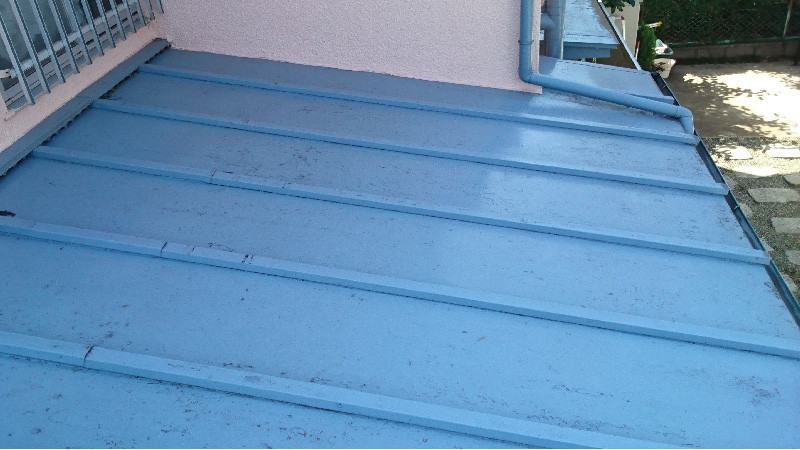 爪で塗装を引っ掛けるとバリバリと塗装が剥がれる状態でした。この状態では塗装をしても施工不良の原因となるために葺き替えるには最適なタイミングでした。
 棟板金の釘も浮いており、板金が若干浮いています。台風などの強風の際に飛散する恐れがあるので注意が必要です。
施工中の様子
それでは、ここからは具体的に屋根の葺き替え工事の様子についてご紹介します。棟板金(棟包み板)の撤去
まず始めに、棟板金(棟包み板)を撤去します。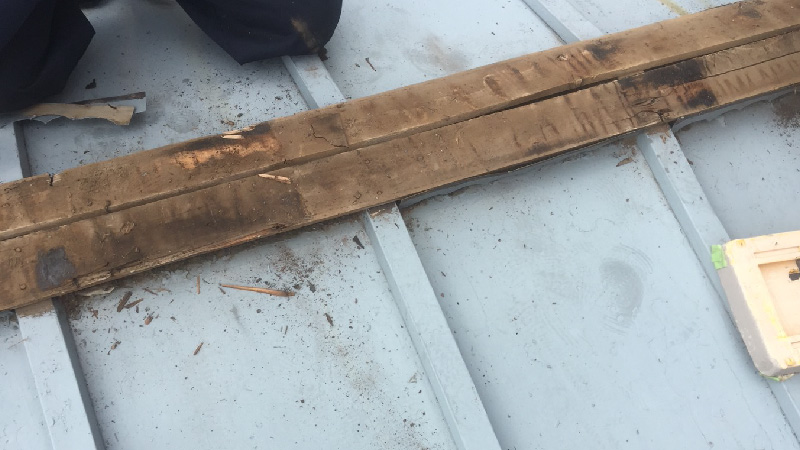 棟板金を撤去すると貫板と呼ばれる棟板金を固定する木材が出てきます。貫板も撤去します。
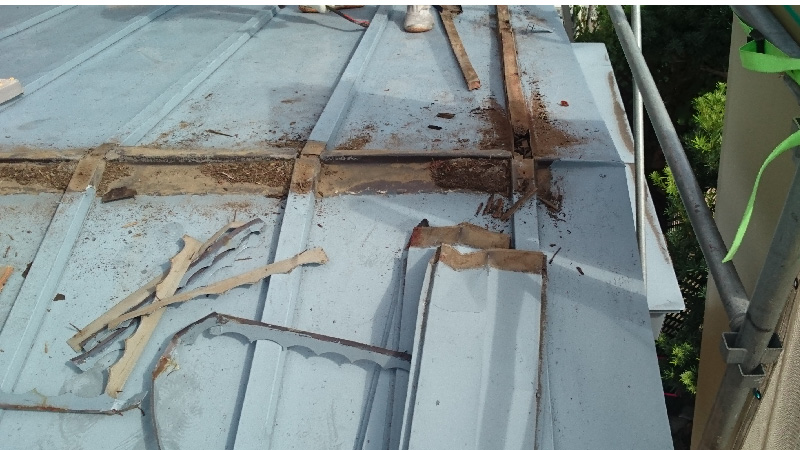
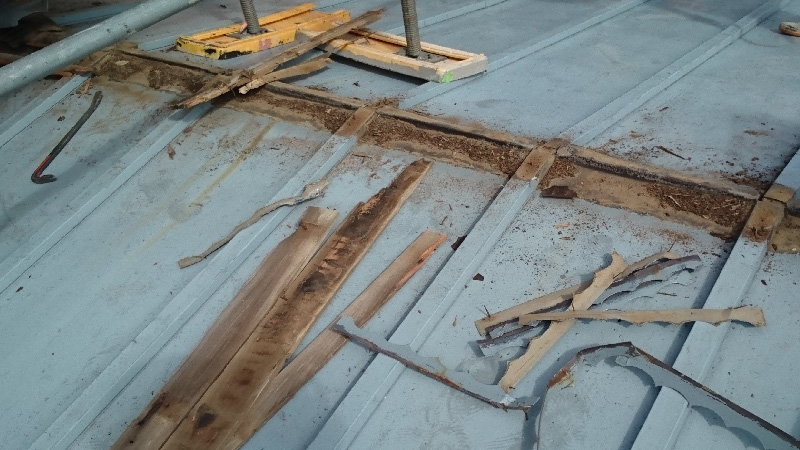
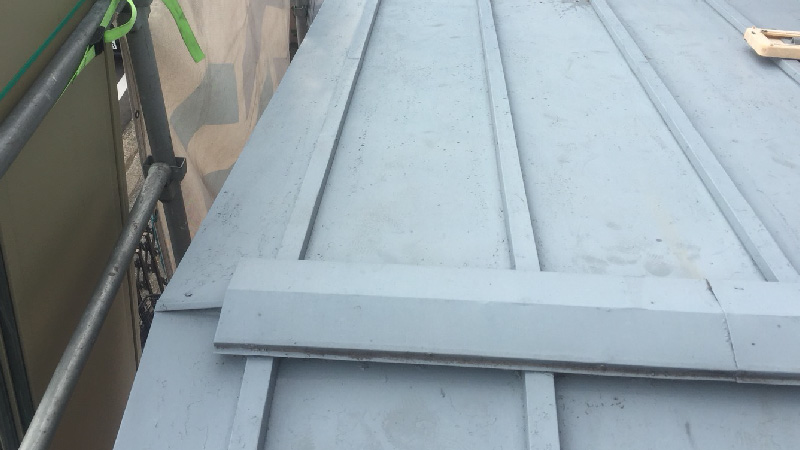
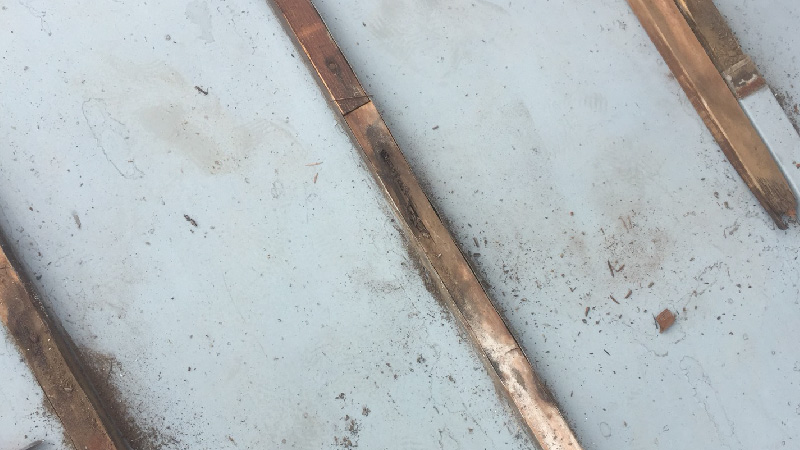
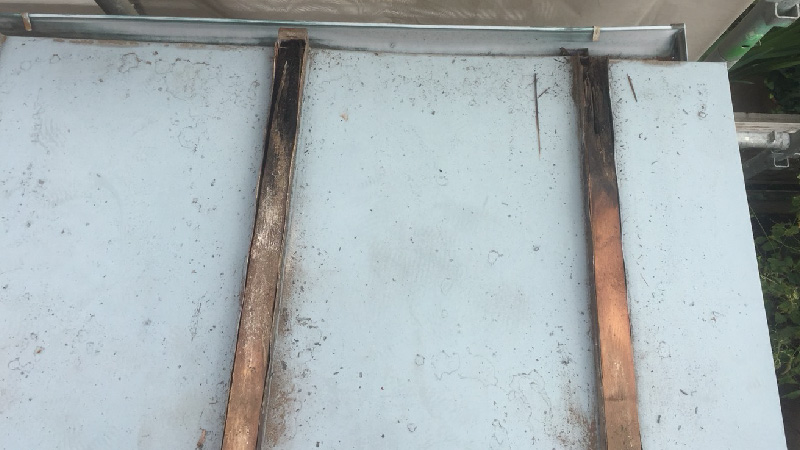
瓦棒の撤去
棟を撤去したら次は、瓦棒も撤去します。 トタン屋根の突起している箇所には角材が入っていますが、この角材を瓦棒(かわらぼう)と言います。 トタンを瓦棒に巻いて固定するために、このような形状のトタン屋根は瓦棒屋根とも呼ばれています。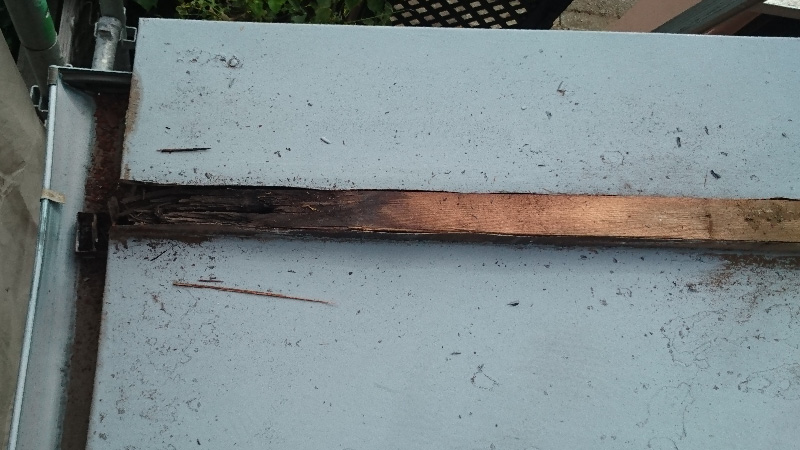 トタンを剥がすと瓦棒が腐食していました。雨漏りには発展していませんでしたが、屋根の内部に水が侵入している証拠です。

既存屋根材の撤去
瓦棒を撤去したら既存の屋根材であるトタンを全て撤去します。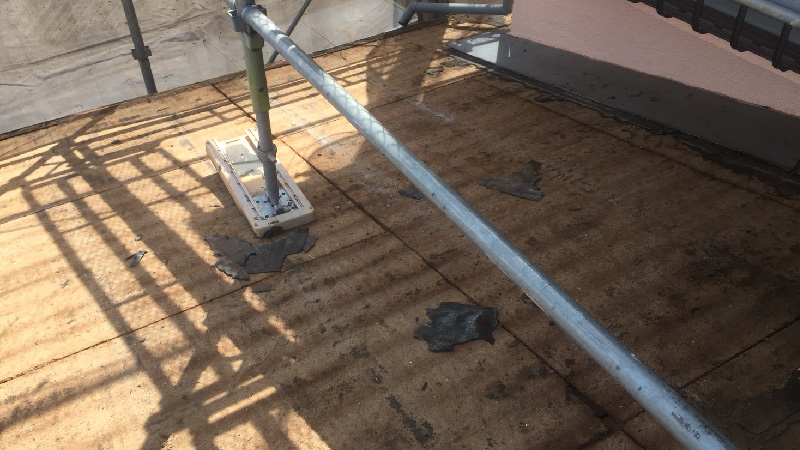 トタンを全て撤去した状態です。屋根材を乗せる土台の野地板(のじいた)だけの状態になりました。
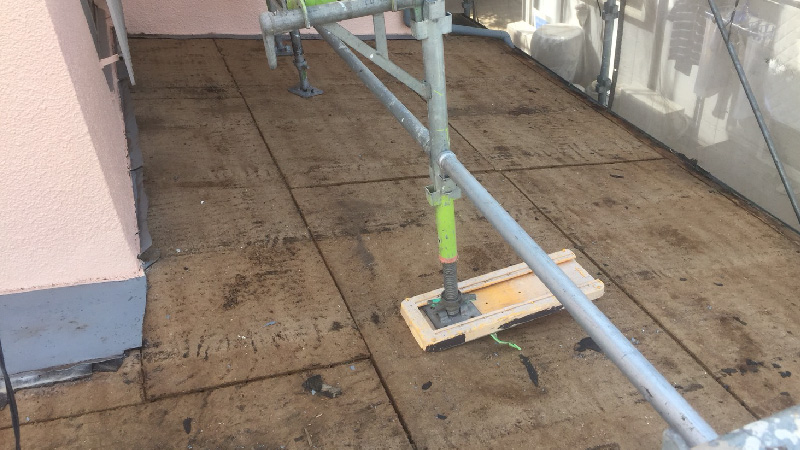
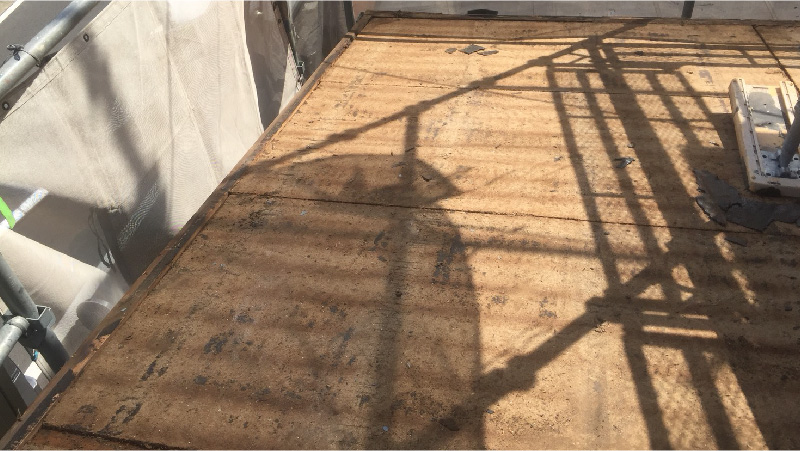
野地板(コンパネ)の設置
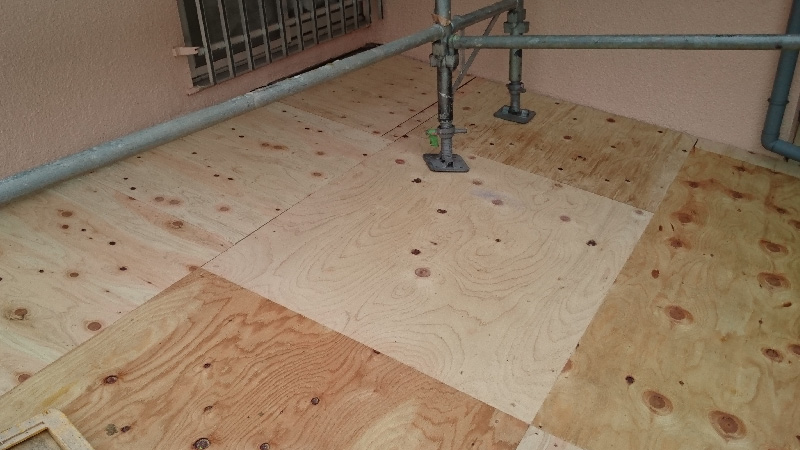
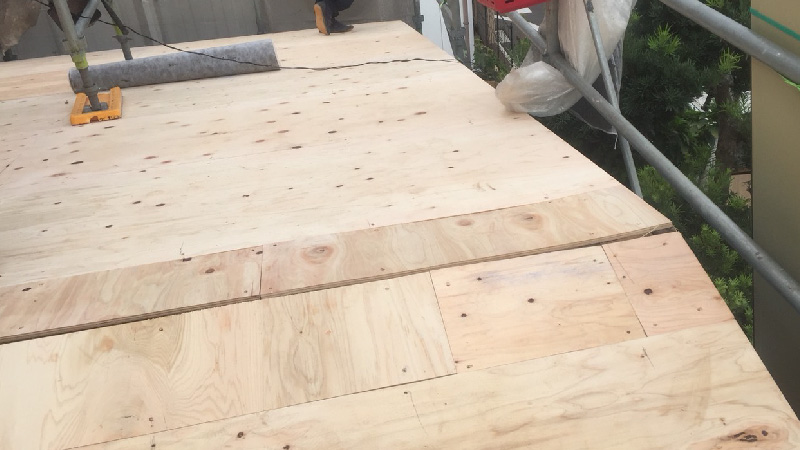
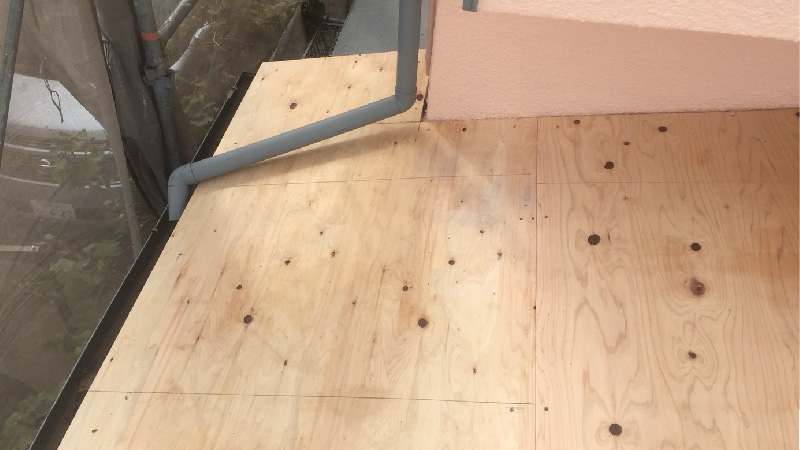
全ての屋根材を撤去したら、新しい野地板を設置します。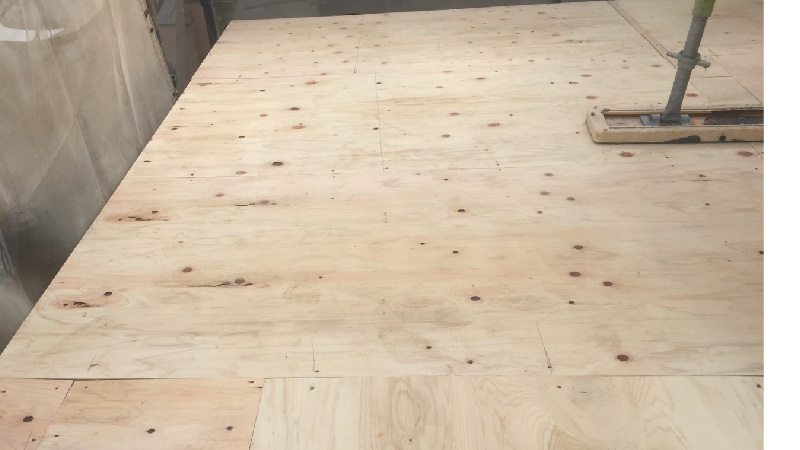 既存の野地板の上に新しい野地板を隙間が生じないようにパズルのように設置します。屋根に使用される野地板はコンパネ(コンクリートパネル)と呼ばれる木材板が使用されるのが一般的です。
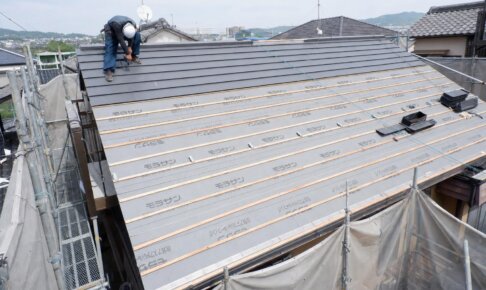
ルーフィング(防水シート)の設置
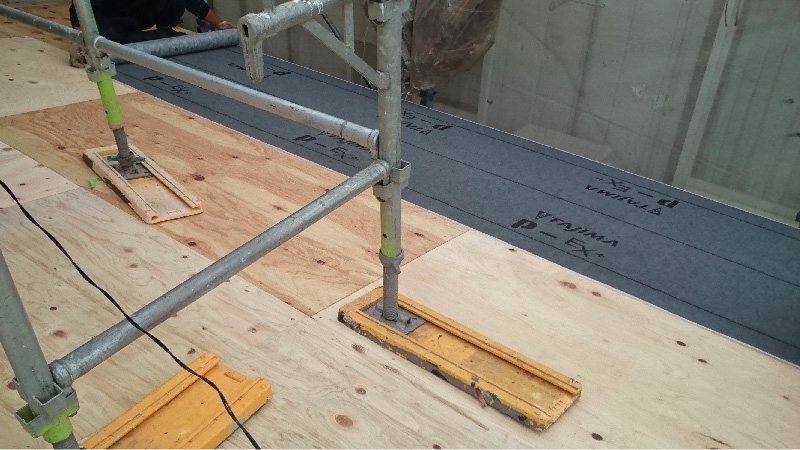
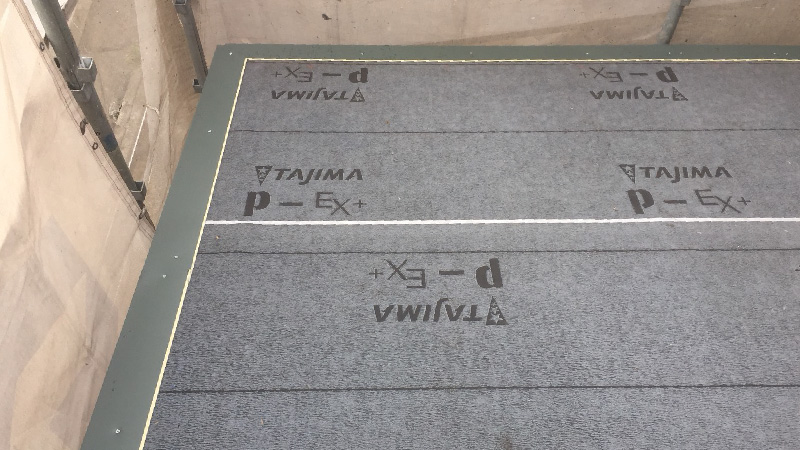
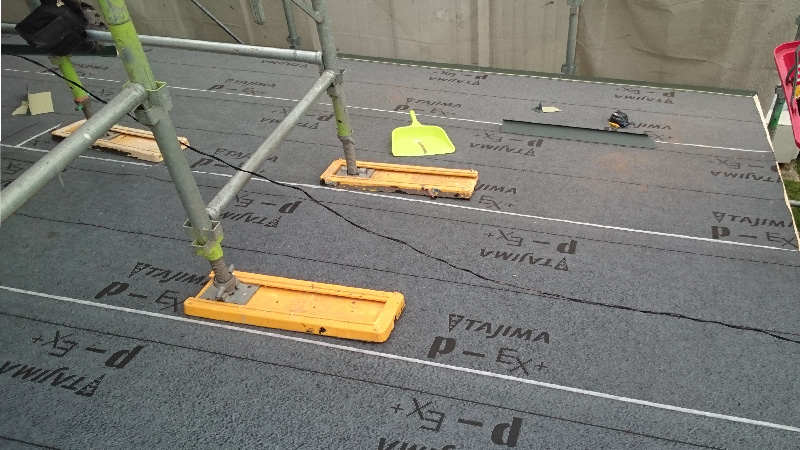
野地板を設置したら次にルーフィング(防水シート)を設置します。 屋根材が劣化をすると雨漏りが発生すると思われがちですが、このルーフィングが屋根の二次防水として建物内部に雨水が侵入するのを食い止めています。雨漏りが発生するということは、屋根材だけでは無くルーフィングも破れている可能があるので注意が必要です。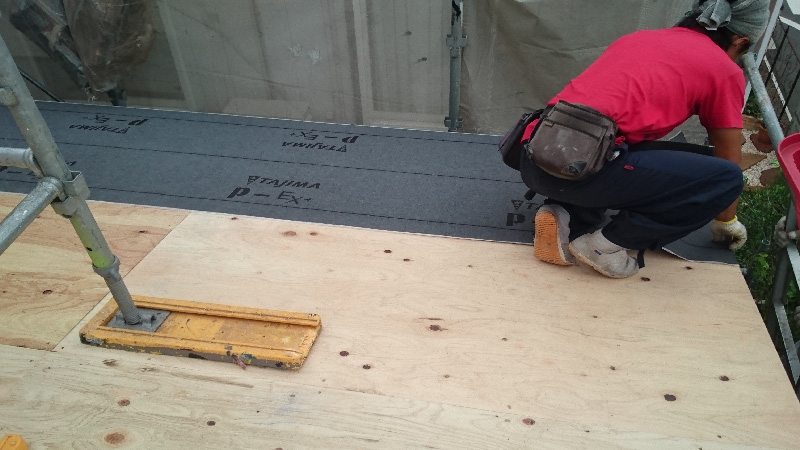 ルーフィングは軒先(下)から棟(上)に向かって設置ます。ルーフィングの重なりが逆目にならないようにするためです。
水は上から下に向かって流れるために、1箇所でもルーフィングが逆目になっている箇所があると、屋根の内部に水を招き入れてしまうことになります
そのため、ルーフィングは下から上に向かって設置するのが基本です。
ルーフィングは軒先(下)から棟(上)に向かって設置ます。ルーフィングの重なりが逆目にならないようにするためです。
水は上から下に向かって流れるために、1箇所でもルーフィングが逆目になっている箇所があると、屋根の内部に水を招き入れてしまうことになります
そのため、ルーフィングは下から上に向かって設置するのが基本です。
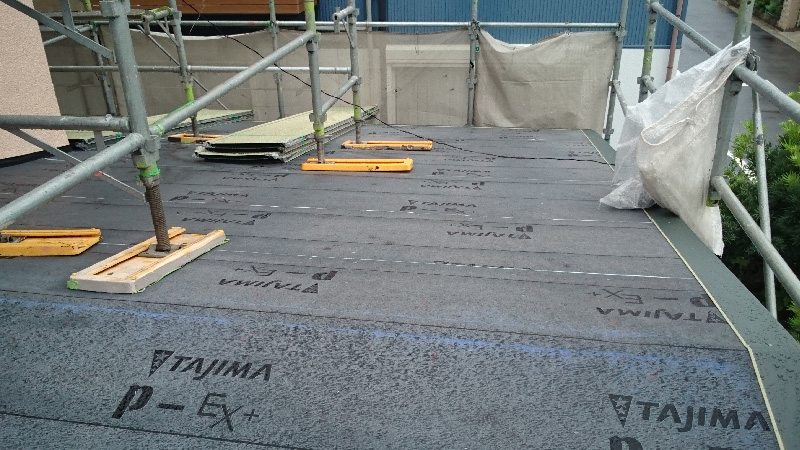
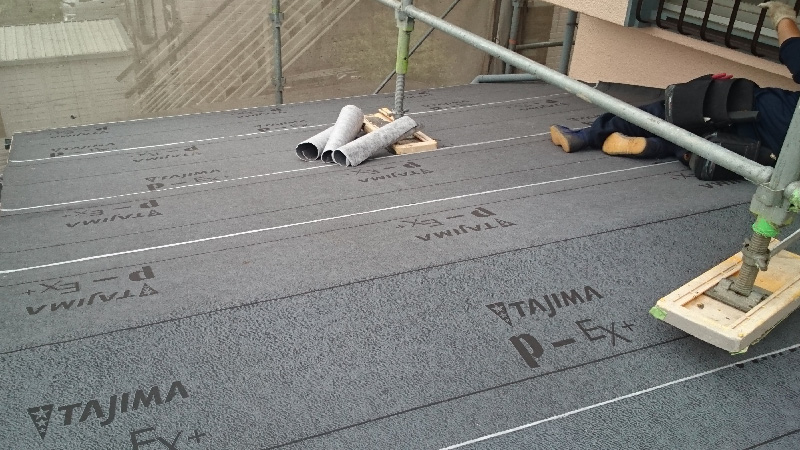
 改質アスファルトルーフィングという防水シートを使用しています。屋根材で使用するガルバリウム鋼板は耐久性が40年〜50年と非常に長期的なため、一度ガルバリウム鋼板を設置すると屋根の下地をメンテナンスする機会はありまえん。
そのため、ガルバリウム鋼板よりもルーフィングが早く劣化をしてしまうことを回避するために、ガルバリウム鋼板で使用するルーフィングは耐用年数が長い製品を使用します。
改質アスファルトルーフィングという防水シートを使用しています。屋根材で使用するガルバリウム鋼板は耐久性が40年〜50年と非常に長期的なため、一度ガルバリウム鋼板を設置すると屋根の下地をメンテナンスする機会はありまえん。
そのため、ガルバリウム鋼板よりもルーフィングが早く劣化をしてしまうことを回避するために、ガルバリウム鋼板で使用するルーフィングは耐用年数が長い製品を使用します。
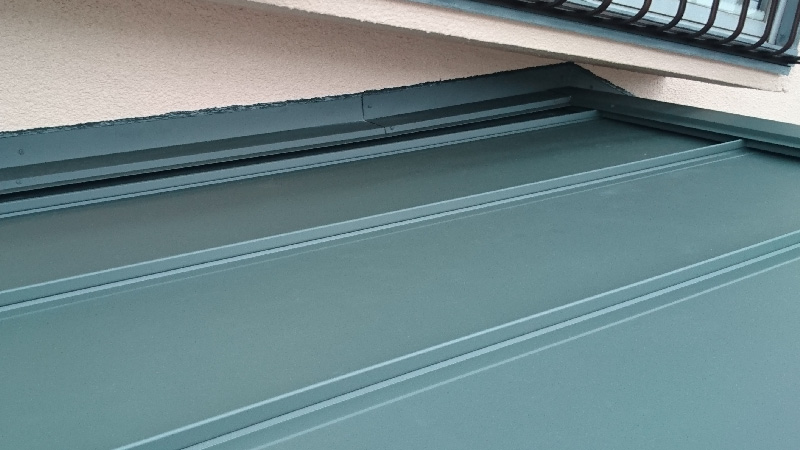
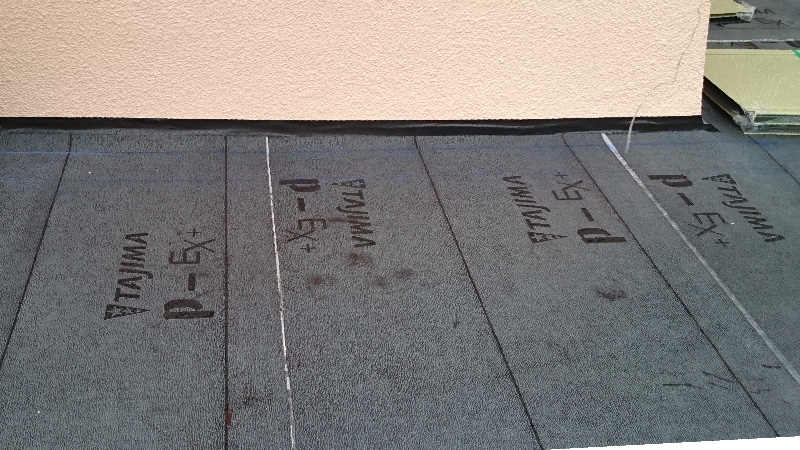 屋根と外壁の取り合い部分は雨漏りが発生しやすい箇所です。隙間が生じないように丁寧に施工しました。
役物の設置
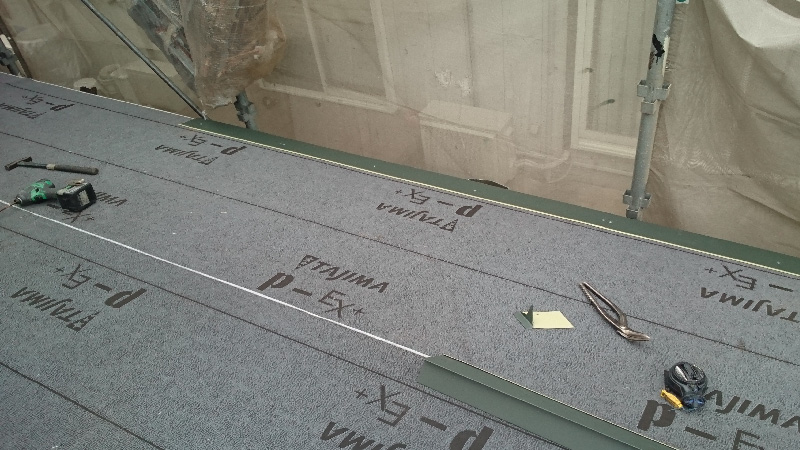
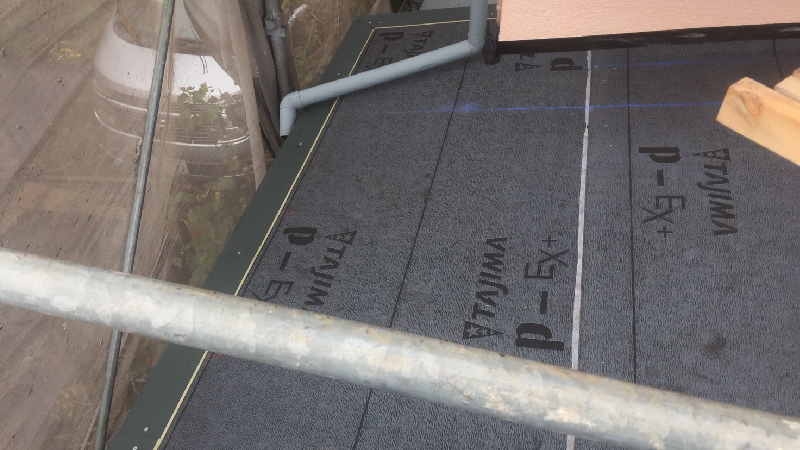
屋根全体に隙間無くルーフィングを設置したら次に役物を設置します。役物とは軒先の水切りなどの屋根の雨仕舞いの部品です。 ケラバ部分の水切りを設置しました。ケラバとは屋根の切妻部分です。
 軒先水切りも設置します。
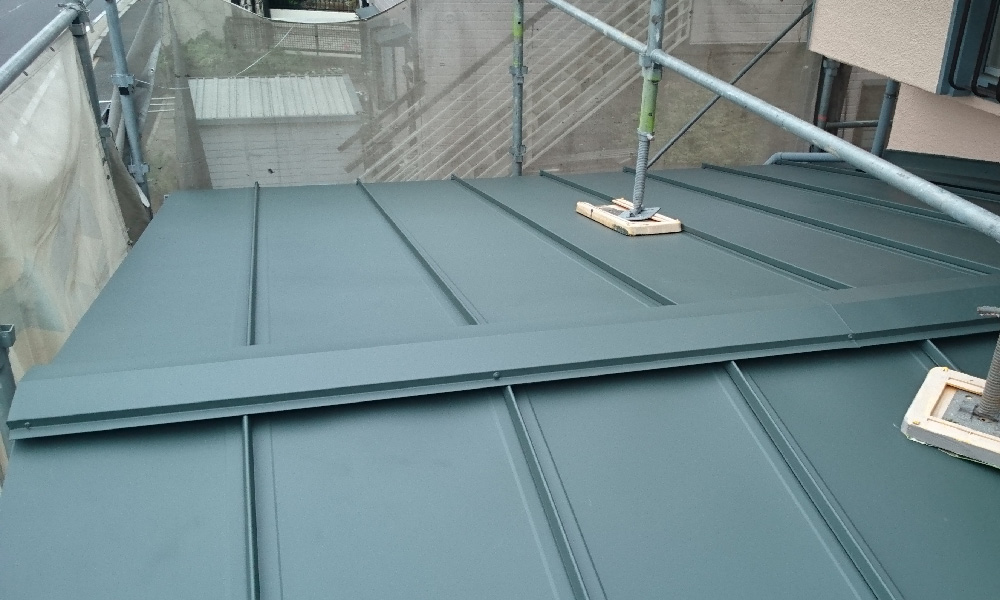
屋根材(ガルバリウム鋼板)の設置
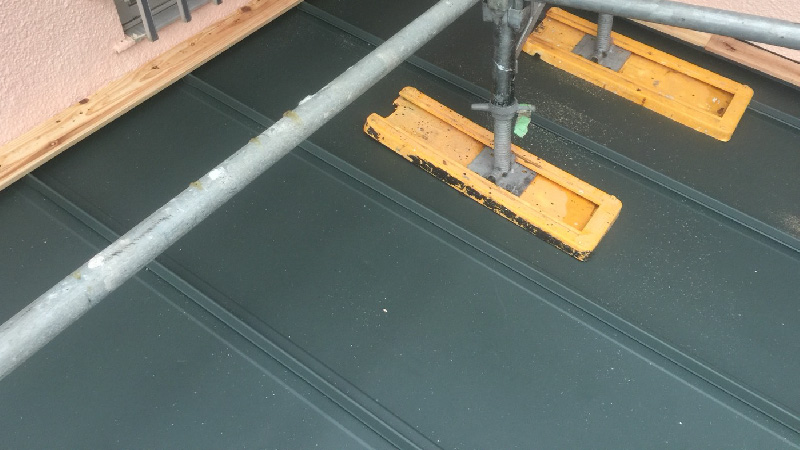
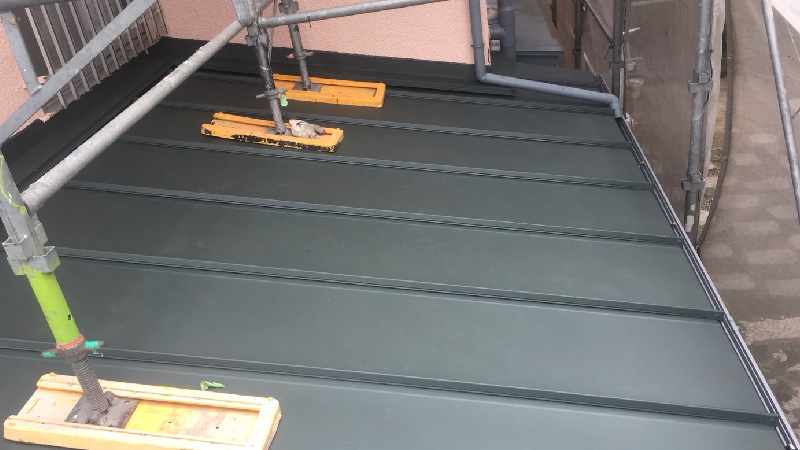
ルーフィングを設置したら次にガルバリウム鋼板を設置します。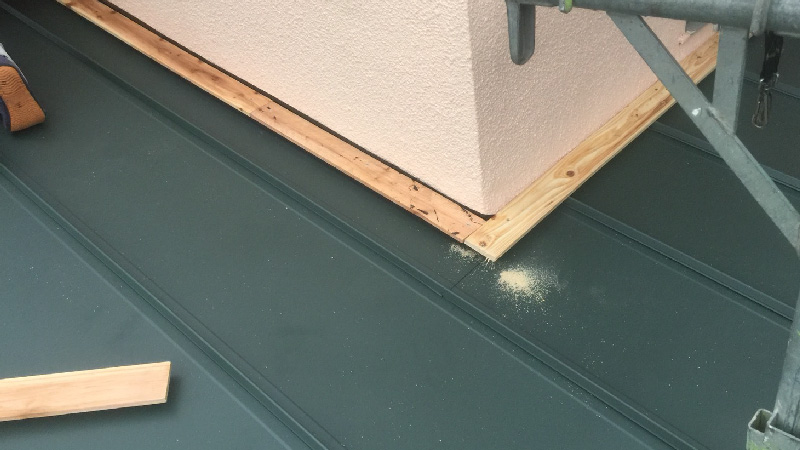 勾配が緩やかな屋根だったために縦葺きで施工をします。
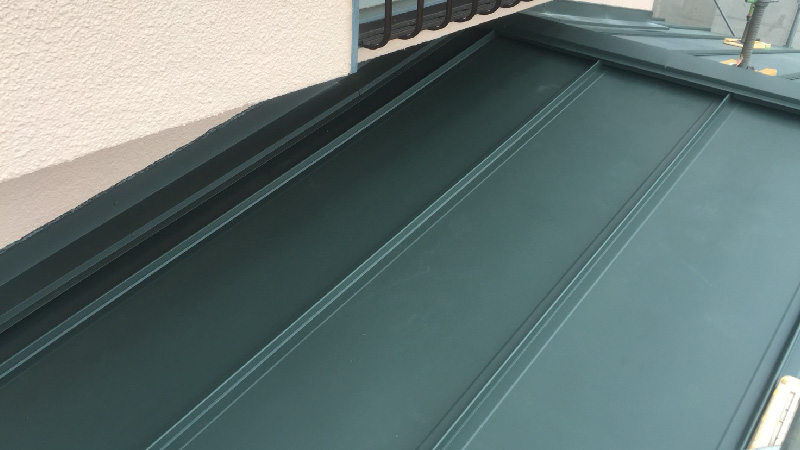
屋根材を設置したら屋根と外壁の取り合い部分に雨押さえを設置するための下地を取り付けます。
勾配が緩やかな屋根だったために縦葺きで施工をします。
屋根材を設置したら屋根と外壁の取り合い部分に雨押さえを設置するための下地を取り付けます。
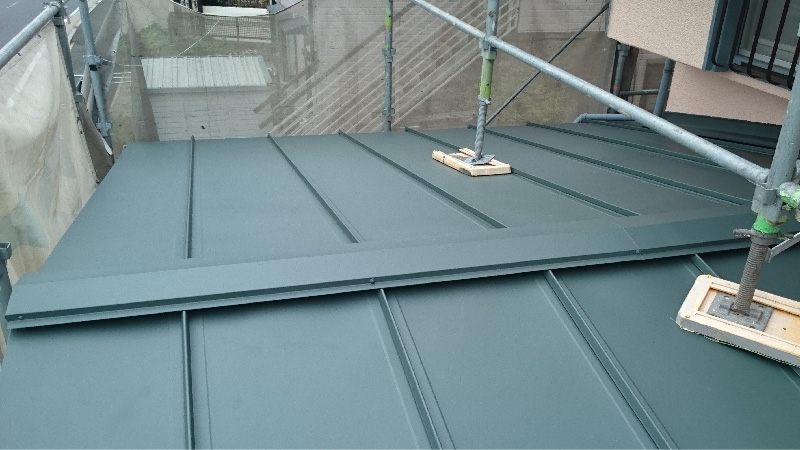
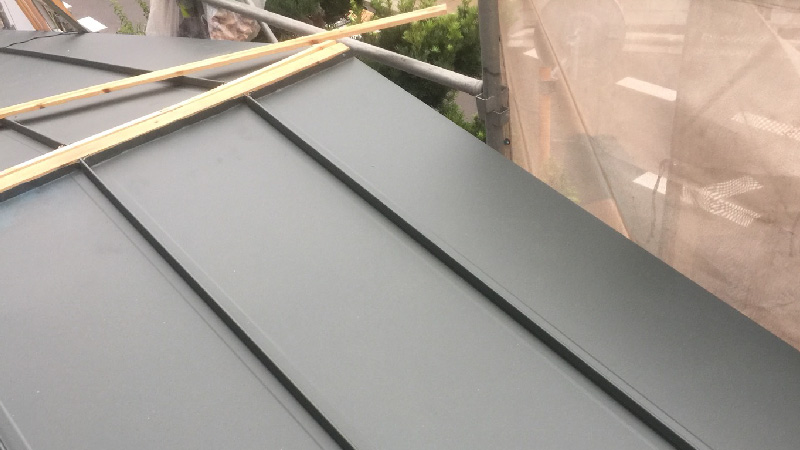 棟板金を取り付けるための下地も取り付けました。
棟板金・雨押さえの設置
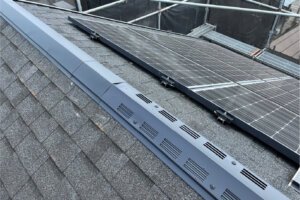
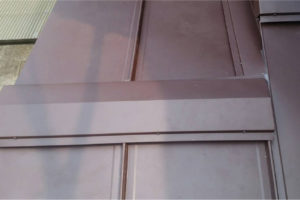
最後に棟板金と雨押さえを設置したら施工が完了です。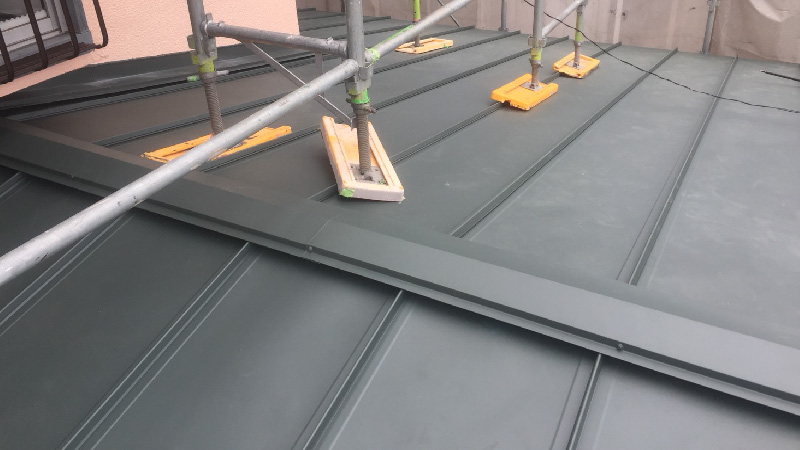 棟板金を取り付けました。
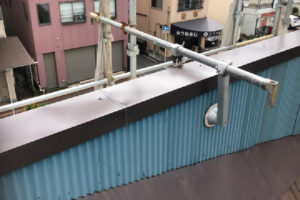
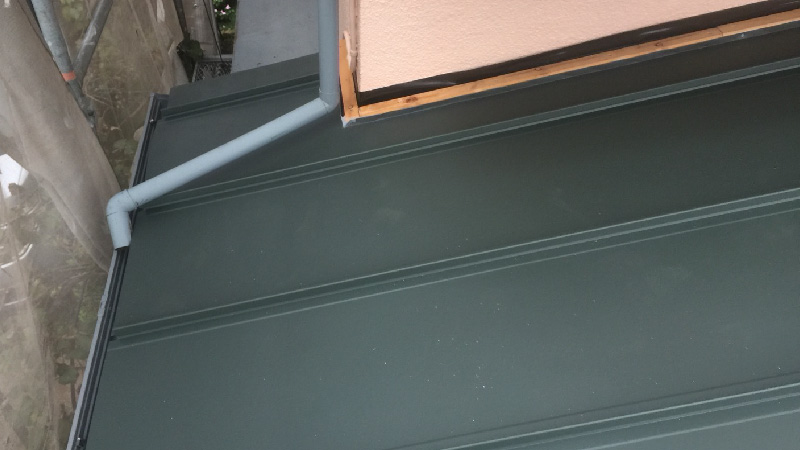
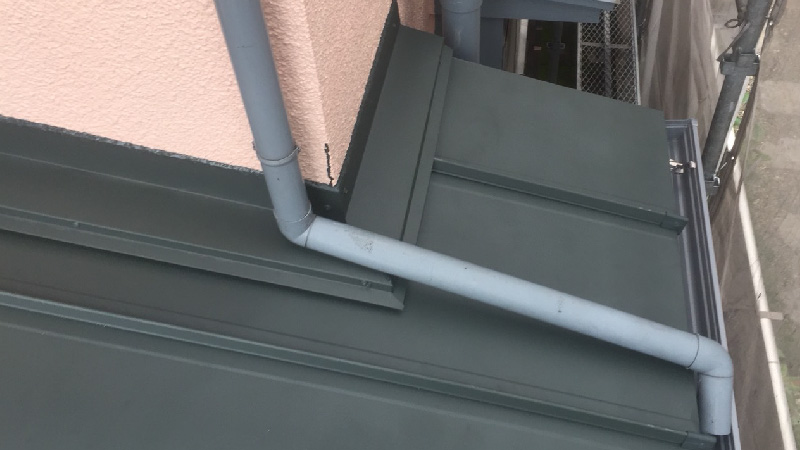
 屋根と外壁部分に雨押さえを設置しました。
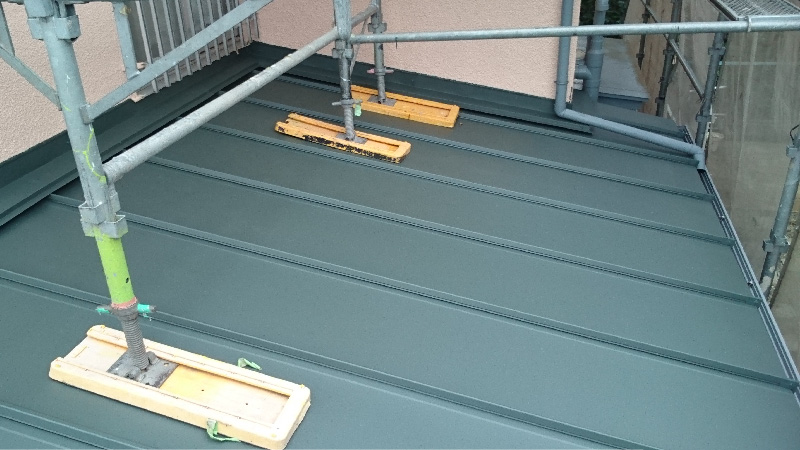
施工後の様子
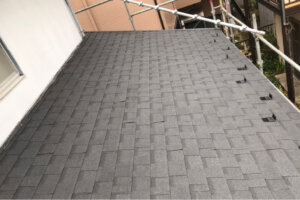
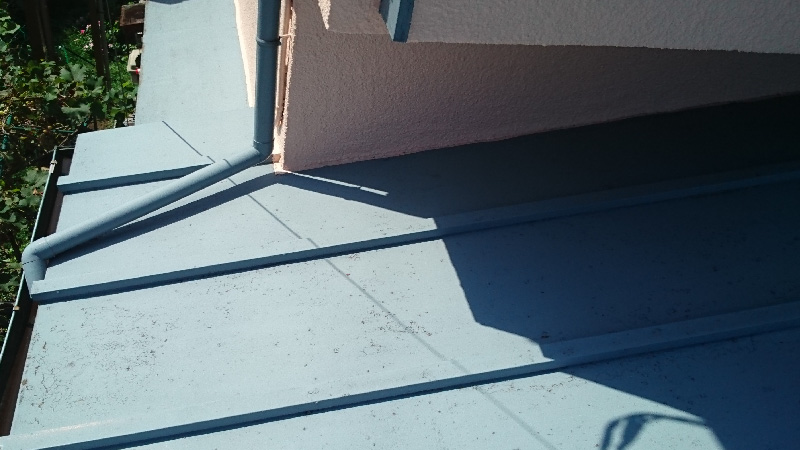
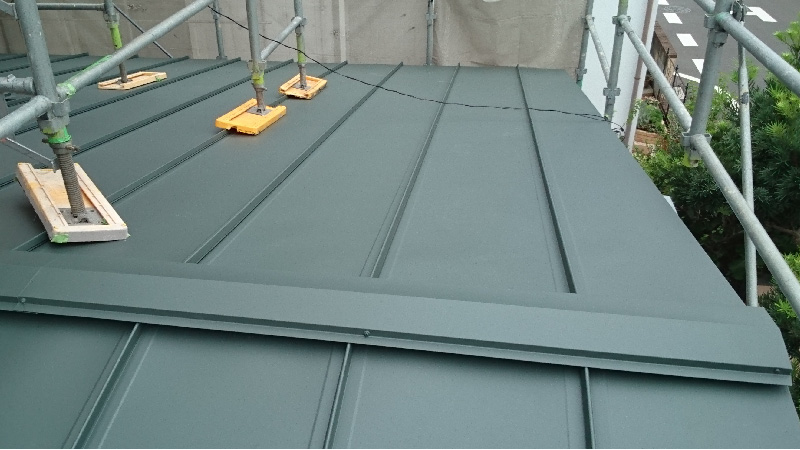
 塗装が剥がれていたトタン瓦棒の下屋根でしたが、新築のように生まれ変わりました。
簡 単 無 料 お 見 積 り
×